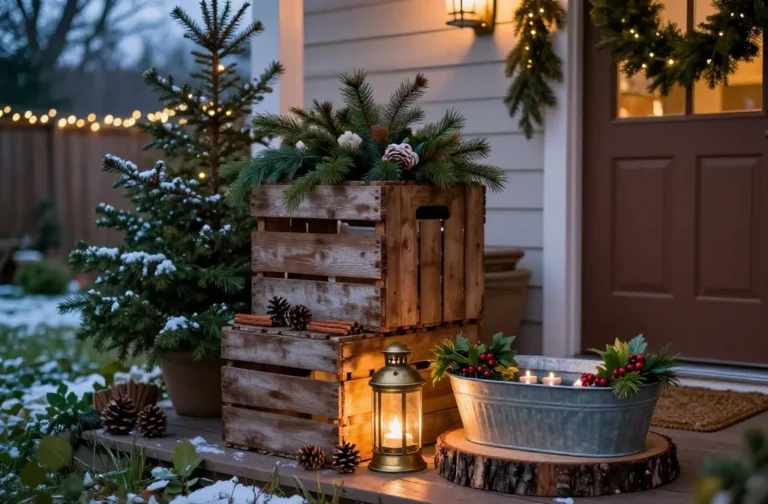
Steal These 10 Rustic Garden Ideas That Look Expensive but Cost Almost Nothing
Want a garden that screams designer on a thrift-store budget? You’re in the right spot. These rustic ideas look high-end, but you can pull them off with scraps, yard-sale finds, and a bit of elbow grease. Ready to make the neighbors wonder who you hired?
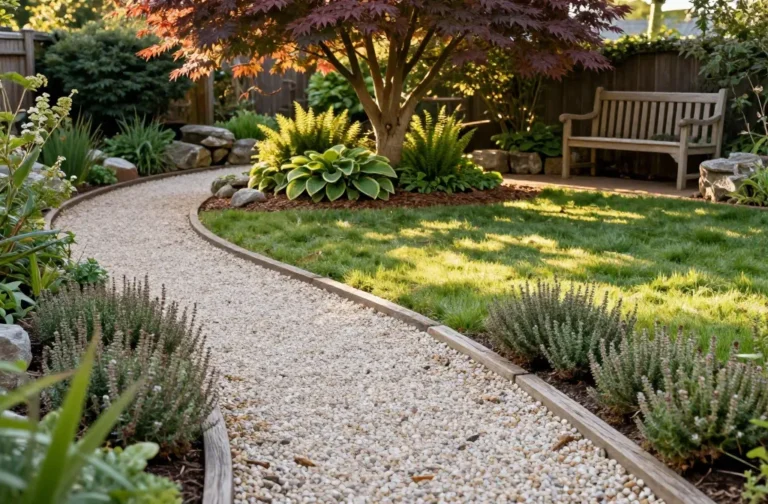
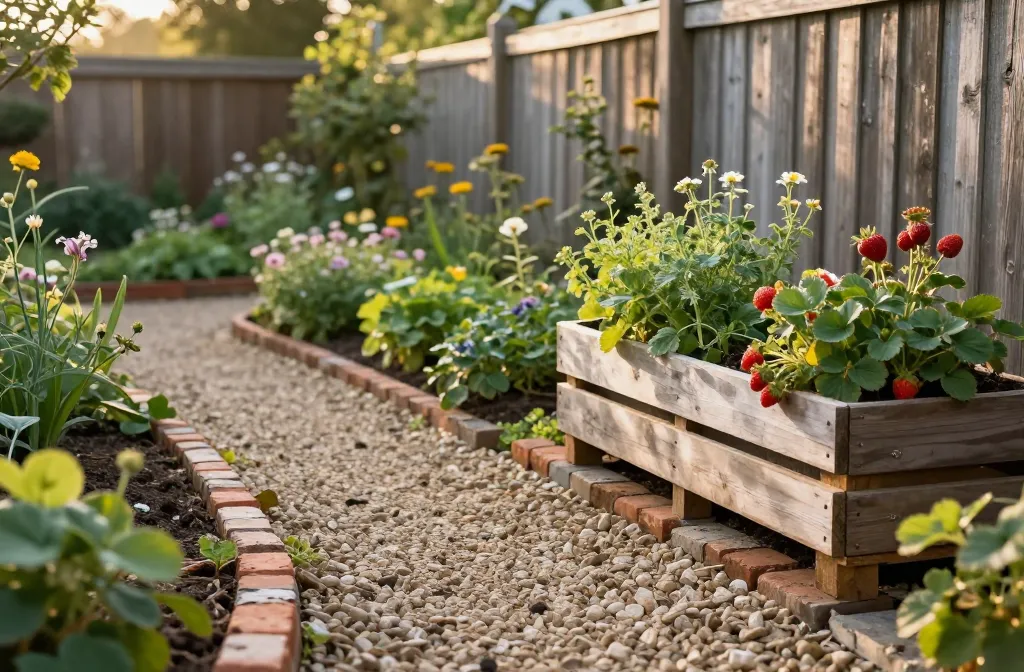
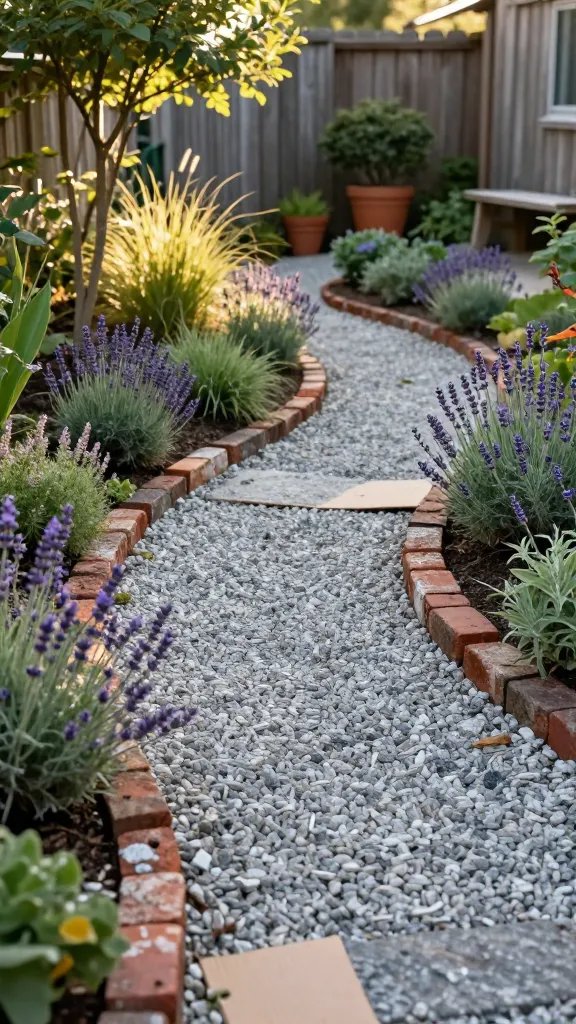
1. Build A Crushed Gravel Path With Charm
Tired of snacking when you’re not even hungry? This reset helps you stop the loop and feel back in control.
A simple reset for moments when cravings take over. Easy to use, easy to repeat, and designed to help you feel satisfied instead of stuck.
Nothing upgrades a garden faster than a path that feels intentional. A simple crushed gravel walkway looks custom, drains well, and costs way less than pavers. Add a few curves and you’ll fake that “landscape architect” magic.
Materials
- Landscape fabric or cardboard (free, FYI)
- Crushed gravel or decomposed granite
- Salvaged bricks, logs, or stones for edging
Lay cardboard to block weeds, pour gravel 2–3 inches deep, and compact it with your feet or a borrowed tamper. Edge with old bricks or logs for that layered, rustic frame. You’ll guide traffic, reduce mud, and make plant beds feel intentional.
Best for: Creating structure fast in cottage-style yards without pricey hardscape.
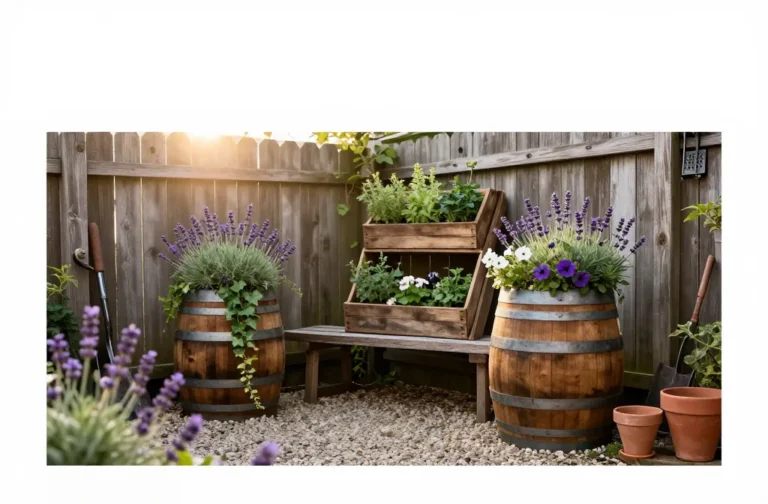
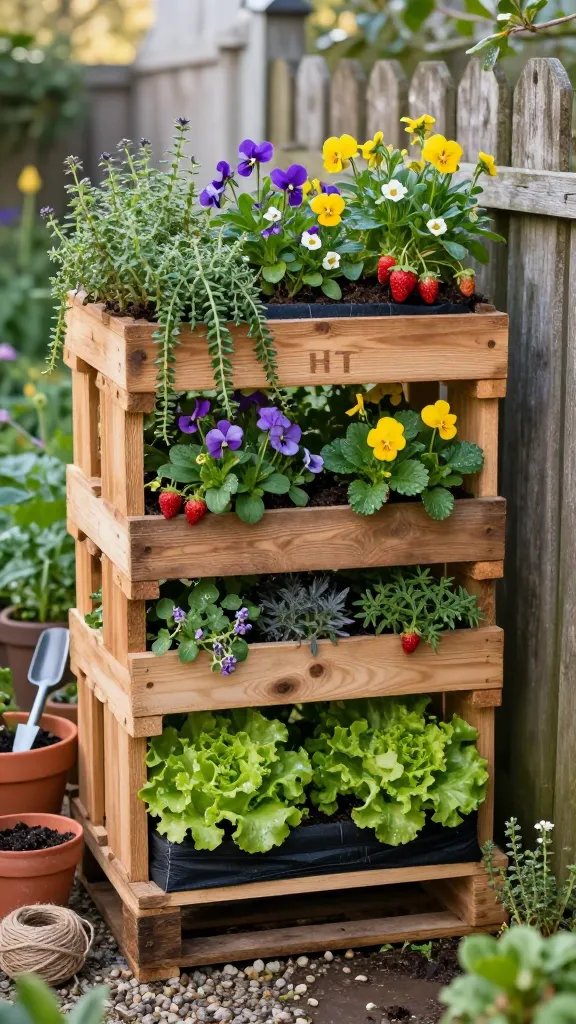
2. Turn Pallets Into Chic Vertical Planters
Transform Your Home With 7,250+ Stunning Landscaping Designs—No Expensive Designers Needed!
- 🌿 Access 7,250+ stunning landscaping designs.
- 💰 Save thousands—no pro designer needed.
- 🏡 Plans for gardens, patios, walkways, and more.
- ✨ Simple, beginner-friendly DIY layouts.
- 🛠️ Customize any design to fit your yard.
Pallets are basically rustic décor waiting to happen. Flip one upright, add landscape fabric and soil, then tuck in herbs, strawberries, or trailing flowers. It looks bespoke, hides ugly fences, and uses space like a pro.
Tips
- Choose heat-treated pallets marked “HT” (not chemically treated).
- Staple landscape fabric across the back and bottom to hold soil.
- Plant densely—creeping thyme, violas, and lettuce love it.
Mount it on a wall or lean it against a fence for instant texture. Benefit: More planting space in tiny yards with a cool, farmhouse vibe.
3. Create A Mismatched Terracotta “Aged” Collection
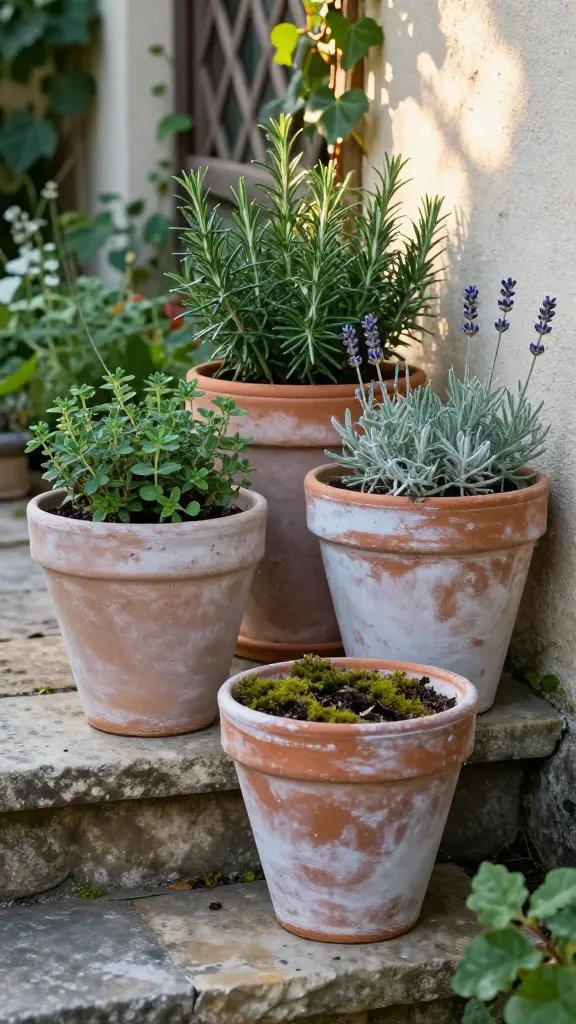
Terracotta looks timeless, but brand-new pots feel a little too shiny. Age them with yogurt or buttermilk to invite that soft white patina. In a week or two, they’ll look like you swiped them from an old European courtyard—legally, of course.
How-To
- Mix plain yogurt with water (50/50) and brush onto pots.
- Place in shade and mist lightly for a few days.
- Group various sizes for height and texture.
Cluster 3–5 pots at corners or steps for maximum impact. Why it works: The weathered finish adds depth and makes inexpensive plants look premium, IMO.
4. Make A Rustic Obelisk From Sticks

Store-bought trellises cost a small fortune. Grab long prunings or bamboo canes and lash them into a tapered pyramid. It’s sculptural, functional, and basically free if you have trees or kind neighbors.
Key Points
- Use four sturdy uprights; tie at the top, then add cross braces.
- Jute twine or zip ties work—cover ties with twine for the rustic look.
- Grow sweet peas, beans, or black-eyed Susan vine up the frame.
Pop one in a bed as a focal point or flank a path with two. Benefit: Vertical interest makes any garden look curated and lush.
5. Edge Beds With Salvaged Bricks (Or Bottles)
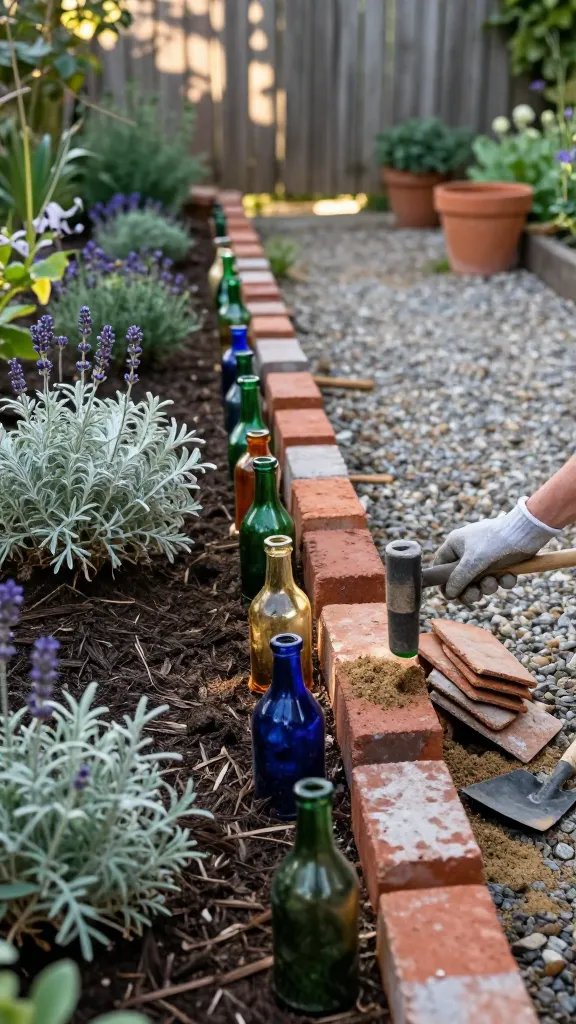
Crisp edges make everything look expensive. Line beds with scavenged bricks, old roof tiles, or even glass bottles buried neck-down for a whimsical border. The line contains mulch, defines paths, and adds that antique-market drama.
Materials
- Bricks, tiles, or clean glass bottles
- Sand or soil to level
- Rubber mallet (optional)
Set pieces about 2–3 inches deep, snugly together. For bottles, vary colors for a jeweled effect when the sun hits. Use when: You want tidy structure without pricey metal edging.

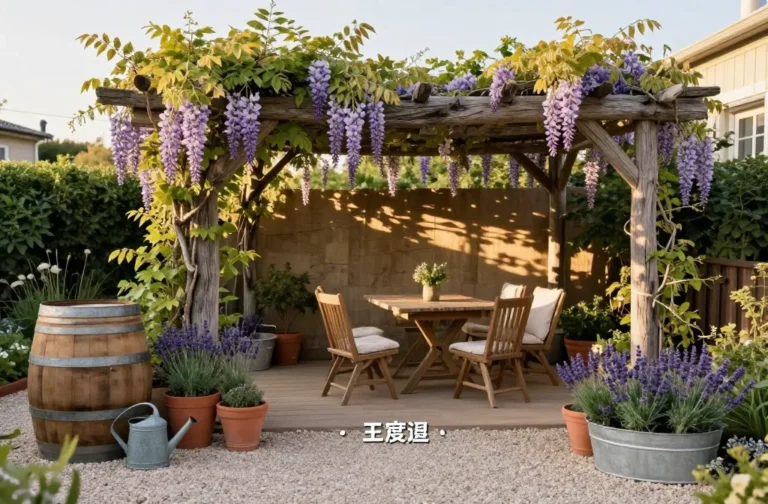
6. Build A “Wabi-Sabi” Table From Stumps And A Slab
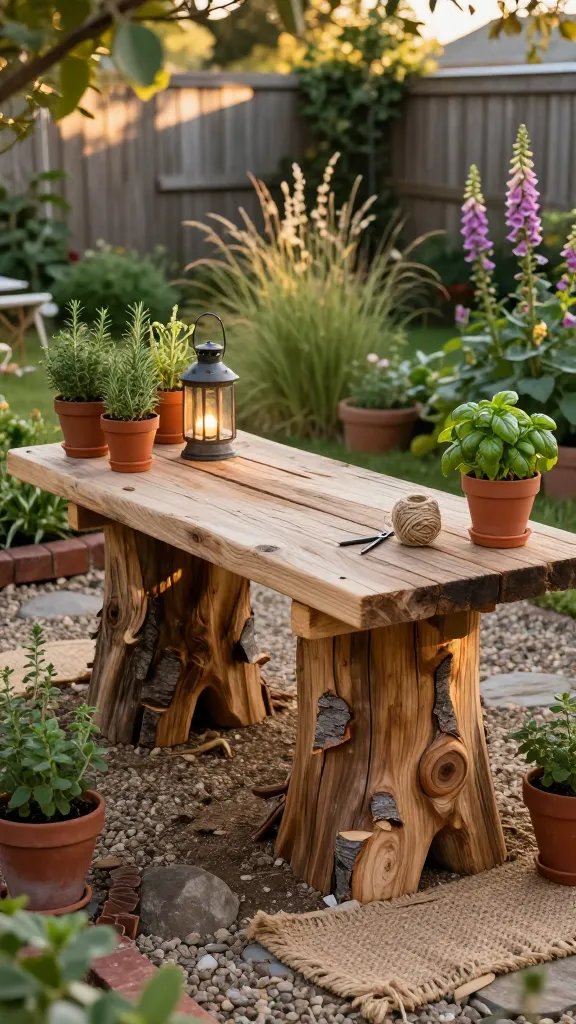
Nature gives you furniture—just say thank you. A couple of level stumps and a salvaged board become a rustic side table or potting perch. It looks artisanal, but you’ll spend more time carrying it than building it.
Tips
- Pick solid, dry stumps; shim with bark for stability.
- Use a sanded pallet board, old door, or stone slab for the top.
- Seal with exterior oil if you want it to last longer.
Style with potted herbs and a lantern to fake an outdoor “room.” Benefit: Instant entertaining spot that screams countryside chic, seriously.
7. Craft A Birdbath From A Saucer And Post
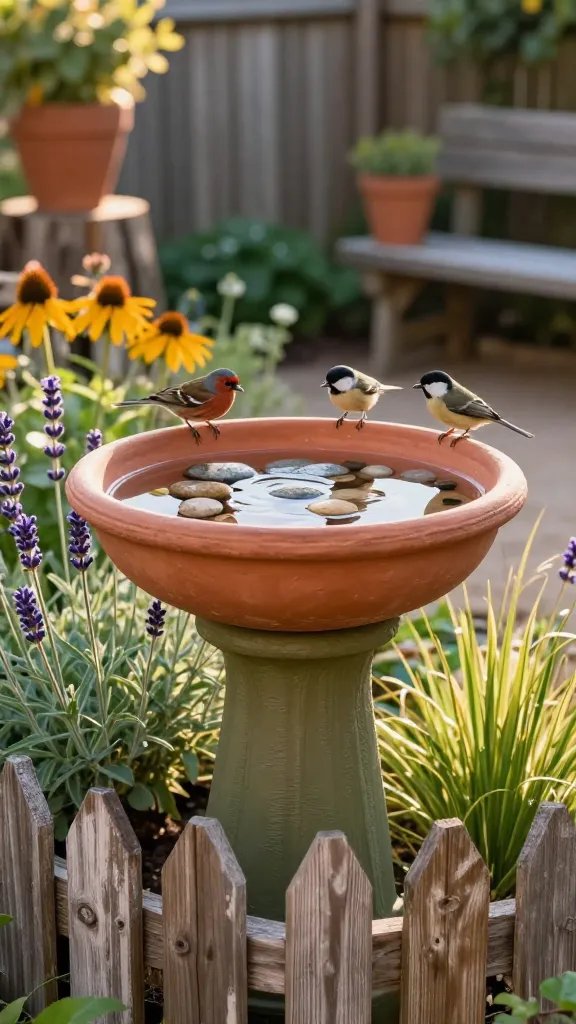
Wildlife brings a garden to life. Make a birdbath with a large terracotta saucer set on a stump, upturned pot, or fence post. It’s simple, elegant, and birds will repay you with constant entertainment.
Assembly
- Level your base; add a bead of waterproof adhesive if windy.
- Place the saucer; add a few flat stones for footing.
- Refresh water often to keep it clean.
Paint the base a muted olive or charcoal for a designer finish. Best for: Drawing pollinators and creating a focal point near seating areas.
8. Layer Mulch Like A Landscape Designer
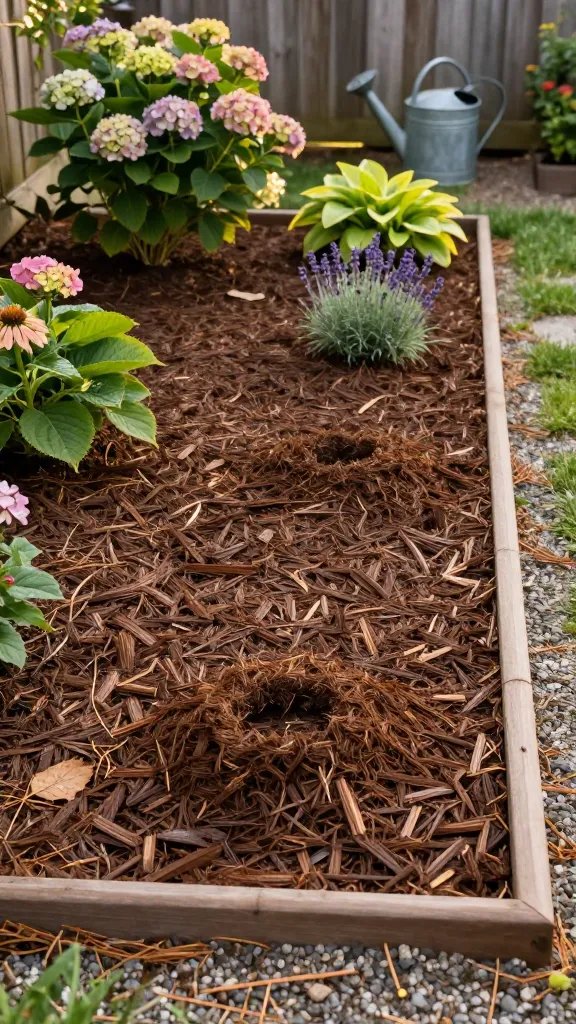
Mulch is the instant facelift your beds crave. It hides scruffy soil, suppresses weeds, and makes plant colors pop. Go for shredded bark, chopped leaves, or pine needles—whatever’s cheap or free.
How-To
- Edge beds first for a clean line.
- Spread 2–3 inches, keeping a donut gap around stems.
- Top up seasonally to maintain that luxe look.
Choose a deep brown mulch for contrast and cohesion. Benefit: Uniform texture equals “expensive,” even if it’s literally leaves from your yard.
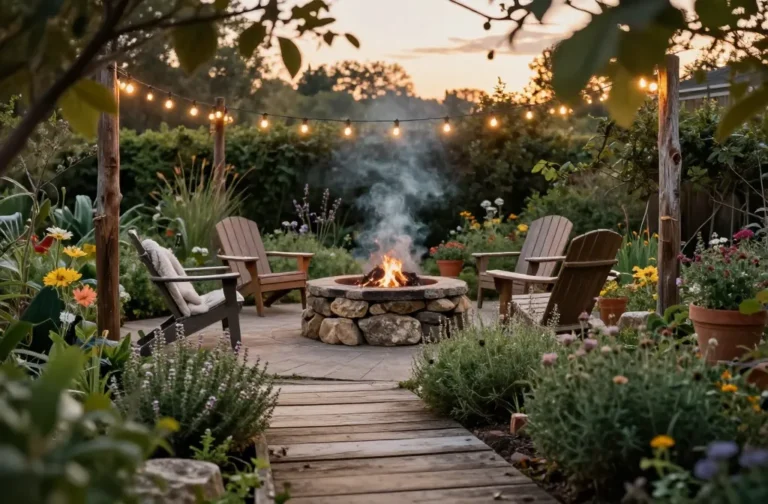
9. Upcycle Tin Cans Into Hanging Lanterns
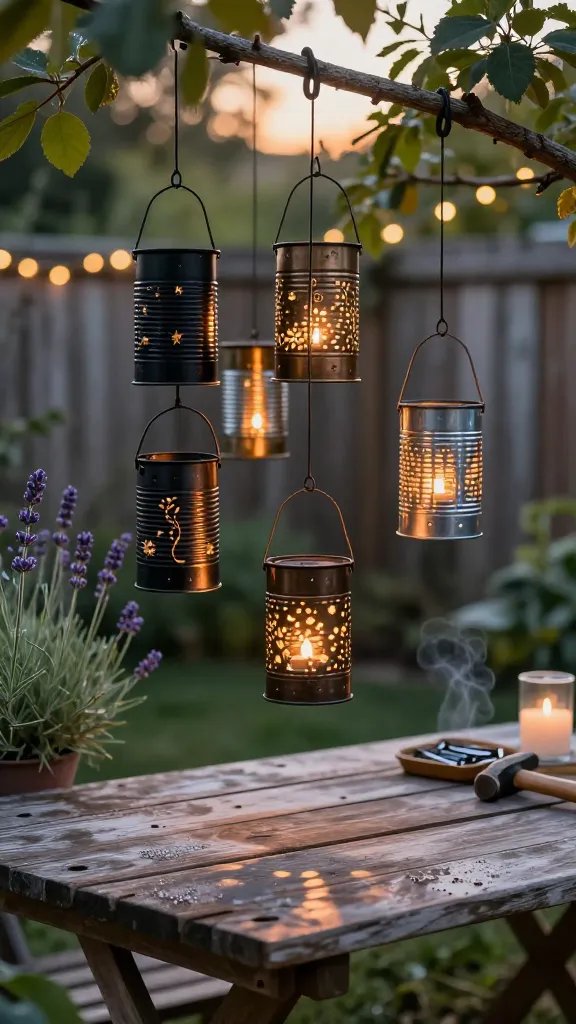
Soft light turns rustic into romantic. Punch patterns into washed tin cans, add wire handles, and drop in tea lights or solar inserts. Hang from tree branches or shepherd’s hooks for evening glow on a dime.
Tips
- Fill cans with water and freeze before punching to prevent dents.
- Use a nail and hammer to create star or vine motifs.
- Spray with matte black, bronze, or leave raw for patina.
Cluster 5–7 at different heights for drama. When to use: Dinner parties, date nights, or whenever you want instant ambiance, trust me.
10. Sow A Wildflower Strip For Effortless Luxe
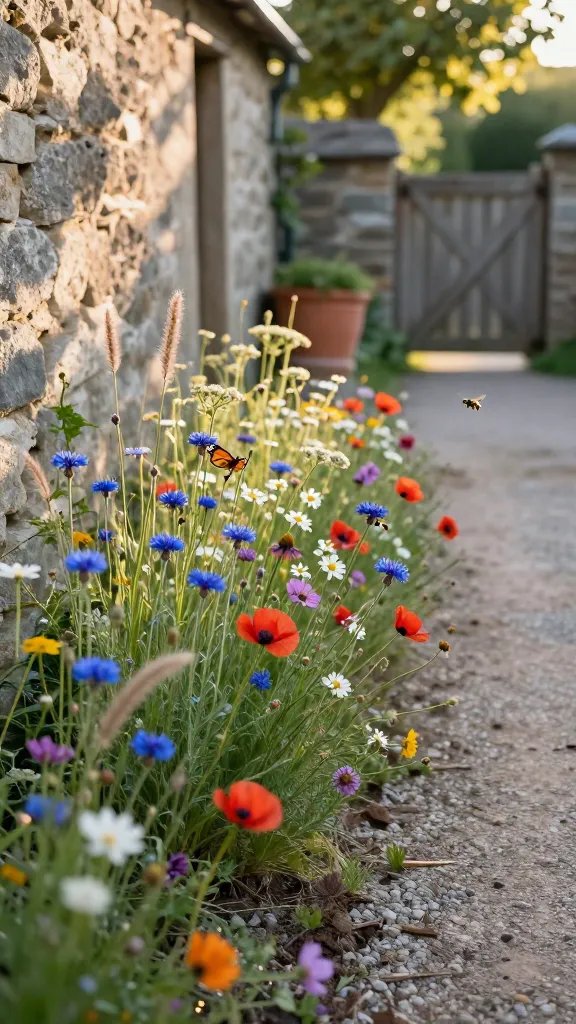
Nothing says old-world garden like swaying wildflowers. Carve out a narrow border and seed it with a regional mix for constant color and movement. It feels rich, but costs little and helps pollinators thrive.
Key Steps
- Scratch the soil, remove weeds, and rake smooth.
- Broadcast seed, lightly rake in, and water gently.
- Choose native-heavy blends for low maintenance.
Let it spill slightly onto paths for that “not trying too hard” charm. Benefit: Months of color, buzzing life, and serious curb appeal with minimal effort.
Ready to make your garden look like you hired a fancy designer? Start with one or two of these and watch the vibe shift instantly. Your wallet will thank you—and your neighbors will definitely ask for your “gardener’s” number.