How to Make a Diy Outdoor Dining Space for $150 That Wows
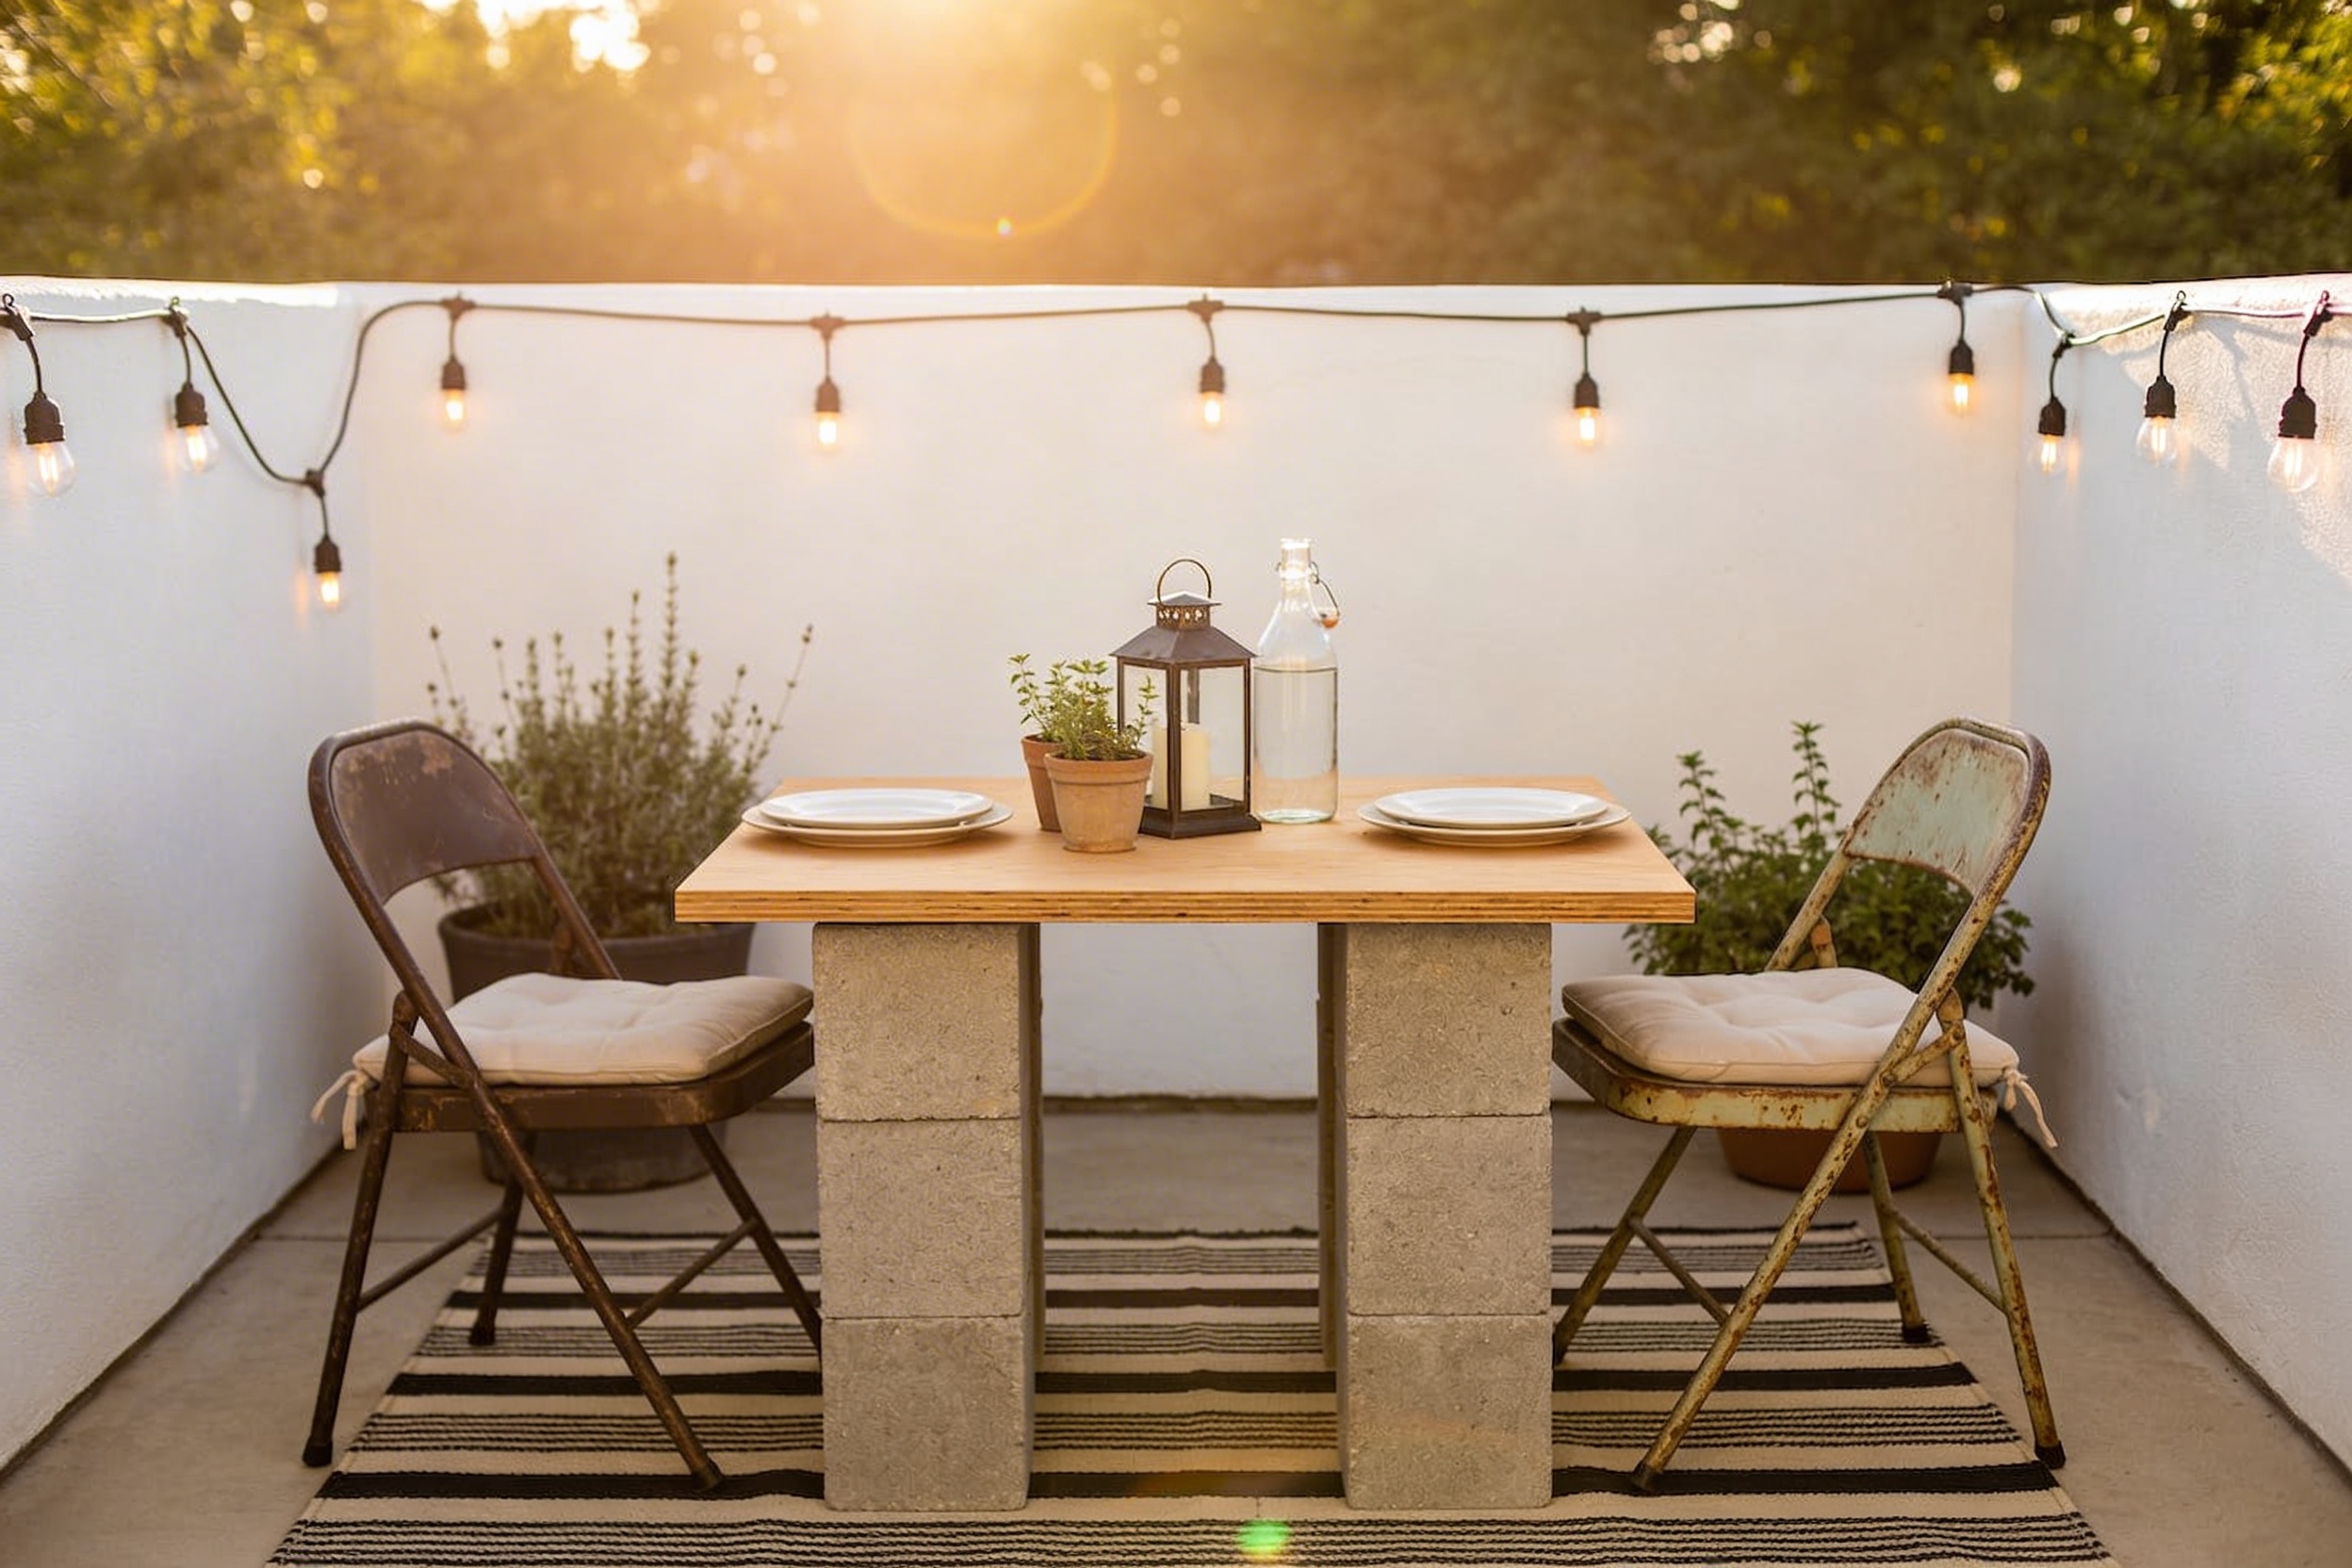
You’ve got a tiny budget, a big appetite, and a patch of outdoor space begging for a glow-up. Perfect. In an afternoon, you can turn that sad corner into a cozy dining nook that looks way pricier than it is. We’ll stretch $150 like pizza dough and still get a crisp, delicious result. Ready to host dinner without the financial hangover?
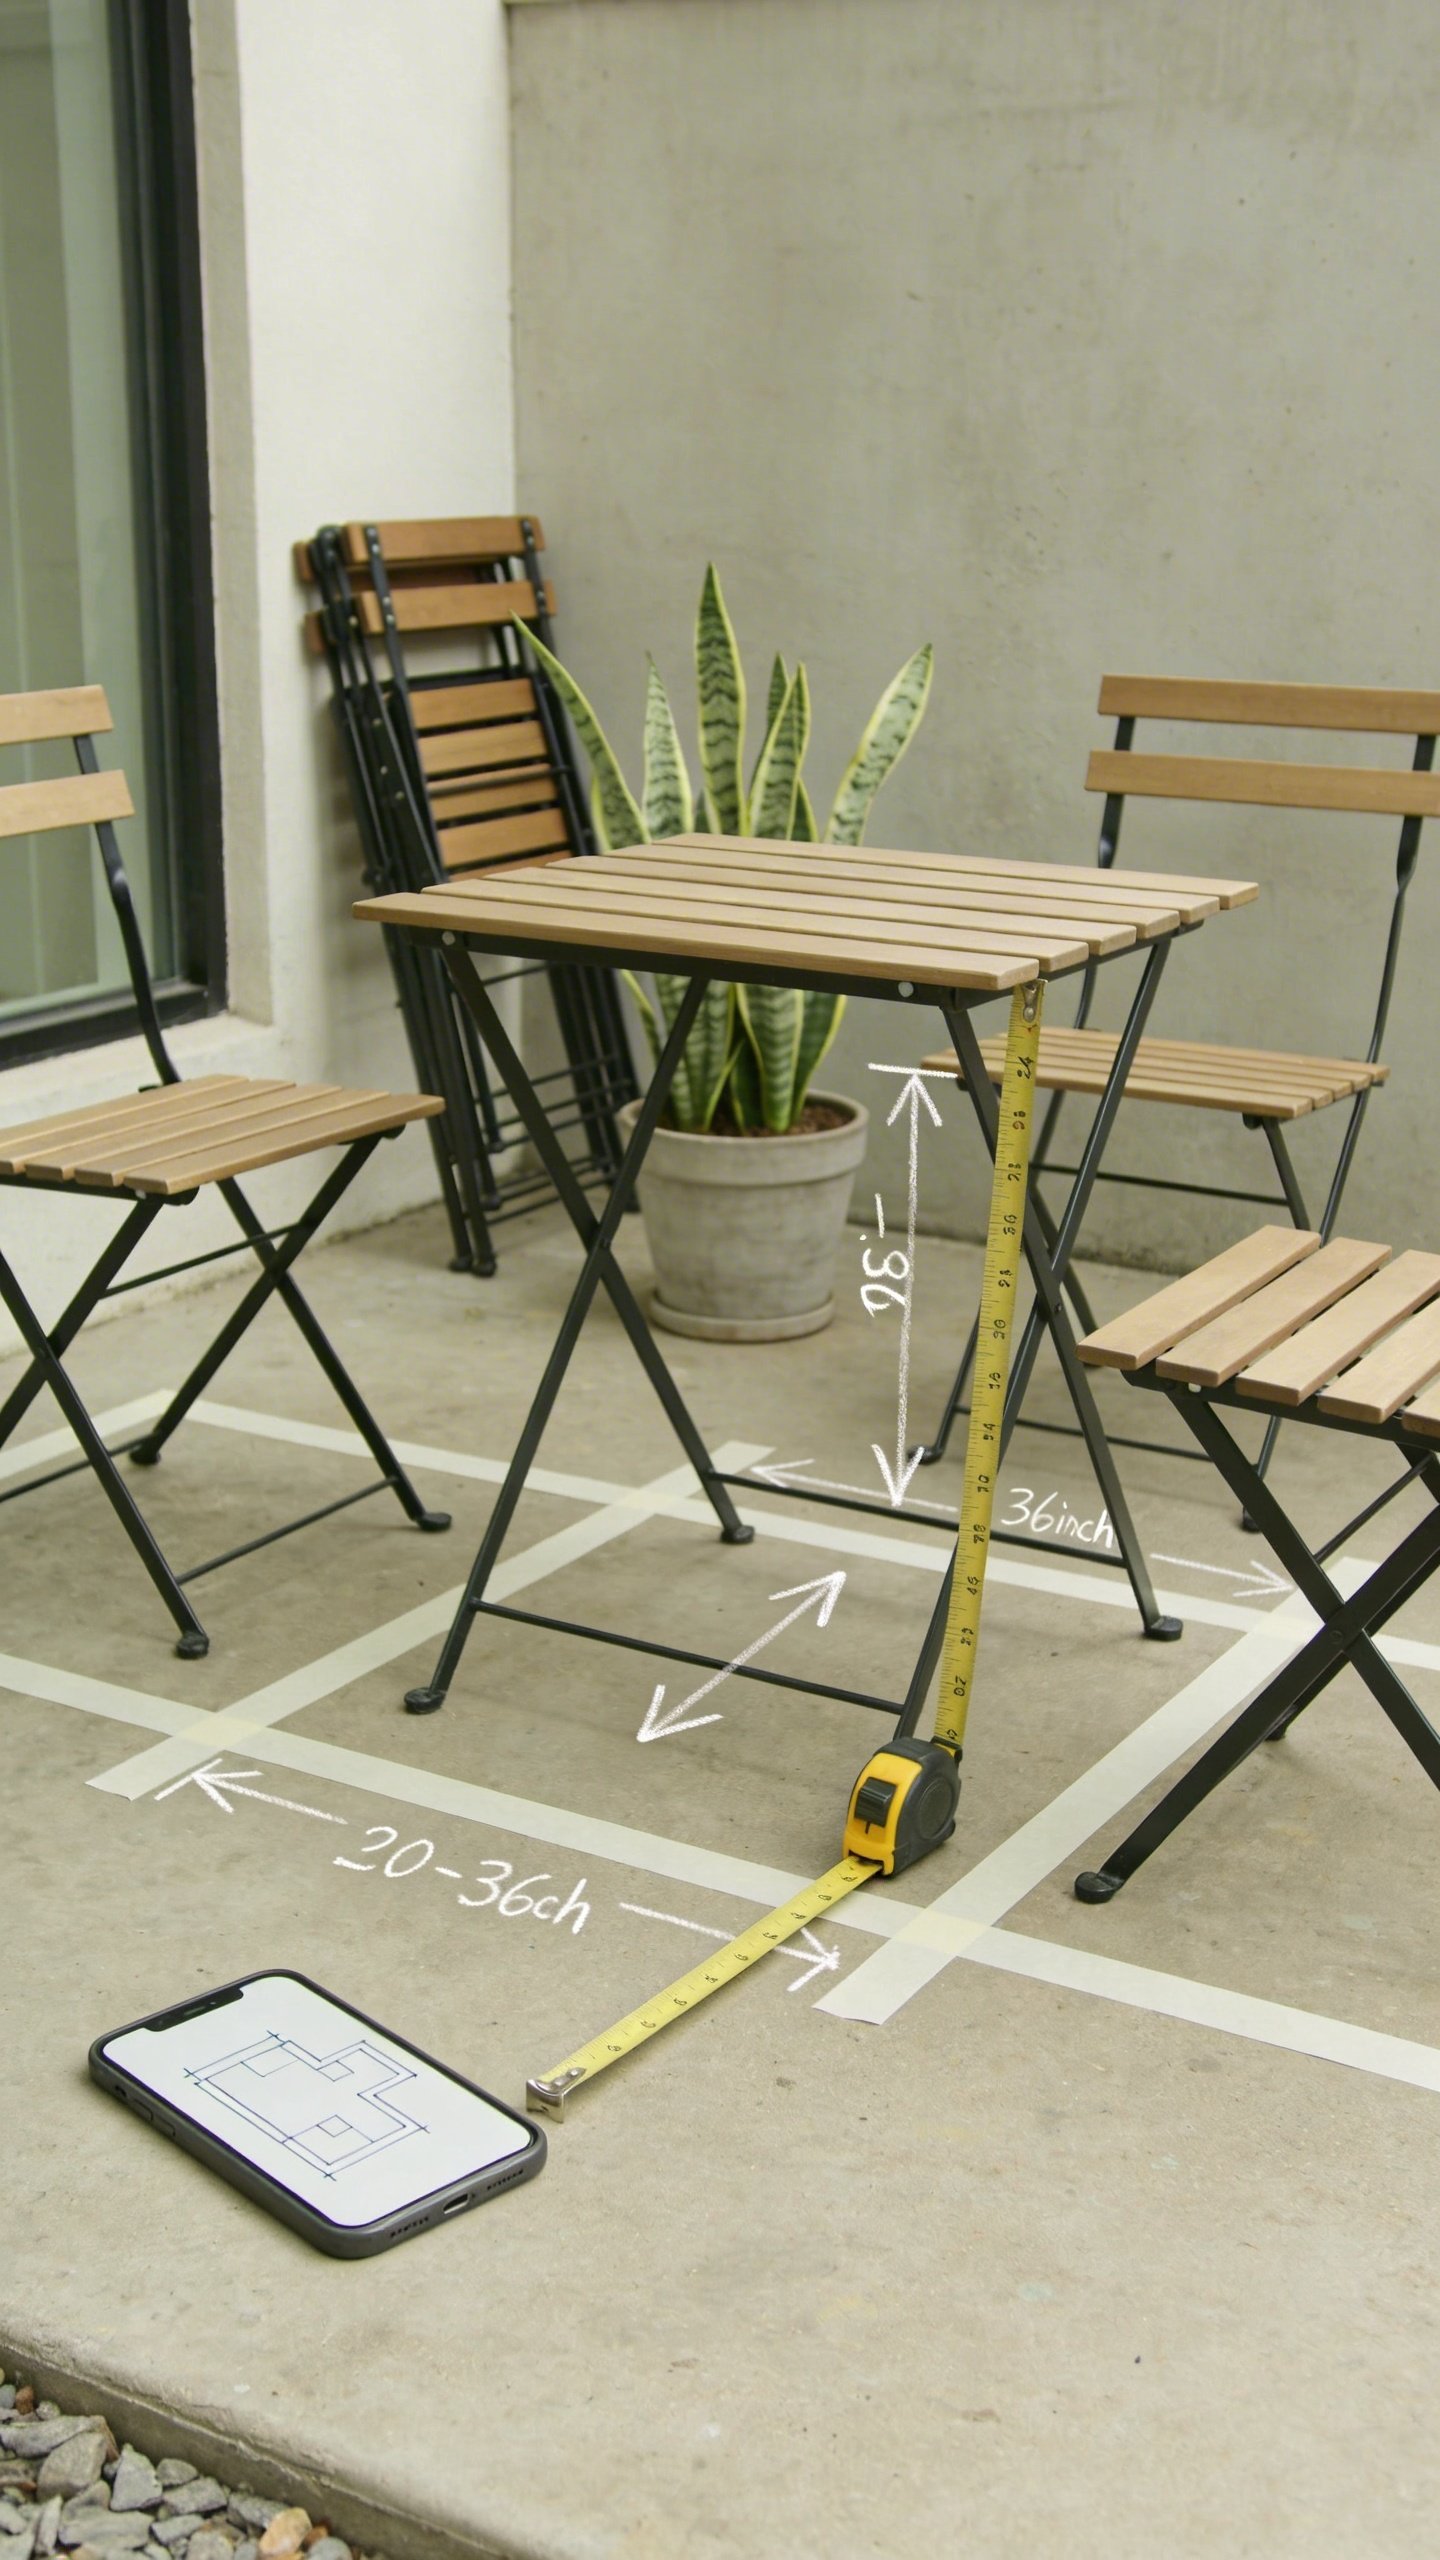
Plan Your Vibe And Measure Like A Pro
You don’t need a design degree—just a plan and a tape measure. Decide your vibe: rustic bistro, boho lounge, or clean minimal. Then measure the footprint so you know what actually fits. Nothing ruins a mood like a chair scraping a wall every time you sit.
Tired of snacking when you’re not even hungry? This reset helps you stop the loop and feel back in control.
A simple reset for moments when cravings take over. Easy to use, easy to repeat, and designed to help you feel satisfied instead of stuck.
- Seating space rule: Aim for 24 inches per person around a table.
- Walkway comfort: Leave 30–36 inches behind chairs to stand and slide in.
- Shade check: Note where sun hits during your usual mealtime.
Pro Planning Tip
Mock up your layout with painter’s tape or cardboard boxes. It costs $0 and reveals issues fast, IMO.
Stretch-The-Budget Shopping List ($150 Max)
We’re mixing new basics with thrift flips. Prices vary by location, but this breakdown keeps you on track.
- Table Base: Two concrete blocks + one 2×4 or a thrifted side table ($10–$25)
- Tabletop: 24×36 wood panel or secondhand coffee table top ($15–$25)
- Seating: Two folding chairs from discount store or Facebook Marketplace ($20–$35)
- Outdoor Rug: 4×6 polypropylene rug or washable mat ($20–$35)
- Lighting: Solar string lights or two solar lanterns ($15–$25)
- Ambience: Two planters + one herb or hardy plant ($10–$20)
- Finishes: Exterior paint or stain sample + brush ($8–$12)
- Hardware/Extras: Screws, brackets, zip ties, or command hooks ($5–$10)
Target total: $120–$150. If you already own a couple items, you’ll slide under easily.
Build A Simple, Solid Table
We’ll make a sturdy small table without fancy tools. It’s the star of your setup, so let’s keep it cute and safe.
Transform Your Home With 7,250+ Stunning Landscaping Designs—No Expensive Designers Needed!
- 🌿 Access 7,250+ stunning landscaping designs.
- 💰 Save thousands—no pro designer needed.
- 🏡 Plans for gardens, patios, walkways, and more.
- ✨ Simple, beginner-friendly DIY layouts.
- 🛠️ Customize any design to fit your yard.
- Create the base: Stack two concrete blocks on each end, openings horizontal for stability. Or use a thrifted side table as a pedestal.
- Add the top: Place your wood panel or reclaimed top across. Center it—symmetry calms the eye.
- Secure it: Use two L-brackets and screws to tie top to base. No brackets? Heavy-duty outdoor adhesive under the contact points works too.
- Finish: Sand rough edges. Apply exterior-rated paint or stain to protect from weather. Dark stain = instant “I paid more than I did” energy.
Alternative Table Ideas
- Crate Stack: Flip two wooden crates and top with a board. Strap with zip ties underneath.
- Palette Bistro: One pallet + four furniture legs + sanding + stain = chic bistro moment.
Seat Guests Without Blowing The Budget
Focus on comfort and foldability. Folding chairs win for storage and price.
- Thrift Flip: Grab metal or wood folding chairs for a few dollars each. Sand and hit them with exterior spray paint.
- Cushion Hack: Use outdoor cushion covers or sew simple envelope covers with canvas. Stuff with old towels—no one will know, FYI.
- Bench Option: A 2×8 board on two sturdy blocks makes a bench for two. Just pad the seat.
Comfort Checklist
- Backrests at 12–16 inches high feel supportive.
- Seat height ~17–18 inches pairs well with a 28–30 inch table.
- Test sit before you buy or build—always.
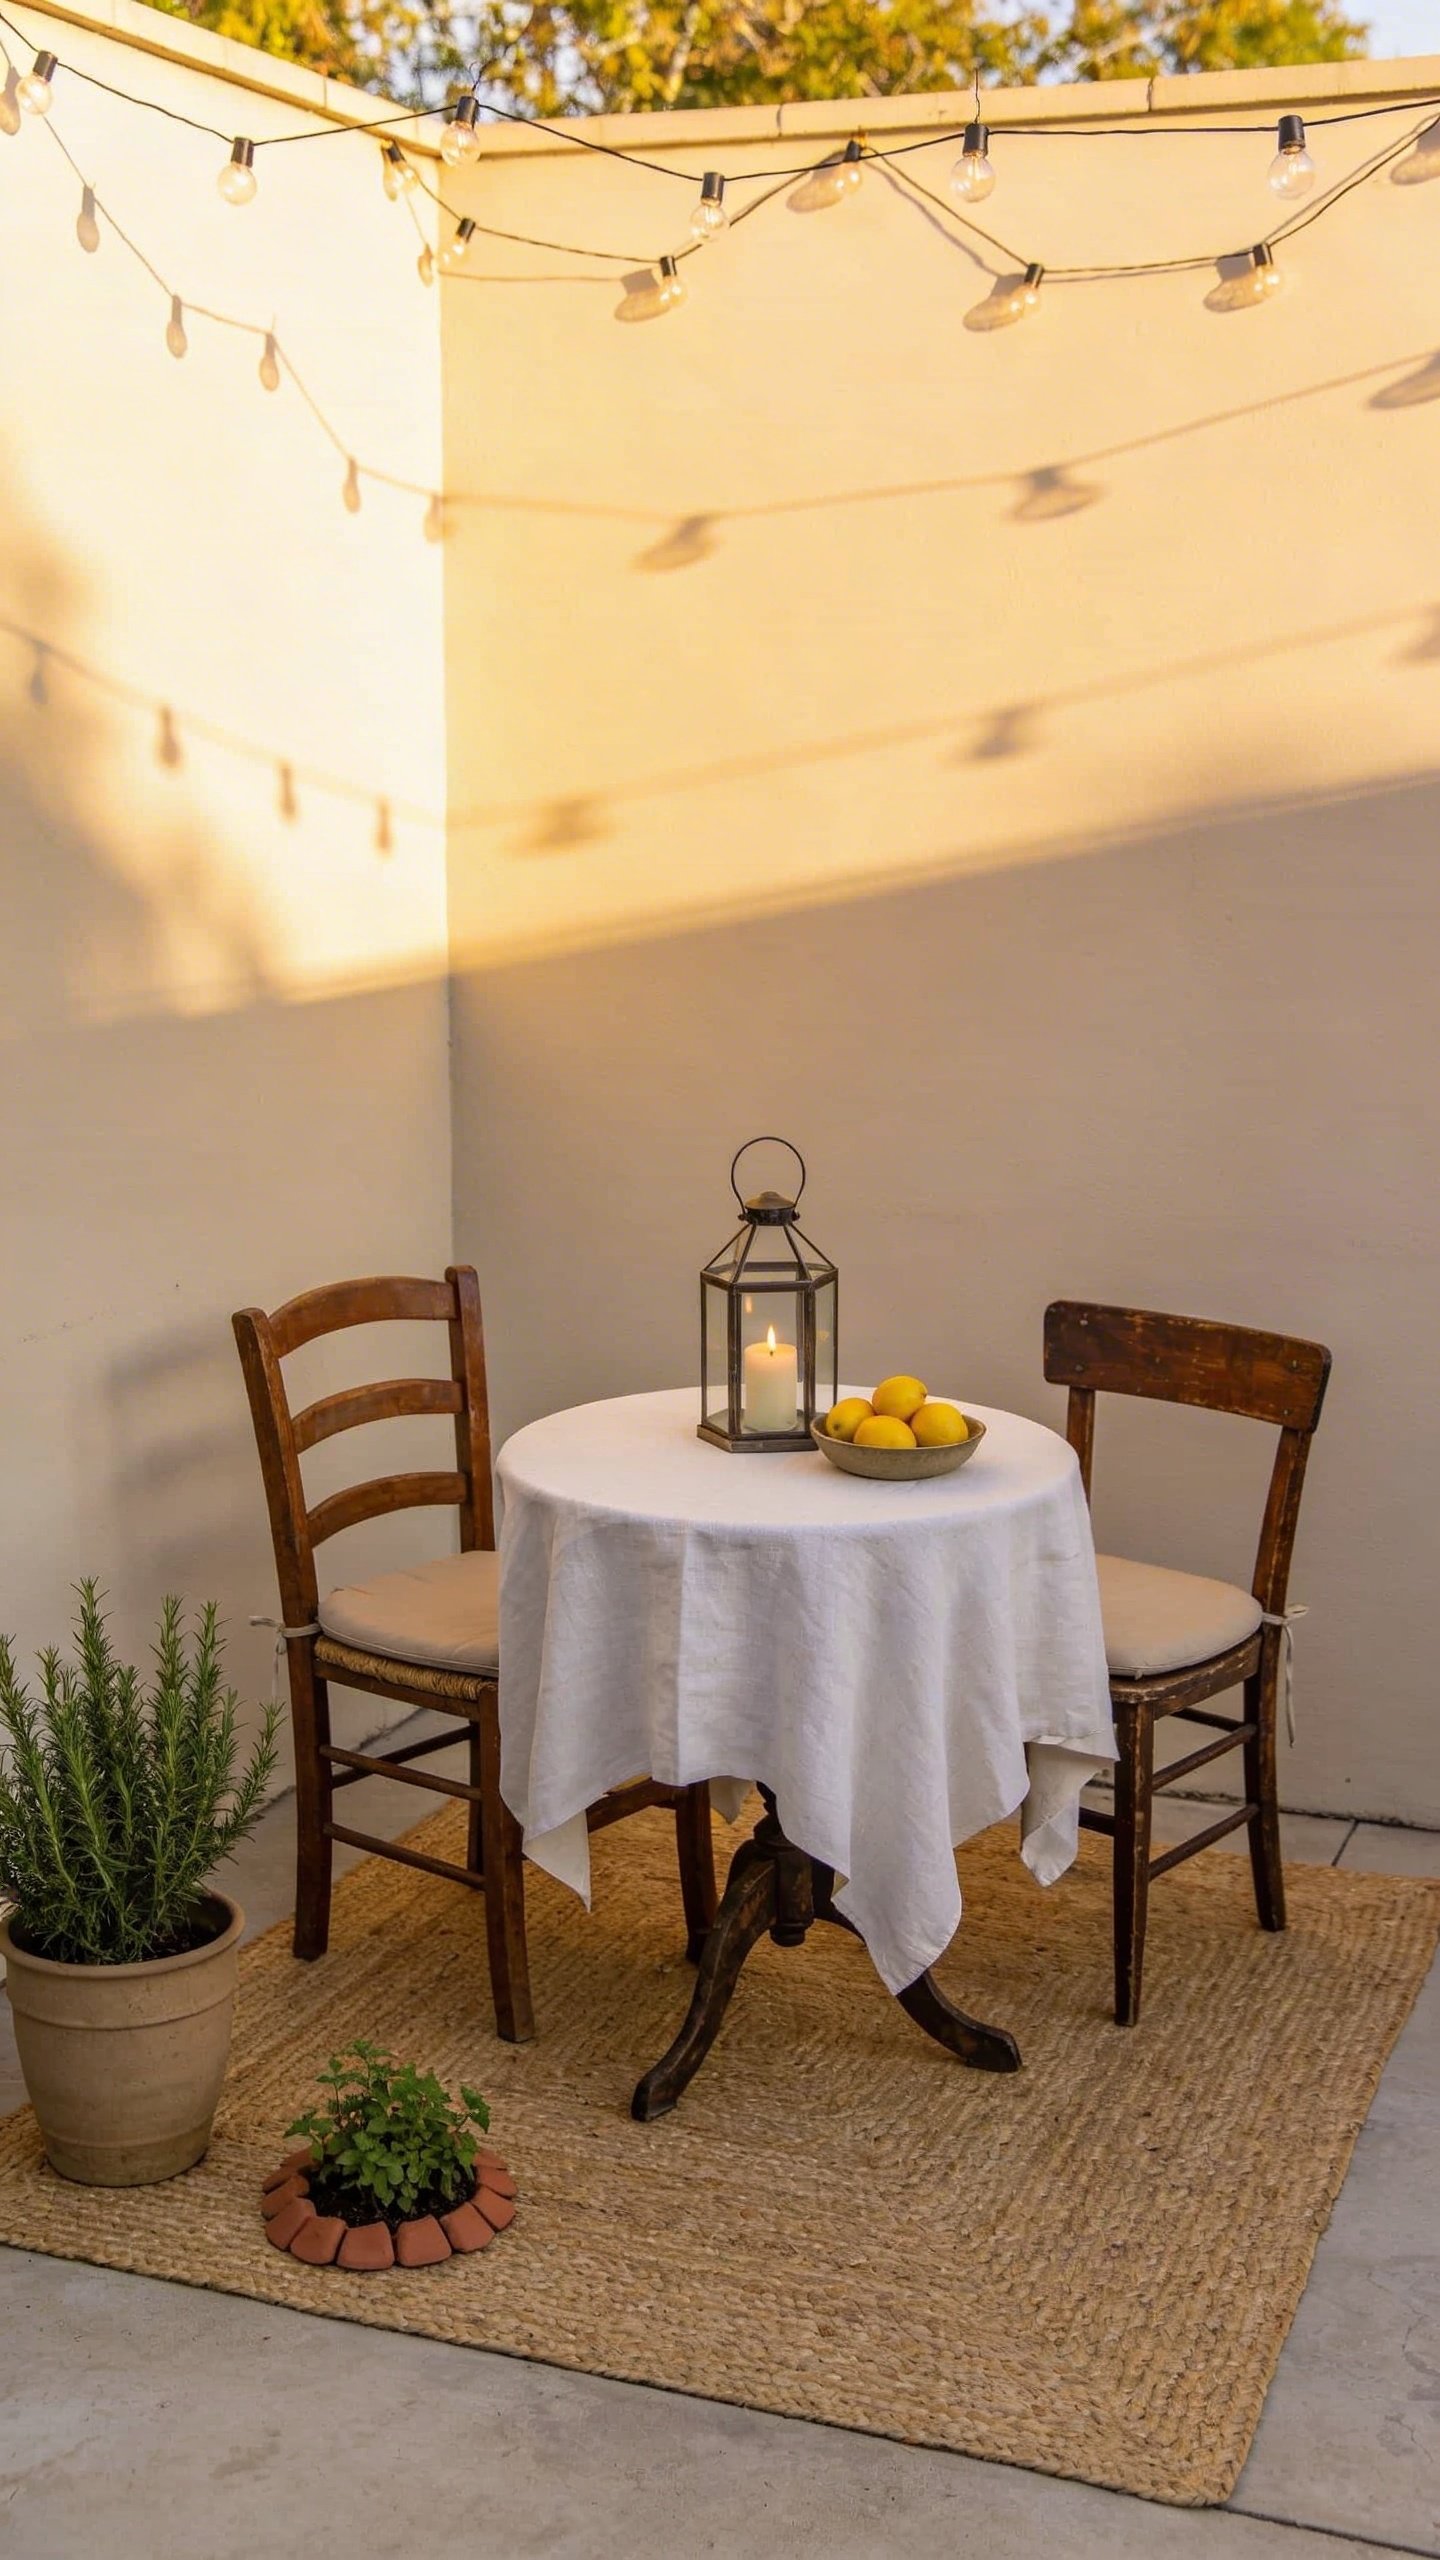
Define The Space With A Rug And Plants
A rug zones the area and softens the look. Choose polypropylene or an indoor/outdoor washable material for durability. Go neutral and let plants add life.
- Rug Size: Big enough that chair front legs sit on it.
- Planters: Upcycle cans or buckets; drill drainage holes and paint.
- Plant Picks: Rosemary, thyme, and mint are cheap, hardy, and smell amazing.
Micro Greenery Bar
Line three herb pots down the center of the table as a living runner. Clip while you eat—restaurant who?

Light It Up: Cozy On A Dime
Lighting sells the vibe. We’ll go all-solar or low-voltage so you avoid wiring headaches.
- String Lights: Drape solar strings along a fence or between two poles in planters.
- Lanterns: Pop solar puck lights into glass jars for instant lanterns.
- Table Glow: Use LED tea lights in frosted jars—no wax, no stress.
Mounting Tricks
- Zip ties + screw-in hooks = secure string light anchors.
- Command outdoor clips if you rent and can’t drill.
- Keep lines taut for a clean look and less droop.
Dress The Table: Cheap, Cheerful, Elevated
We’re not doing fine china. We’re doing clever.
- Runner: Cut a strip from a canvas drop cloth and fray the edges.
- Placemats: Cork sheets or woven chargers from the thrift store.
- Serveware: Two large melamine plates + two smaller ones mix-and-match fine.
- Napkins: Tea towels beat paper every time and wash easily.
- Centerpiece: A single low bowl with citrus or a thrifted vase with grocery-store greens.
Color Palette Cheat
Pick three: one neutral (tan/gray), one base (black/white), one pop (sage/terracotta/mustard). Done. Everything looks intentional, IMO.
Smart Upgrades If You Have $20 Left
If you scrounged deals like a champ, boost comfort and longevity.
- Shade: Clip-on umbrella or a sun sail corner for midday meals.
- Weatherproofing: A small can of exterior polyurethane for the tabletop.
- Bug Defense: Citronella candle + a fan for airflow (mosquitoes hate wind).
One-Hour Setup Checklist
Because sometimes guests arrive at 6 and it’s 4:45.
- Roll out rug and place table.
- Add chairs and test spacing.
- Hang lights, pop in lanterns.
- Set plants, runner, and centerpiece.
- Lay plates, cutlery, napkins—done.
FAQ
Can I really do this for $150?
Yes, if you mix thrift finds and DIY. The biggest savers: building a simple table, buying folding chairs used, and using solar lights. Focus your cash on seating comfort and lighting—they deliver the most impact per dollar.
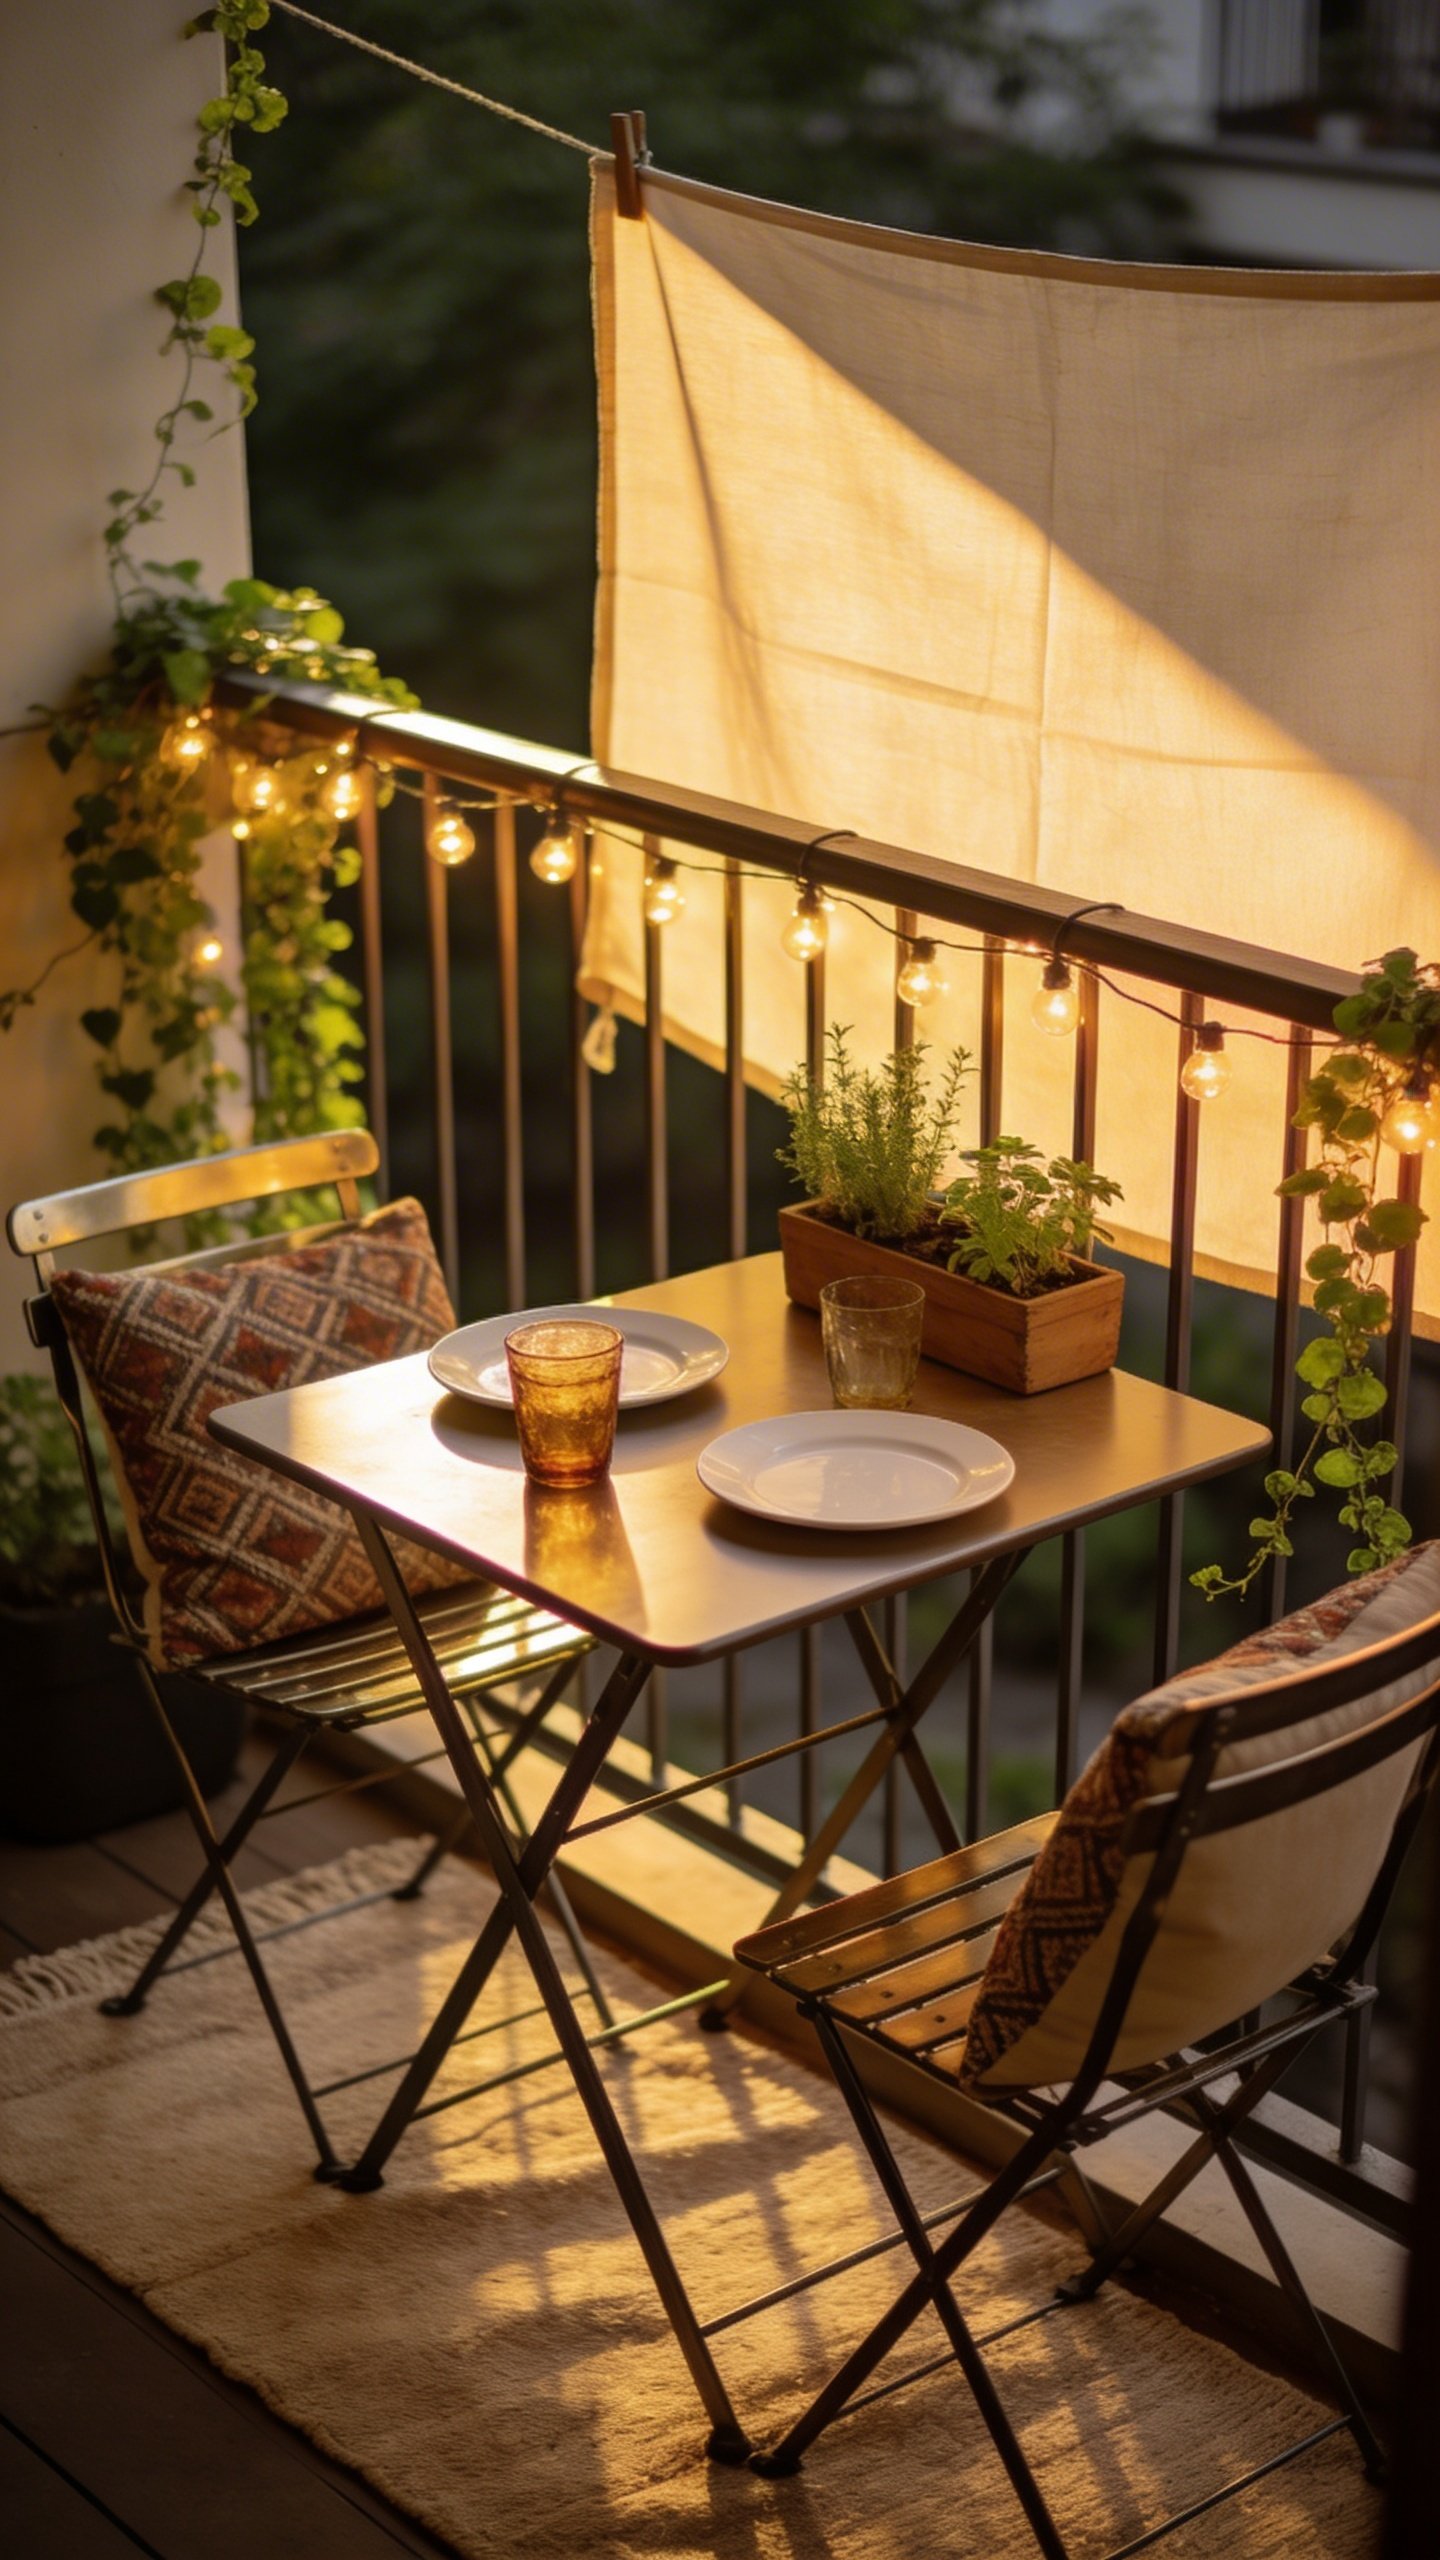
What if I only have a tiny balcony?
Scale down. Use a narrow wall-mounted drop-leaf table or a 24-inch round. Opt for two folding chairs and a 3×5 rug. Vertical plants and railing-hung lights keep the floor clear.
How do I protect everything from the weather?
Use exterior-rated paint or stain on wood, pick polypropylene rugs, and bring cushions indoors when not in use. A small storage bin or deck box saves money long-term. Quick wipe-down after rain = longer life, FYI.
What lighting works if I have zero sun for solar?
Go plug-in LED string lights rated for outdoor use and a smart plug or timer. If outlets are scarce, battery-powered puck lights in jars still add glow. Just keep spare batteries on hand.
How do I make it feel cozy at night without a fire pit?
Layer warm white lights (no cool blue), add a table lantern, and use a textured runner. Play soft music, throw a light blanket on each chair, and you’ve got instant hygge—no flames required.
Any quick decor swaps for different occasions?
Totally. Swap the runner color, change the centerpiece (citrus, eucalyptus, seasonal flowers), and rotate napkins. That’s a five-minute makeover that fools everyone into thinking you tried very hard.
Conclusion
You don’t need a sprawling patio or a designer budget to dine outdoors like a champ. With a smart plan, a DIY table, thrifted chairs, a rug to anchor it, and warm lighting, your $150 becomes a full-on mood. Invite a friend, plate something simple, and enjoy the smug satisfaction of eating al fresco in a space you created. Cheers to your new favorite “room.”