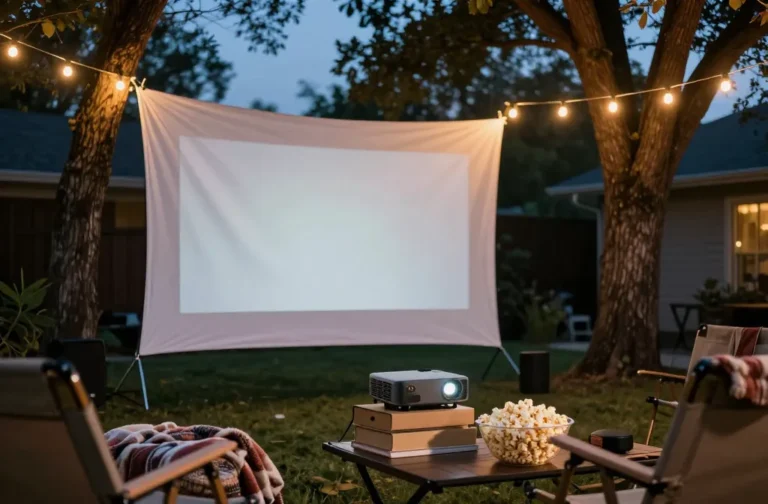
How to Create a Backyard Patio Space for Less Than $200 That Wows
You don’t need a contractor or a second mortgage to enjoy a cozy patio. With under $200 and a weekend, you can carve out a legit hangout zone that looks intentional, not “temporary camp.” We’ll prioritize comfort, weather-proof choices, and a few clever DIYs that punch way above their price tag. Ready to turn that patch of grass into your new favorite happy hour spot?
Set Your Budget Like A Pro (And Stick To It)
First, decide what matters most: seating, surface, shade, or lighting. You can’t splurge on everything under $200, so pick two to prioritize. Most bang for buck: comfortable seating and solid lighting. Those two details transform any scrappy setup into “wow, this is nice.”
Tired of snacking when you’re not even hungry? This reset helps you stop the loop and feel back in control.
A simple reset for moments when cravings take over. Easy to use, easy to repeat, and designed to help you feel satisfied instead of stuck.
Sample Budget Breakdown (Under $200)
- Seating and cushions: $70–$90 (thrift frames + new cushions or floor cushions)
- Surface: $30–$60 (pavers, gravel, or a DIY pallet deck)
- Lighting: $20–$40 (solar string lights or lanterns)
- Ambience add-ons: $10–$30 (plants, side table, outdoor rug alternative)
FYI: Prices shift by region and season, so watch for sales and snatch curbside freebies when possible. IMO, thrift stores and Facebook Marketplace are your best friends here.
Choose A Surface You Can Build In An Afternoon
Patio surfaces get expensive fast. We’re keeping this simple and level enough for chairs. You want something stable, low-maintenance, and DIY-friendly.
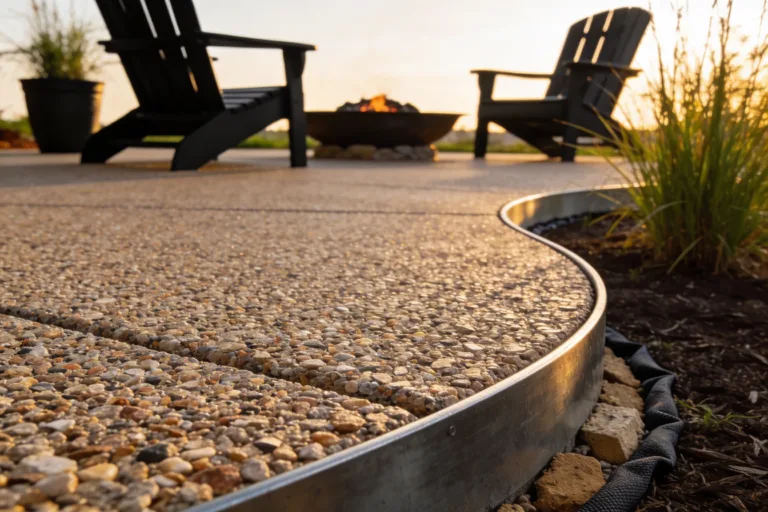
Option 1: Patio In A Bag (Gravel)
- Mark a 6×6 or 8×8 area with string.
- Scalp the grass with a shovel (or cover with landscape fabric if you’re not digging).
- Lay landscape fabric ($10–$15) to block weeds.
- Pour pea gravel or decomposed granite ($30–$50, depending on bags/yardage).
- Tamp it down with a scrap 2×4 or rental hand tamper.
Pros: Fast, cheap, drains well. Cons: Not ideal for wheeled furniture, and heels sink (sorry, stilettos).
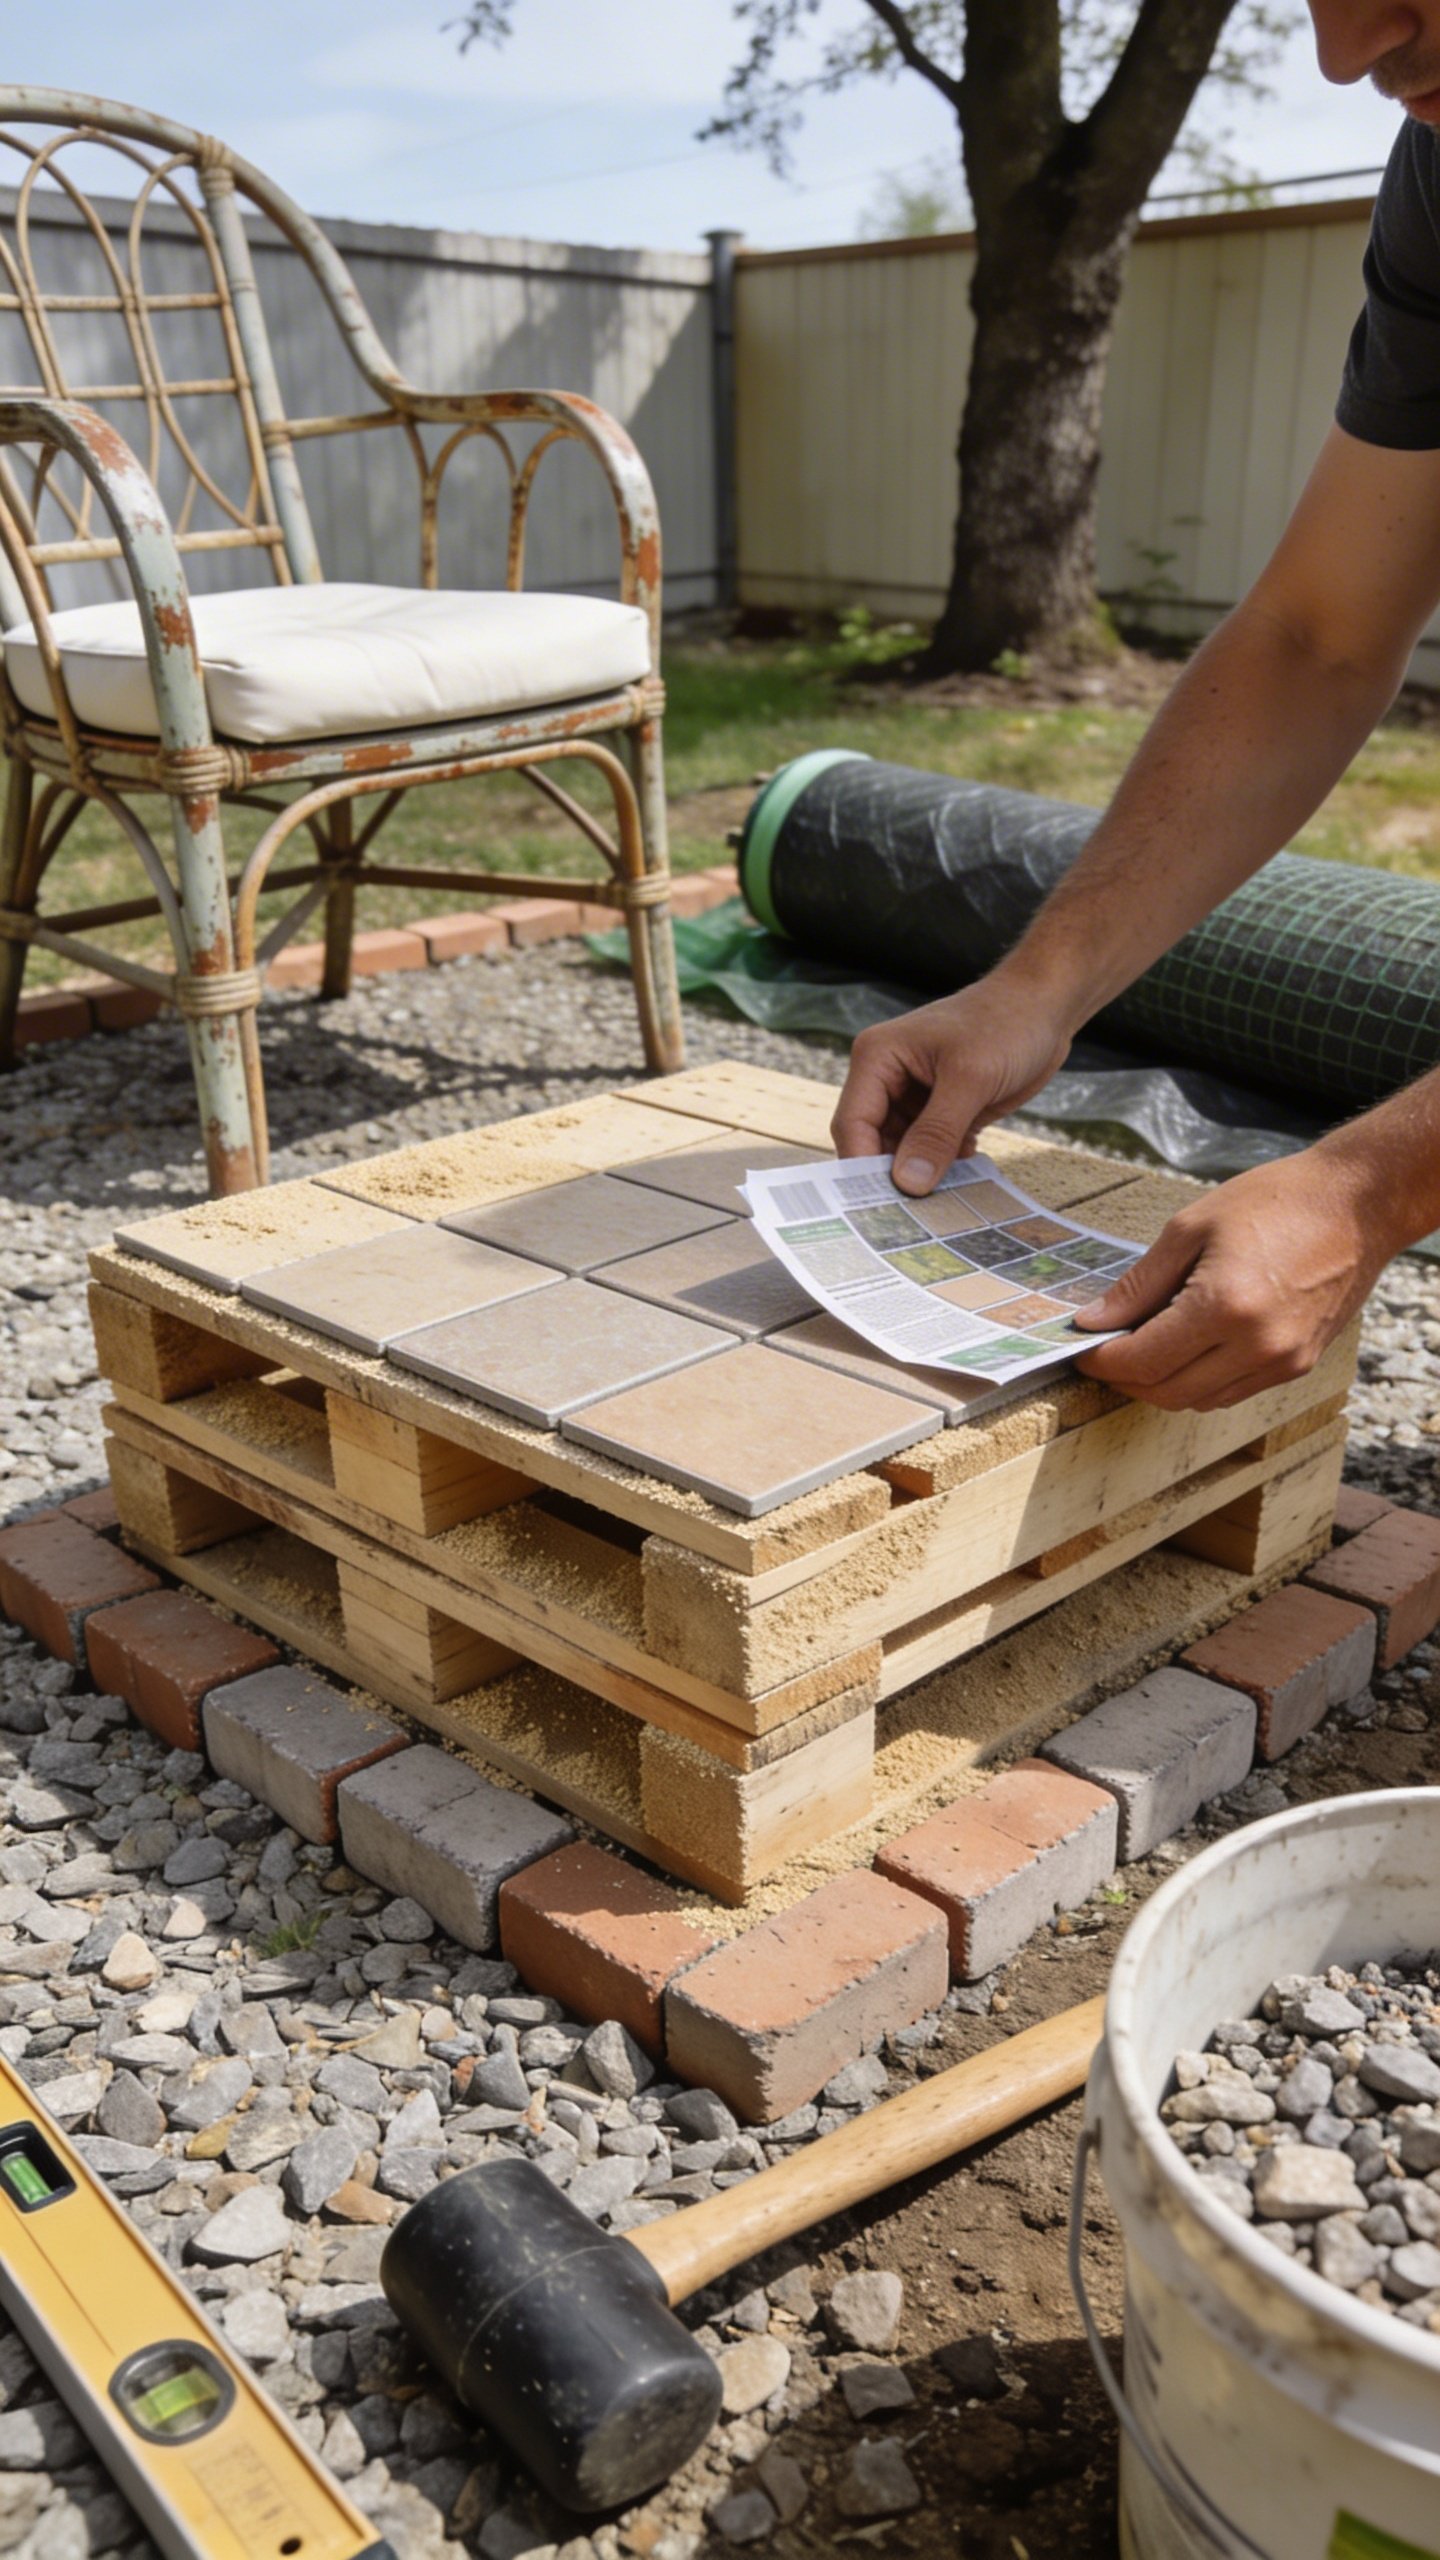
Option 2: Mismatched Pavers, Matched Vibe
- Hunt clearance pavers or broken concrete (“urbanite”)—often free.
- Lay them on a thin sand layer, leave small gaps, and fill with gravel or groundcover.
- Keep the pattern simple: grid or staggered brick. Don’t overthink it.
Pros: More polished look. Cons: Slightly more labor, but worth it if you score free pavers.
Transform Your Home With 7,250+ Stunning Landscaping Designs—No Expensive Designers Needed!
- 🌿 Access 7,250+ stunning landscaping designs.
- 💰 Save thousands—no pro designer needed.
- 🏡 Plans for gardens, patios, walkways, and more.
- ✨ Simple, beginner-friendly DIY layouts.
- 🛠️ Customize any design to fit your yard.
Option 3: Pallet Deck Shortcut
- Source two to four heat-treated pallets (look for “HT” stamp) for free or cheap.
- Level the ground with scrap bricks or pavers under the corners.
- Top with a low-cost outdoor mat or rug alternative (see below).
Pros: Fast, raised feel. Cons: Needs weather protection and careful inspection for splinters.
Seating: Comfort Over Everything
You’ll use the space if it feels good to sit in. Hard stop. Skip flimsy new sets and go for sturdy thrifted frames or DIY crates with cushions.
Thrift And Flip Strategy
- Look for metal or solid wood outdoor chairs with intact frames ($10–$20 each).
- Clean with vinegar + water, then spray with rust-resistant paint ($6–$8/can).
- Add new cushions or floor pillows ($12–$25 each) for comfort and color.
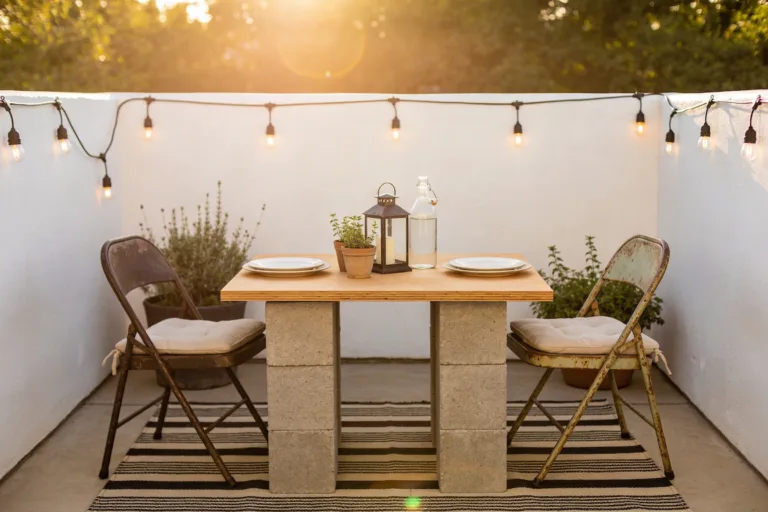
DIY Milk Crate Or Cinder Block Seating
- Stack 2–3 milk crates and zip-tie together; add a cushion on top.
- Cinder blocks + 2x4s make a bench; sand edges and add outdoor pillows.
Pro tip: Choose two chairs and a shared stool over a bulky loveseat. It feels airier and costs less.
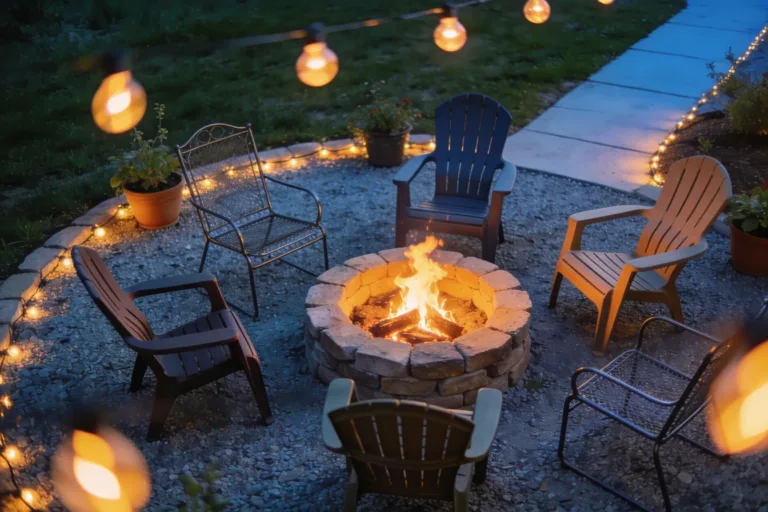
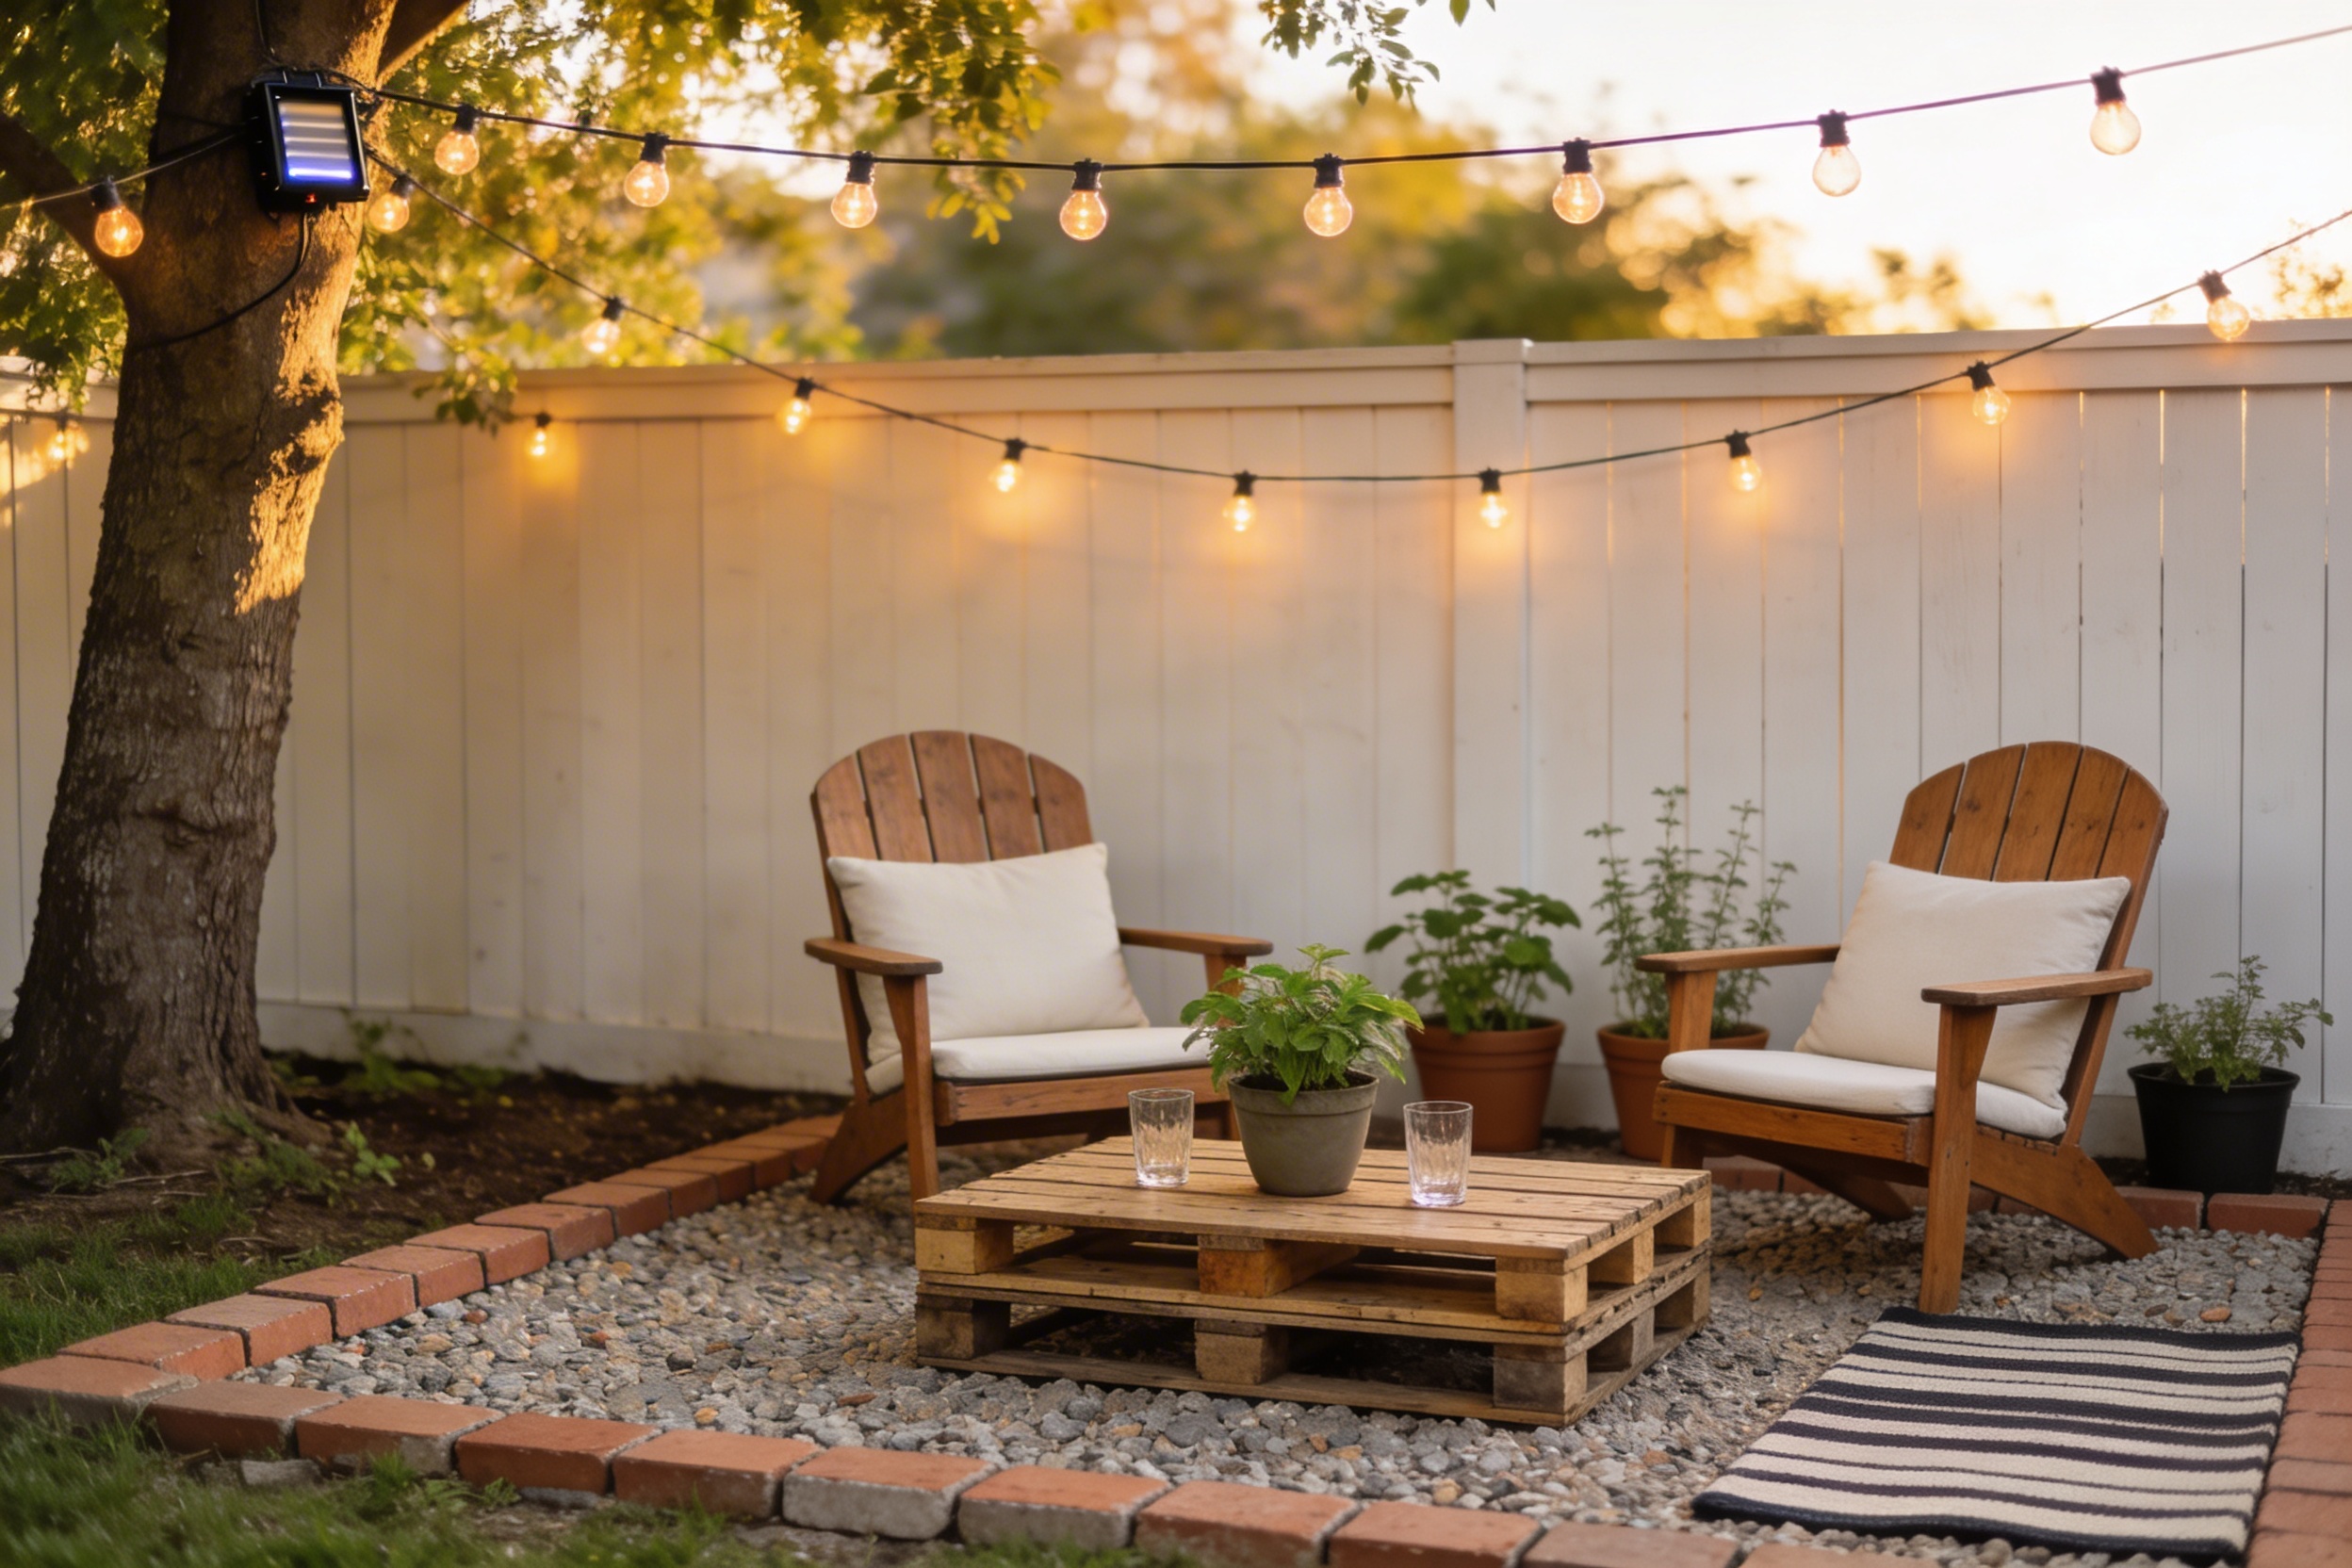
Light It Like You Meant It
Good lighting makes budget setups feel expensive. Plus, you’ll actually use the space at night.
Affordable Lighting That Slaps
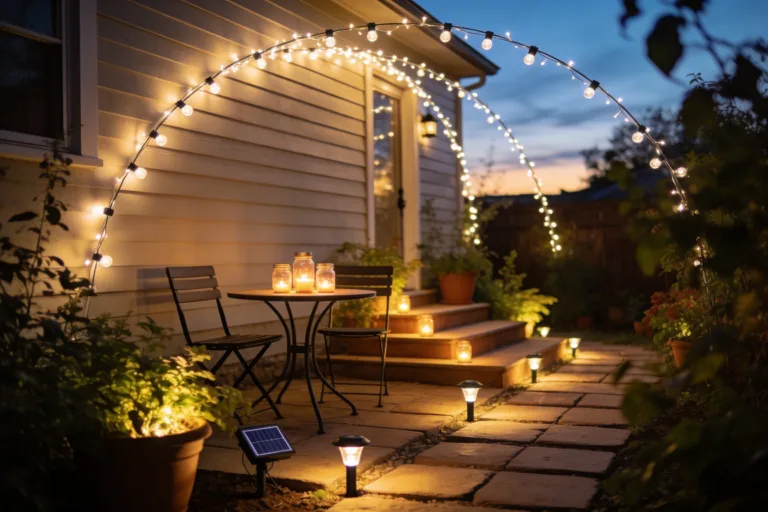
- Solar string lights ($15–$30): Drape from fence posts, trees, or DIY poles in planters filled with gravel.
- Solar lanterns ($10–$20): Cluster three for a cozy glow.
- LED puck lights with velcro ($10): Stick under a side table for mood lighting.
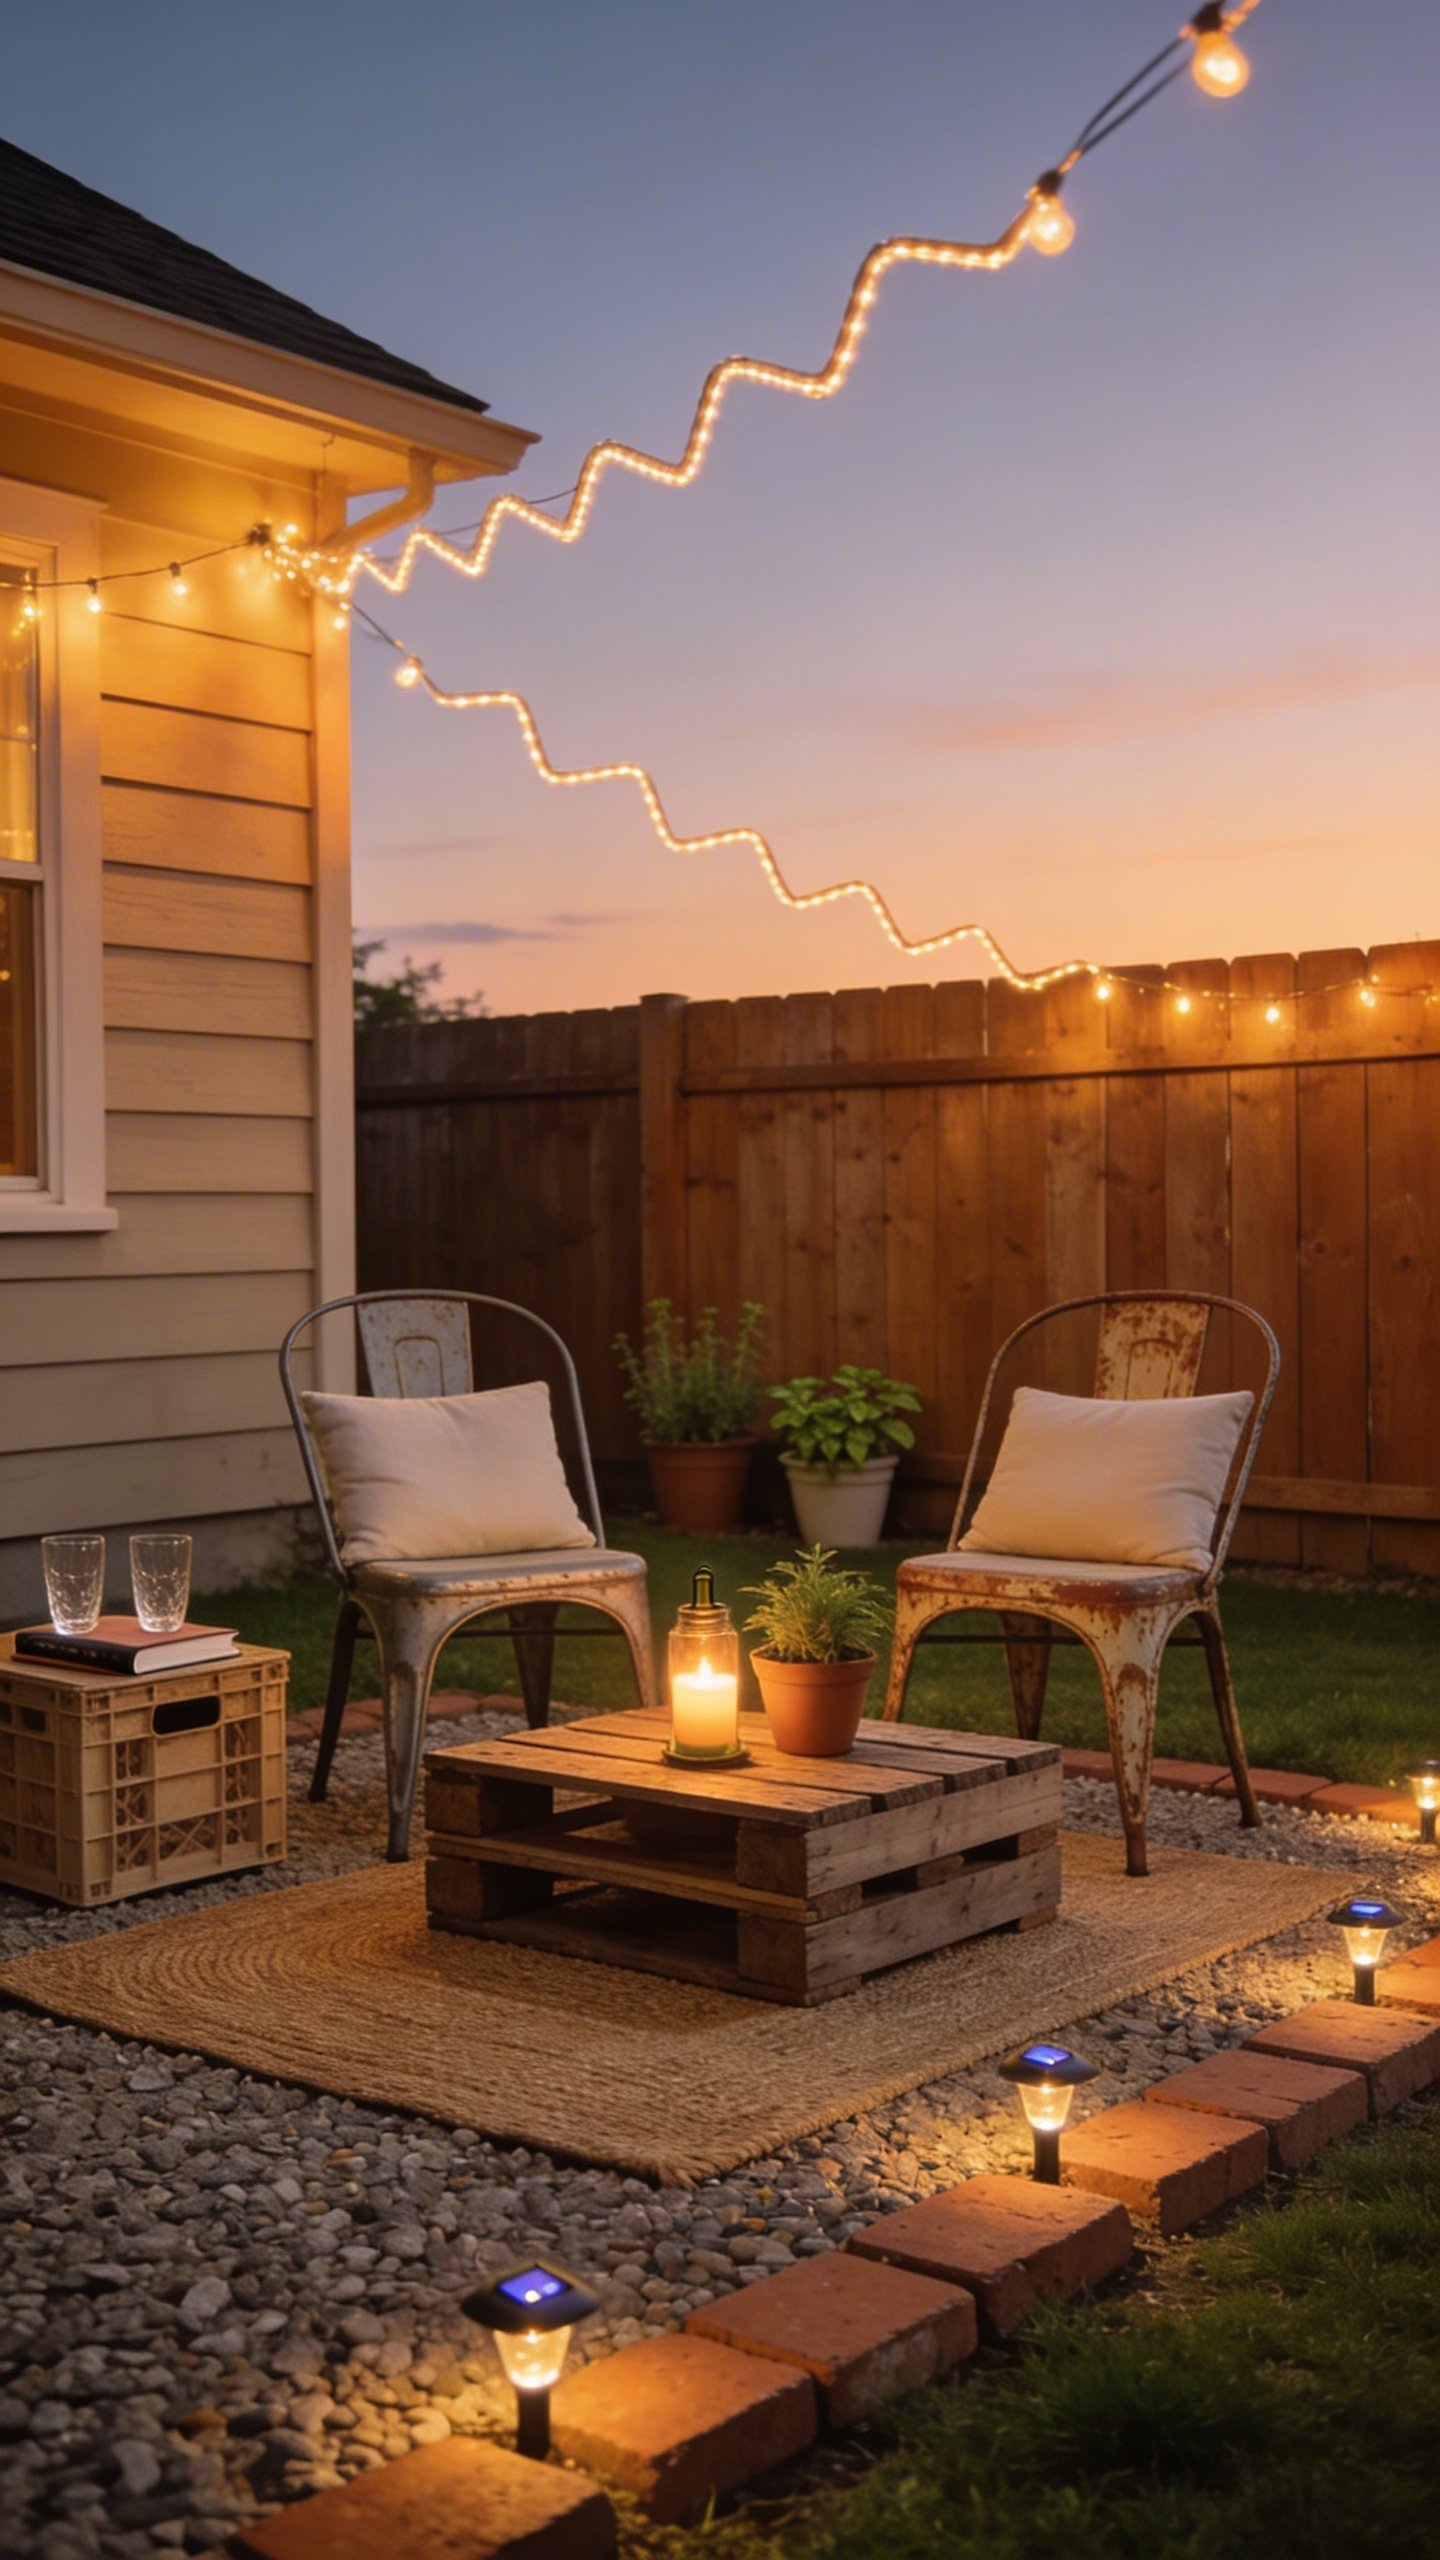
Mount posts by filling a bucket or large planter with gravel and a 6–8 ft wooden stake. Instant light poles, no digging required.
Tables, Rugs, And Decor Without The Price Tag
Here’s where style shows up. You don’t need a catalog look—just a few textures and a place to set your drink. Priorities.
Side Table Hacks
- Upside-down planter + round tray = chic side table.
- Stack two crates and zip-tie them; add a placemat as a top.
- Thrift store stool with a coat of exterior paint.
Rug Alternatives That Survive Weather
- Vinyl tablecloth clipped to a grippy rug pad.
- Outdoor mat from a discount store ($10–$20).
- Paint a “rug” on plywood with exterior paint and sealant if you’re feeling artsy.
Greenery And Finishing Touches
- Use free cuttings from neighbors: spider plants, succulents, mint (it spreads like gossip).
- Hide eyesores with a reclaimed wood screen or a painted pallet leaned against the fence.
- Add a throw blanket and 1–2 patterned cushions. That’s all you need.

Shade And Privacy On The Cheap

You’ll linger longer if you don’t feel like a lizard on a hot rock. Create shade and privacy with simple, low-cost moves.
Fast Shade Options
- Café umbrella from a discount store or Marketplace ($15–$30 used).
- Tension a canvas drop cloth between trees or posts with paracord.
- Clip a beach umbrella to a heavy planter. Surprisingly effective.
Privacy Without Building A Fence
- Bamboo reed roll zip-tied to an existing fence.
- Planter screen: three tall planters with grasses create an instant soft wall.
- Pallet backdrop + climbing vine (morning glory, jasmine). Looks intentional, costs peanuts.
Maintenance Moves That Save You Money Later
A tiny bit of upkeep keeps everything looking fresh. And no, it won’t eat your Sunday.
- Spray cushions with fabric water repellent to extend their life.
- Sweep gravel or pavers weekly to dodge weed creep.
- Store pillows in a tote between uses to avoid sun fade and surprise raccoon naps.
- Recoat wood surfaces with exterior sealant at season start (IMO, totally worth it).
FAQ
Can I really do this under $200 if prices near me are high?
Yes, but you’ll lean harder on secondhand finds and free materials. Focus on free or cheap surfaces (gravel, broken pavers), thrift your seating frames, and buy new only where comfort matters (cushions, lighting). Hunt neighborhood groups, curb alerts, and reuse stores—and be patient for a week or two.
What if I rent and can’t dig or alter the yard?
Build a floating surface with pallets or lay an outdoor mat on grass. Use planter-filled posts for string lights and a freestanding umbrella for shade. Everything stays removable, your deposit stays safe, and your patio still looks legit.
How big should my patio area be?
For two people, a 6×6 zone fits chairs and a side table. For four, aim for 8×8. Keep traffic flow in mind—leave 24–30 inches to slide chairs back without mowing the lawn with your calves.
What’s the cheapest seating that doesn’t feel flimsy?
Thrifted metal chairs with fresh paint win every time. Add thicker cushions and you’ll forget they cost less than takeout. If you DIY, cinder block and 2×4 benches feel solid, look modern, and can handle weather.
How do I keep it from looking “temporary?”
Repeat colors and materials. For example, match black metal chairs with black lanterns and a black planter, or echo a terracotta planter with warm-toned cushions and a wood tray. Add one vertical element (screen, tall plant, or light pole) to anchor the space.
Any quick safety tips?
Secure string lights properly, keep walkways level, and check pallets for protruding nails or splinters. If you use candles, keep them in lanterns or switch to LED. Also, don’t block exterior doors or hose bibs—you’ll thank yourself later.
Conclusion
You don’t need perfect pavers or a designer set to create a backyard hangout you love. With a stable surface, comfy seating, smart lighting, and a few clever DIYs, you’ll crank out a patio for under $200 that looks curated, not cheap. Start small, use what you have, and upgrade over time. Your future self—iced drink in hand—approves.