How to Build a Diy Fire Pit Seating Area for Under $120 Tonight
Ready to turn your backyard into the chill hangout spot your friends won’t shut up about? You don’t need a contractor or a trust fund. With a free weekend, some thriftiness, and a few clever hacks, you can build a cozy, sturdy fire pit seating area for under $120. Let’s keep it simple, safe, and ridiculously satisfying.
Plan The Vibe (And The Budget)
You don’t need blueprints—just a game plan. Pick a flat, open area with at least 10 feet of clearance from structures and trees. Check local rules about open flames—annoying, yes, but necessary.
Budget breakdown (target: $120 or less):
Tired of snacking when you’re not even hungry? This reset helps you stop the loop and feel back in control.
A simple reset for moments when cravings take over. Easy to use, easy to repeat, and designed to help you feel satisfied instead of stuck.
- Fire pit ring or pavers/bricks: $45–$60 (watch for sales or marketplace finds)
- Gravel base: $20–$30 (about 5–6 bags of pea gravel or crushed granite)
- Weed barrier or heavy-duty landscape fabric: $10–$15
- Seating: $0–$30 (DIY log rounds, cinder blocks + 2x4s, or FB Marketplace chairs)
- Extras (optional): $10 (sand for leveling, stakes, or a can of heat-resistant paint)
FYI: If you score secondhand bricks or chairs, you’ll come in well under $120. IMO, spend on gravel—comfort and drainage matter.
Pick The Perfect Spot (Safety First, But Make It Cute)
Choose a spot with a natural “room” feel—edges of a yard, near a fence line (but keep clearance), or under open sky for smoke to rise. Avoid overhanging limbs, dry brush, and vinyl siding (melts fast and looks tragic).
Spacing And Layout Tips
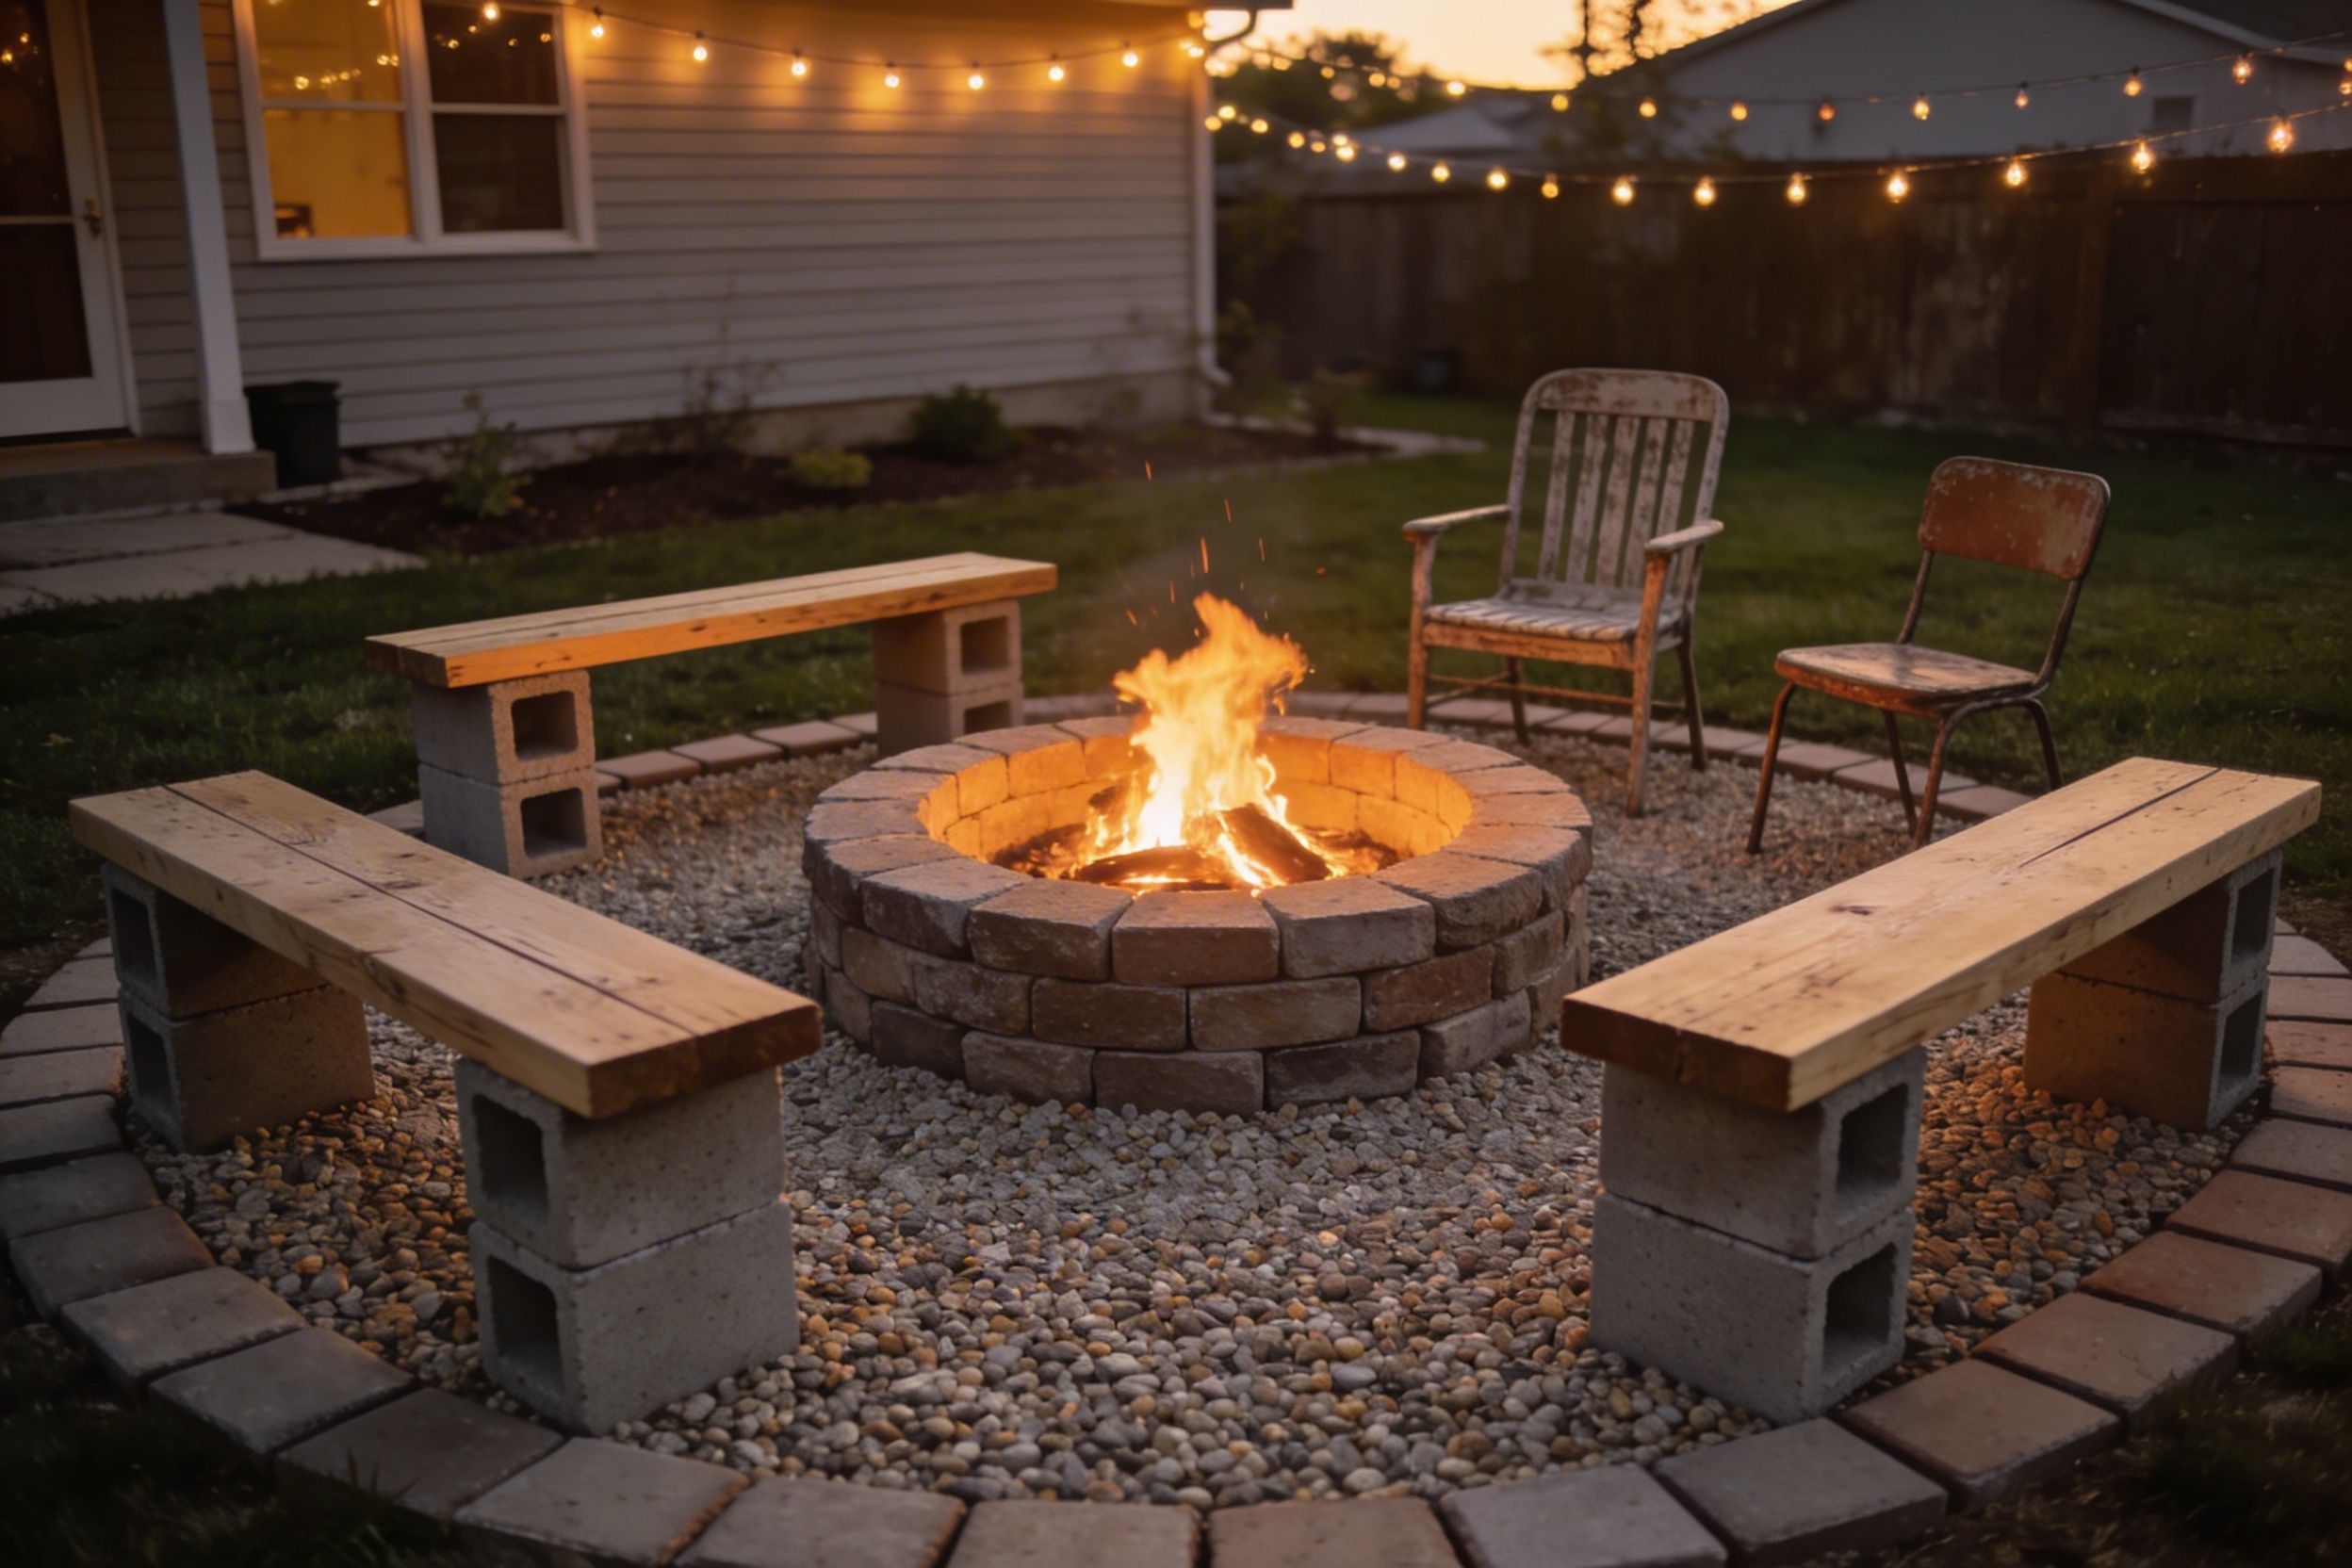
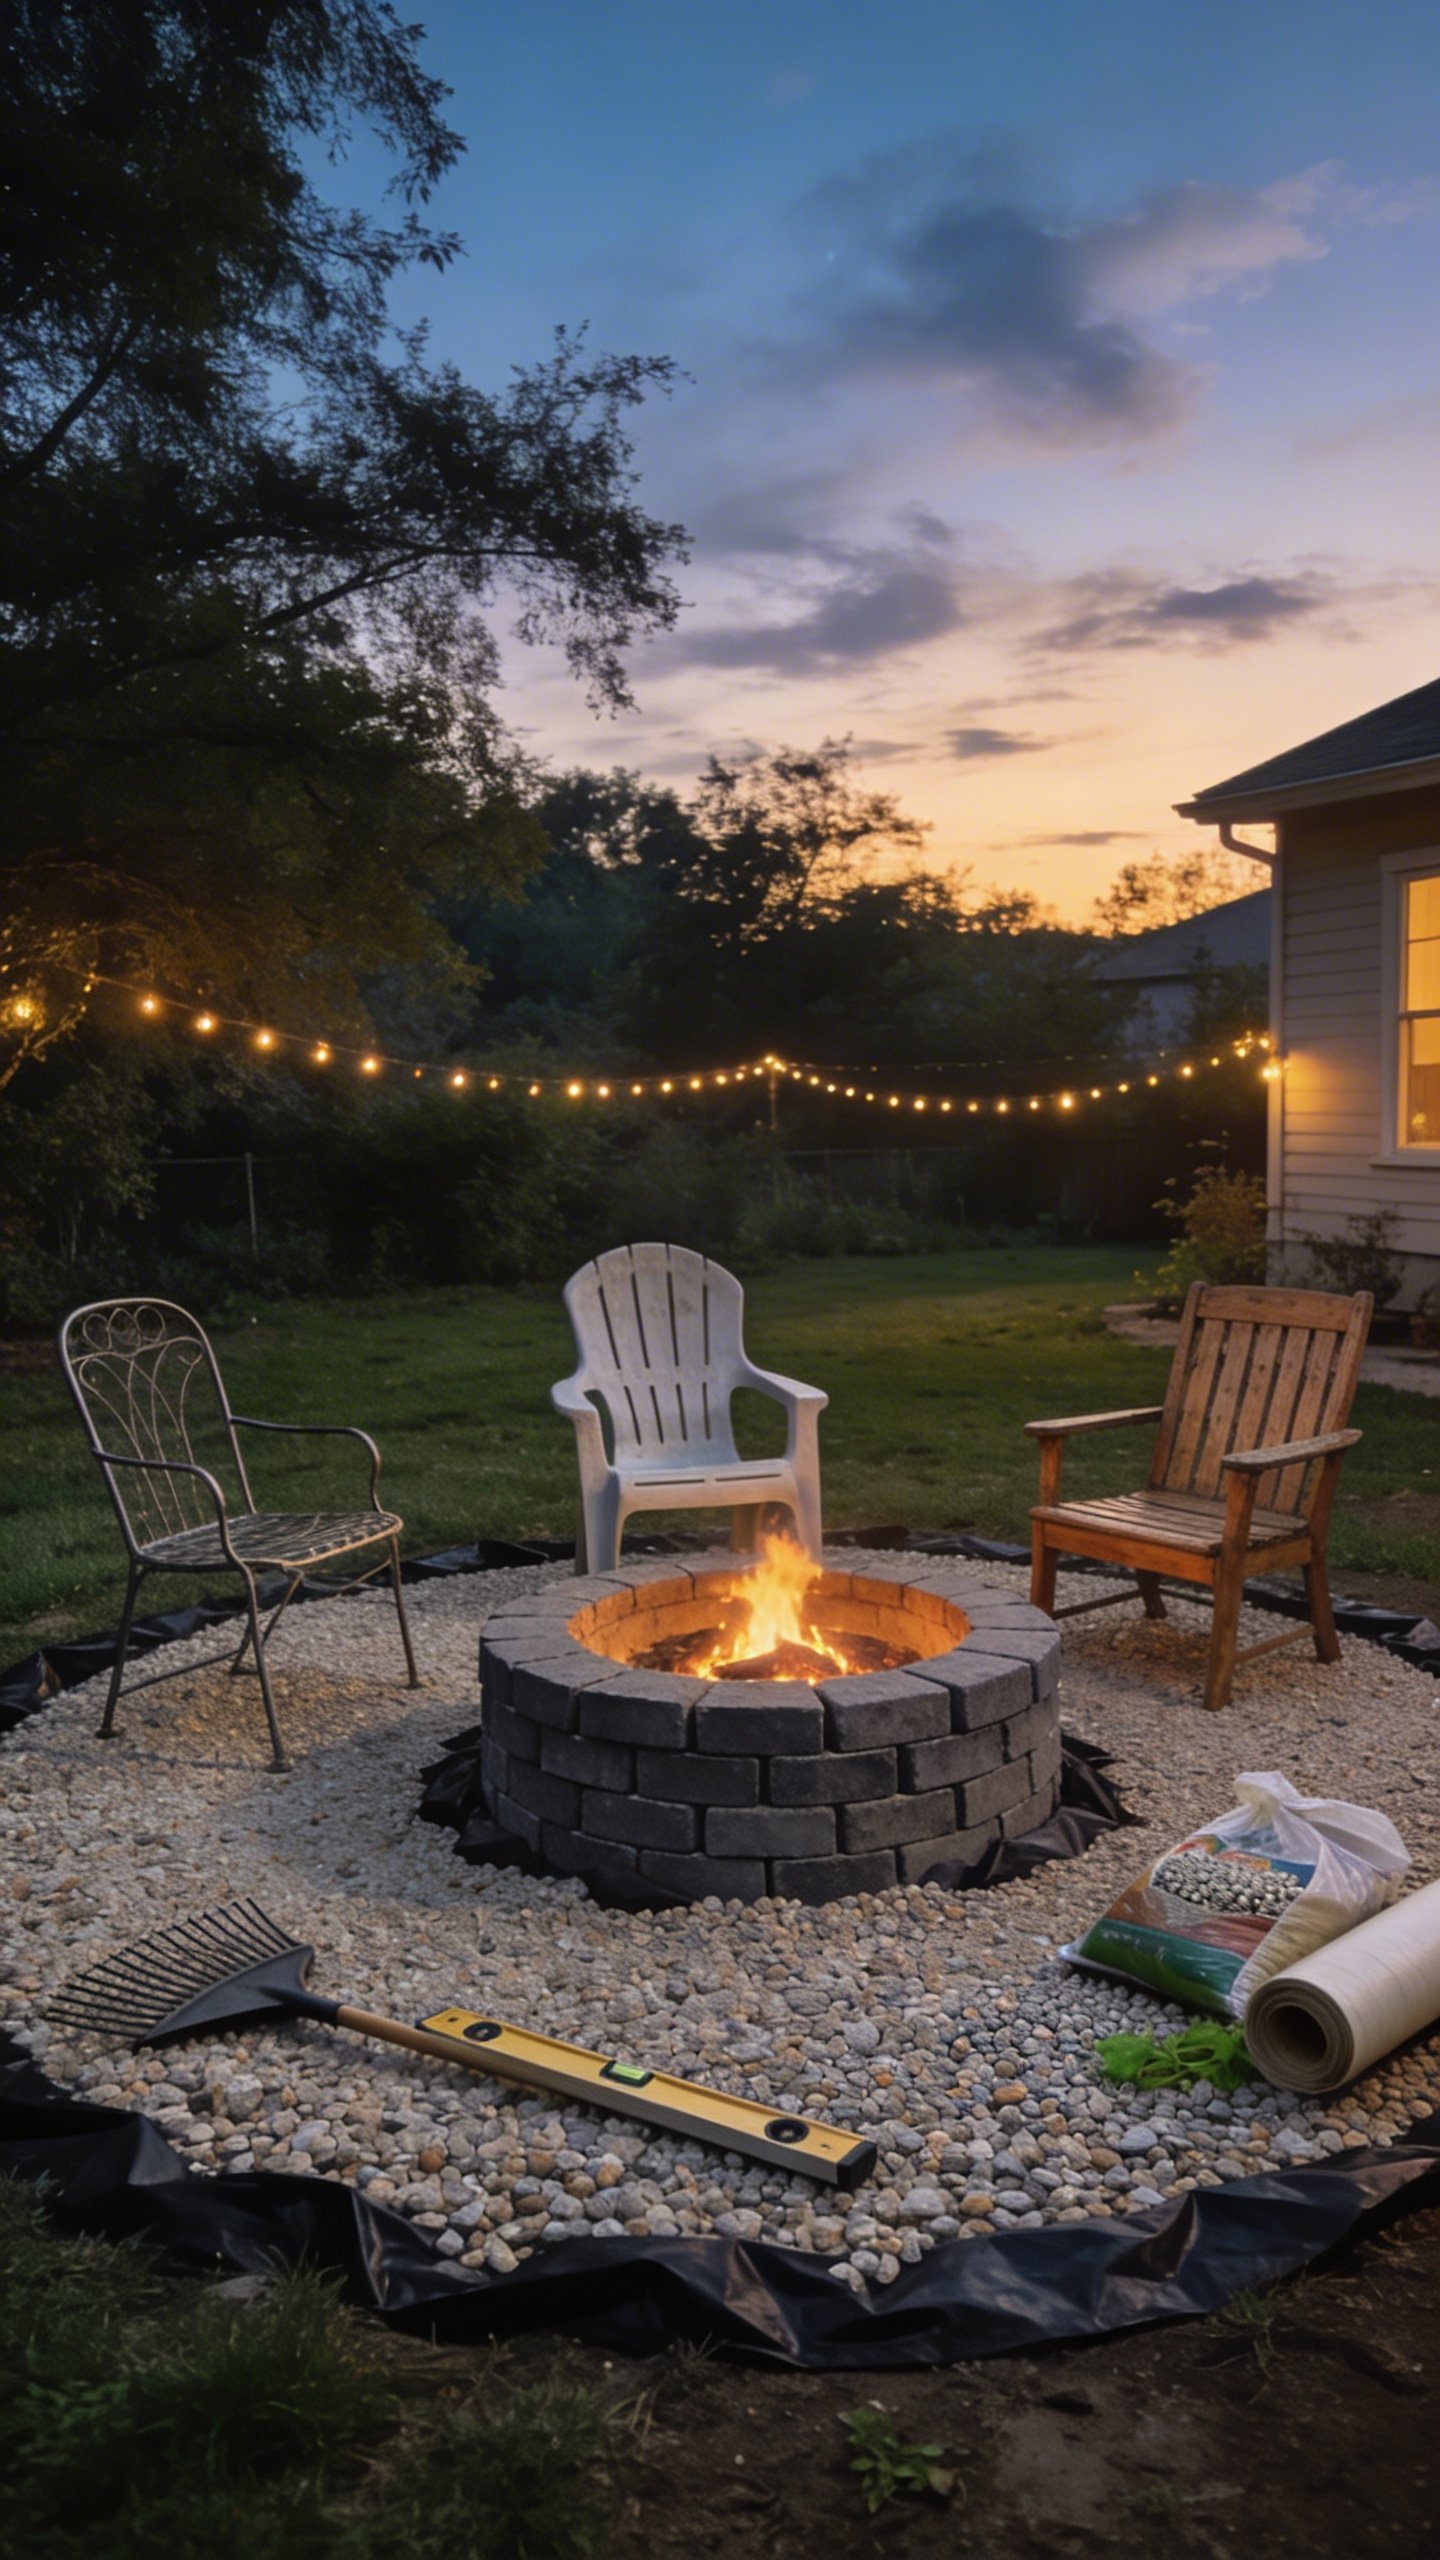
- Fire pit: 30–36 inches inner diameter works great.
- Seating ring: 5–6 feet from the pit’s center gives leg room without roasting.
- Walk path: Leave one open “entry” arc for easy in/out.
Materials That Look Good And Survive The Heat
Fire pit options (budget-friendly):
- Metal fire ring: Often $35–$50 at big-box stores. Easy and durable.
- Concrete blocks or pavers: Stack 2–3 courses high; choose flat sides for stability.
- Repurpose: Old wheel rim or drum (clean and use heat-safe paint). Only if solid steel.
Ground cover:
Transform Your Home With 7,250+ Stunning Landscaping Designs—No Expensive Designers Needed!
- 🌿 Access 7,250+ stunning landscaping designs.
- 💰 Save thousands—no pro designer needed.
- 🏡 Plans for gardens, patios, walkways, and more.
- ✨ Simple, beginner-friendly DIY layouts.
- 🛠️ Customize any design to fit your yard.
- Pea gravel for comfort underfoot
- Crushed granite for a firmer, upscale look
Skip mulch (ignites) and regular lawn (gets torched and muddy).
Build The Base Like A Pro (Without Acting Like One)
We’re going for simple, sturdy, and level. No concrete, no drama.
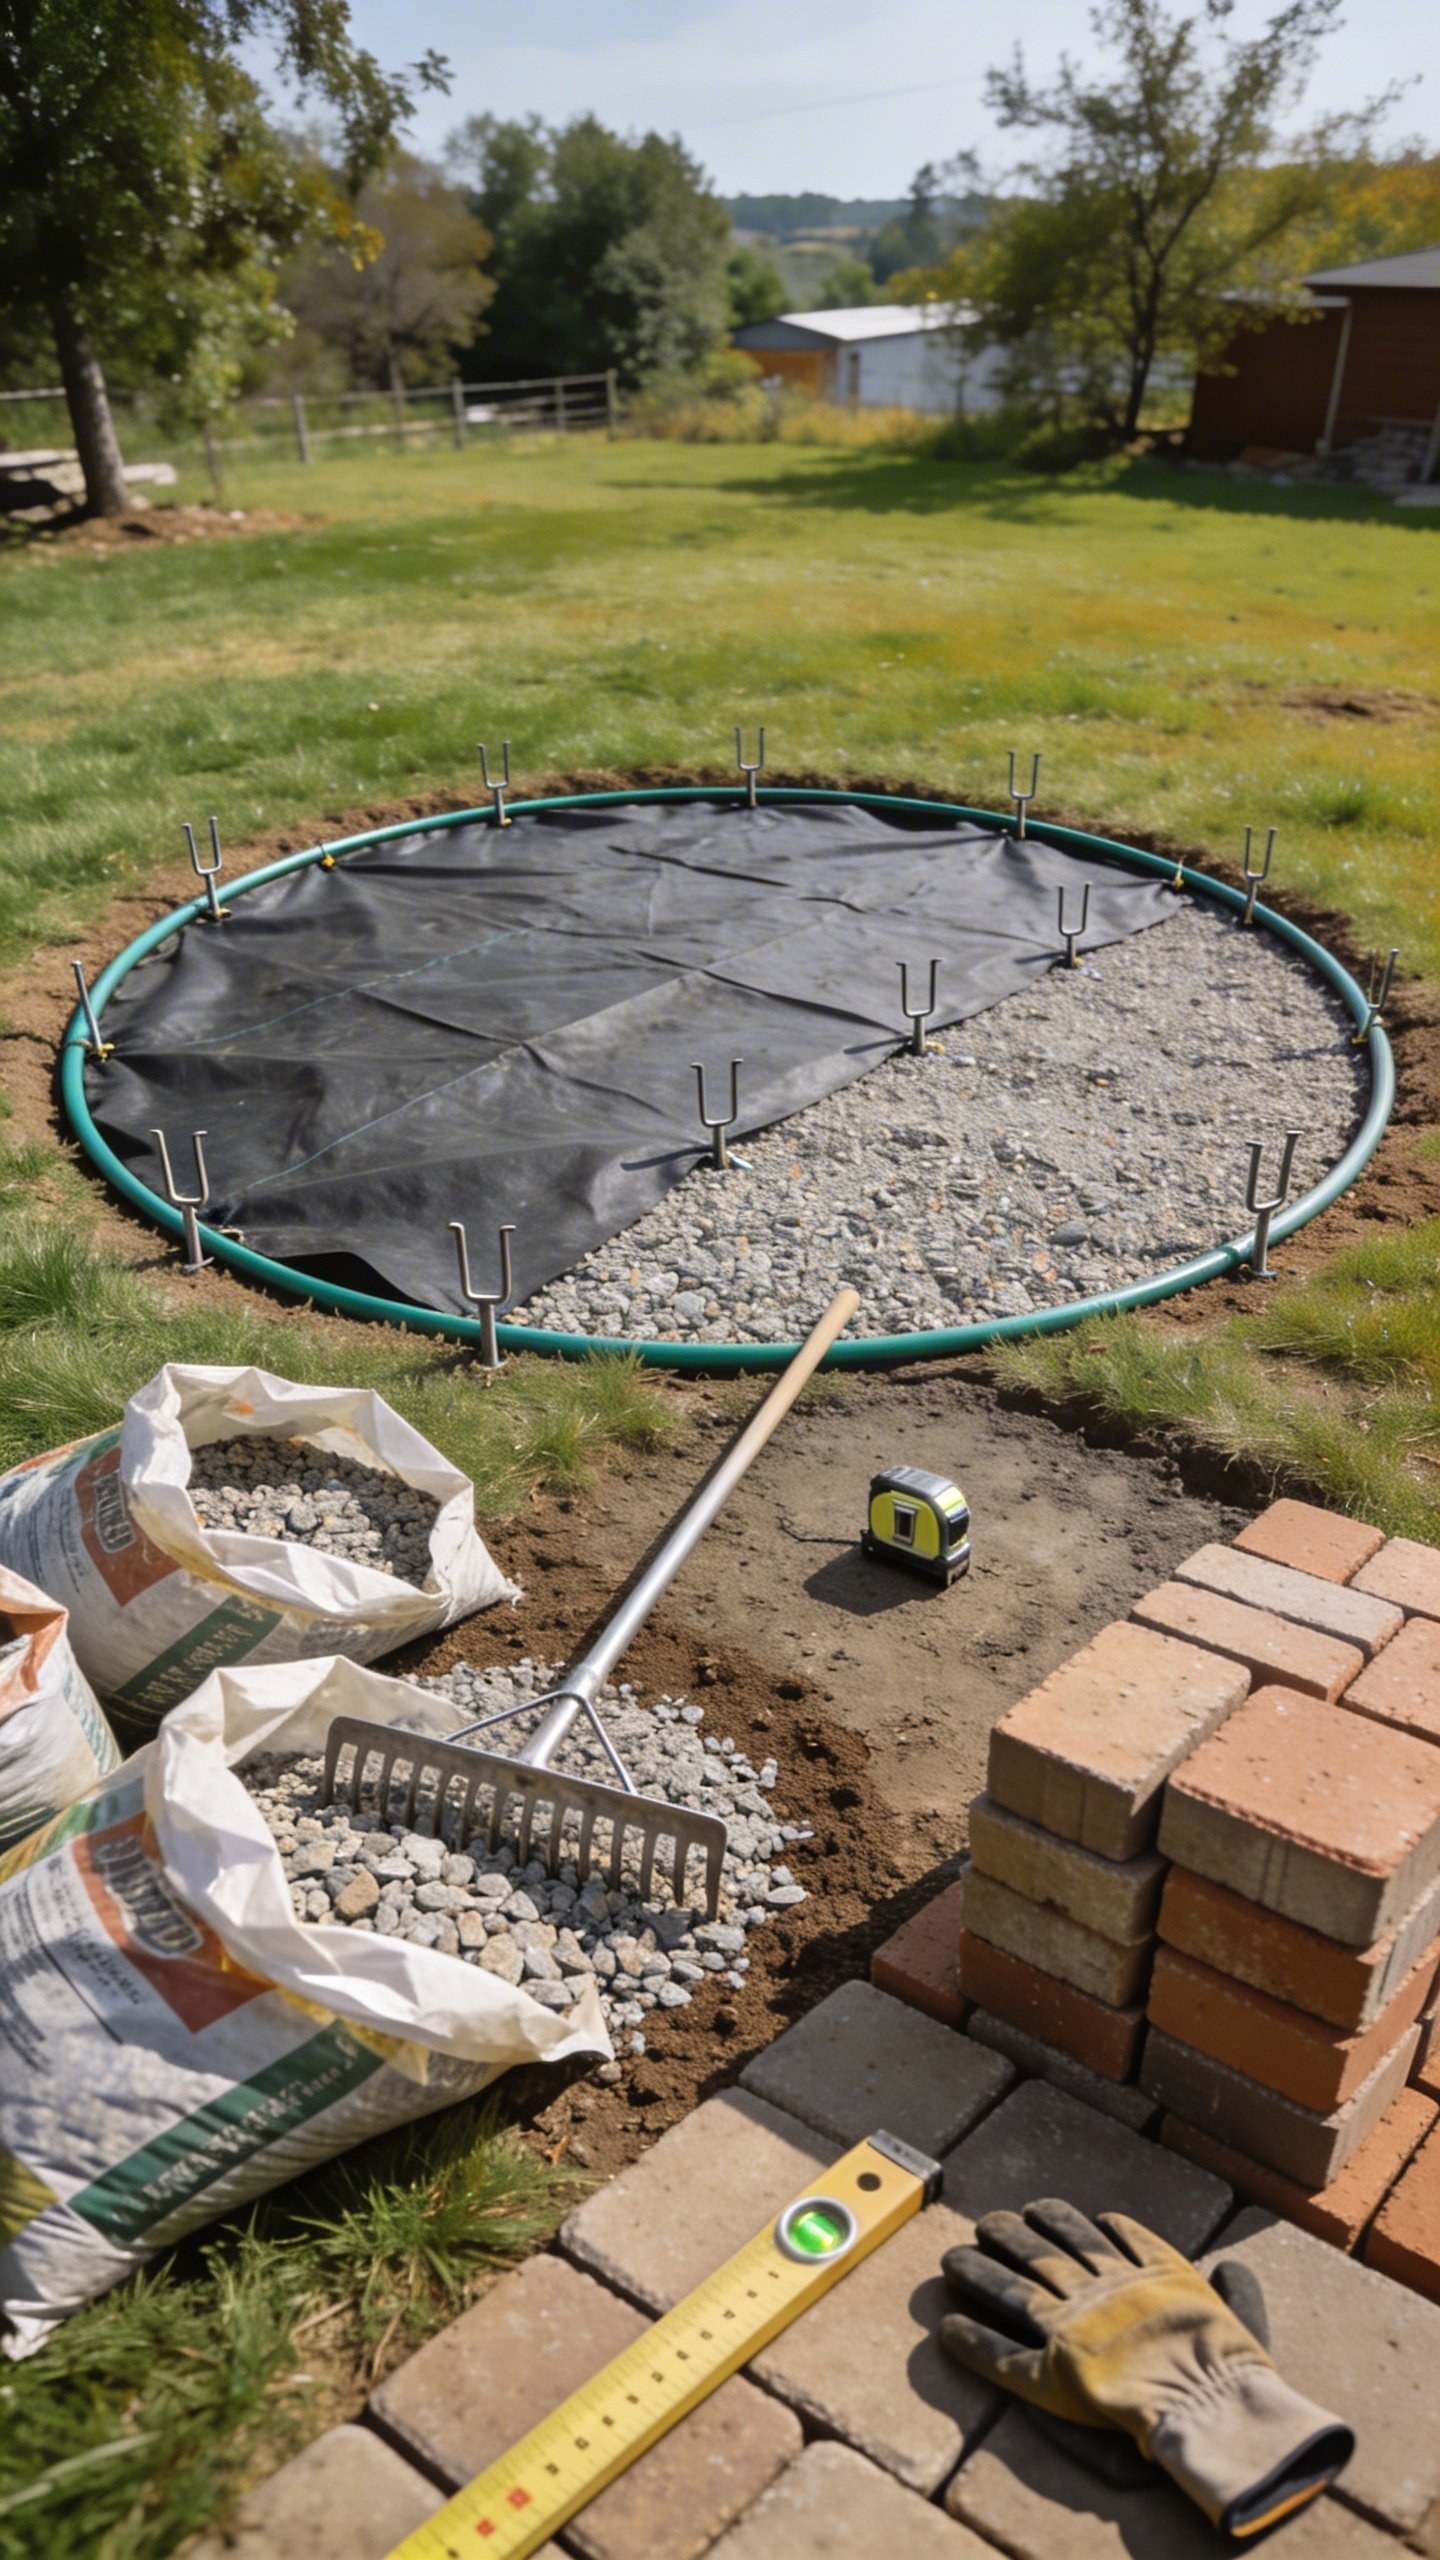
- Mark your circle. Use a stake and string to trace a 7–8 ft diameter circle for the seating area. Spray paint or flour works great.
- Remove grass. Cut and lift sod 2 inches deep. Toss it on a tarp or into a low spot elsewhere.
- Compact the soil. Stomp it flat or use a hand tamper ($10–$15 to buy, cheaper to borrow).
- Lay weed barrier. Overlap edges by 6 inches to keep gravel from disappearing into the earth.
- Pour gravel. Spread 1.5–2 inches of pea gravel. Rake it level and tamp lightly. Add another thin layer if needed.
Pro-Level Leveling (Fast)
Use a 2×4 and a small level across the surface. If it’s off, shim with gravel. You want slightly higher edges than center so rain drains away from the pit.
Assemble The Fire Pit
If you’ve got a metal ring, place it first and build blocks around it. If you’re going all-block:
- Dry fit the first ring. Make a 30–36 inch inner circle. Keep gaps tight.
- Check for level. Tap high blocks down with a mallet. Shim low spots with sand.
- Stack 2–3 courses. Stagger seams like bricks. No adhesive needed, but high-heat construction adhesive on the top course adds stability.
- Fill bottom. Add 1–2 inches of sand or pea gravel inside to protect blocks and improve drainage.
Want it fancy? Cap the top with flat pavers for a clean look. Still budget-friendly if you shop clearance.

Seating That Doesn’t Blow The Budget

You don’t need Adirondacks to vibe. Try these hacks:
- Cinder blocks + 2×4 benches: Two towers of blocks on each end, slide 2x4s through, instant bench. Sand edges smooth. Optional: stain or seal.
- Log rounds: Check tree services for free cut rounds. Sand the tops and seal.
- Marketplace rescue: Spray-paint mismatched metal chairs matte black for the “I paid more than I did” look.
Comfort Boosters
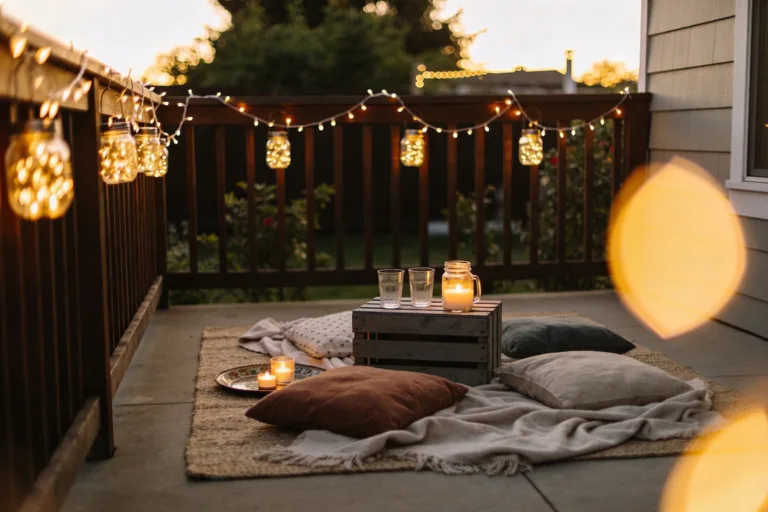
- Outdoor cushions or folded blankets (bring them inside after use)
- Side stump tables for drinks and s’mores kits
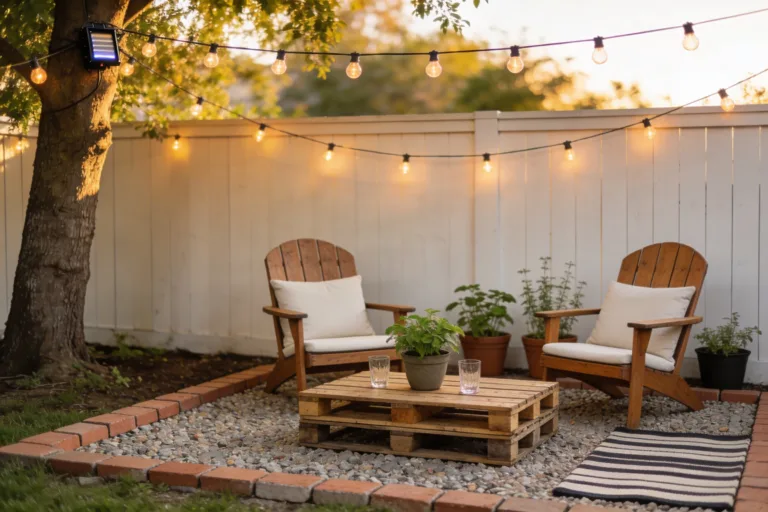
- Low solar path lights to define the area
Make It Safe (So You Can Actually Relax)
Strong opinions incoming: skipping safety ruins the fun. Do these:
- Keep a bucket of water or sand within arm’s reach.
- Use seasoned firewood only. No treated lumber, no pallets with nails.
- Start small. Build a modest flame and feed it slowly.
- Wind watch. Avoid lighting up on gusty nights.
- Never leave it unattended. Obvious, but here we are.
Style It Without Spending More
Little touches make it feel high-end without destroying the budget.
- Gravel border: Define the circle with a contrasting ring of darker stone.
- Found objects: Old terracotta pots + hardy herbs = instant Mediterranean vibe.
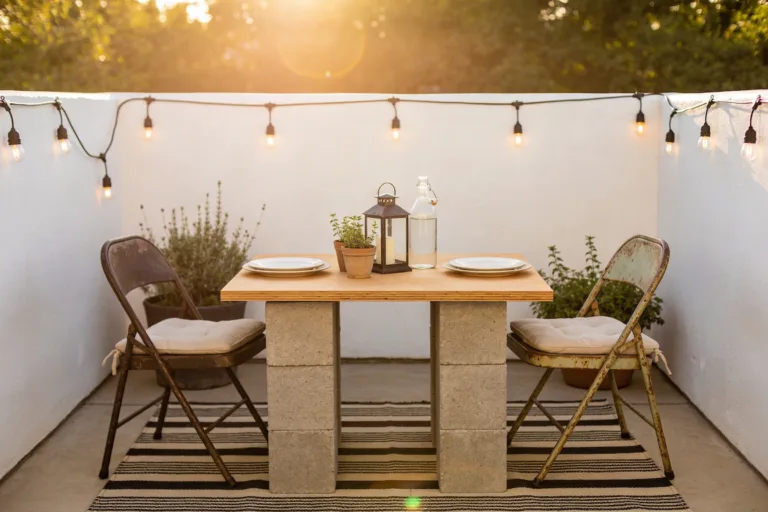
- String lights: Drape along a fence or between two shepherd’s hooks.
- Heat-resistant paint: Freshen a metal ring with matte black for $6–$8.
Quick Maintenance Routine
- Rake gravel monthly to keep it level.
- Empty ash into a metal bin after it cools fully (24–48 hours).
- Check block stability each season and re-level if needed.
Sample Shopping List (Under $120, Realistic)
Big-box run + secondhand finds:
- 6 bags pea gravel: $24
- Landscape fabric: $12
- Concrete blocks (18–24 pieces): $40–$55 if on sale or reclaimed
- Sand (2 bags): $6
- Seating hack: Two cinder block towers + two 2x4s: $18–$24
- Optional spray paint: $6–$8
Total: $106–$125 depending on local prices and your haggling skills. Scavenge bricks or chairs and you’ll beat $100 easily.
FAQs
Do I need a metal fire ring or can I go all-brick?
Both work. A metal ring protects the inner wall from direct flame and helps the pit last longer. If you skip the ring, use dense concrete blocks or fire-rated bricks and keep fires moderate. You’ll still get plenty of cozy nights.
How big should my fire pit be?
Aim for a 30–36 inch inner diameter. That size throws good heat, fits standard grates, and doesn’t hog your yard. Bigger pits eat more wood and budget with zero extra chill.
Can I build this on a slight slope?
Yes, but level the pit area. Carve out the high side a couple inches, tamp the soil, and use sand under blocks to fine-tune. Your benches won’t feel like amusement park rides, which is nice.
What’s the best gravel for the seating area?
Pea gravel feels best underfoot and looks clean. Crushed granite compacts firmer and stays put longer. Either beats mulch by a mile for fire safety and maintenance, IMO.
How do I keep weeds from popping through?
Lay landscape fabric with 6-inch overlaps and pin it down if you can. Keep your gravel at least 1.5 inches deep. If a heroic dandelion breaks through, a quick hand pull does the trick.
Is smoke going to chase me around all night?
A little, because science. Dry firewood, smaller flames, and steady airflow help a ton. Sit a bit upwind, and don’t smother the fire—give it oxygen so it burns cleaner.
Wrap It Up And Light It Up
There you go: a simple, stylish fire pit seating area that doesn’t crush your wallet or your weekend. You planned smart, built solid, and kept it safe—now cue the s’mores and questionable acoustic covers. Keep the upgrades rolling as you find deals, but enjoy it now. Backyard bliss for under $120? Absolutely nailed it.