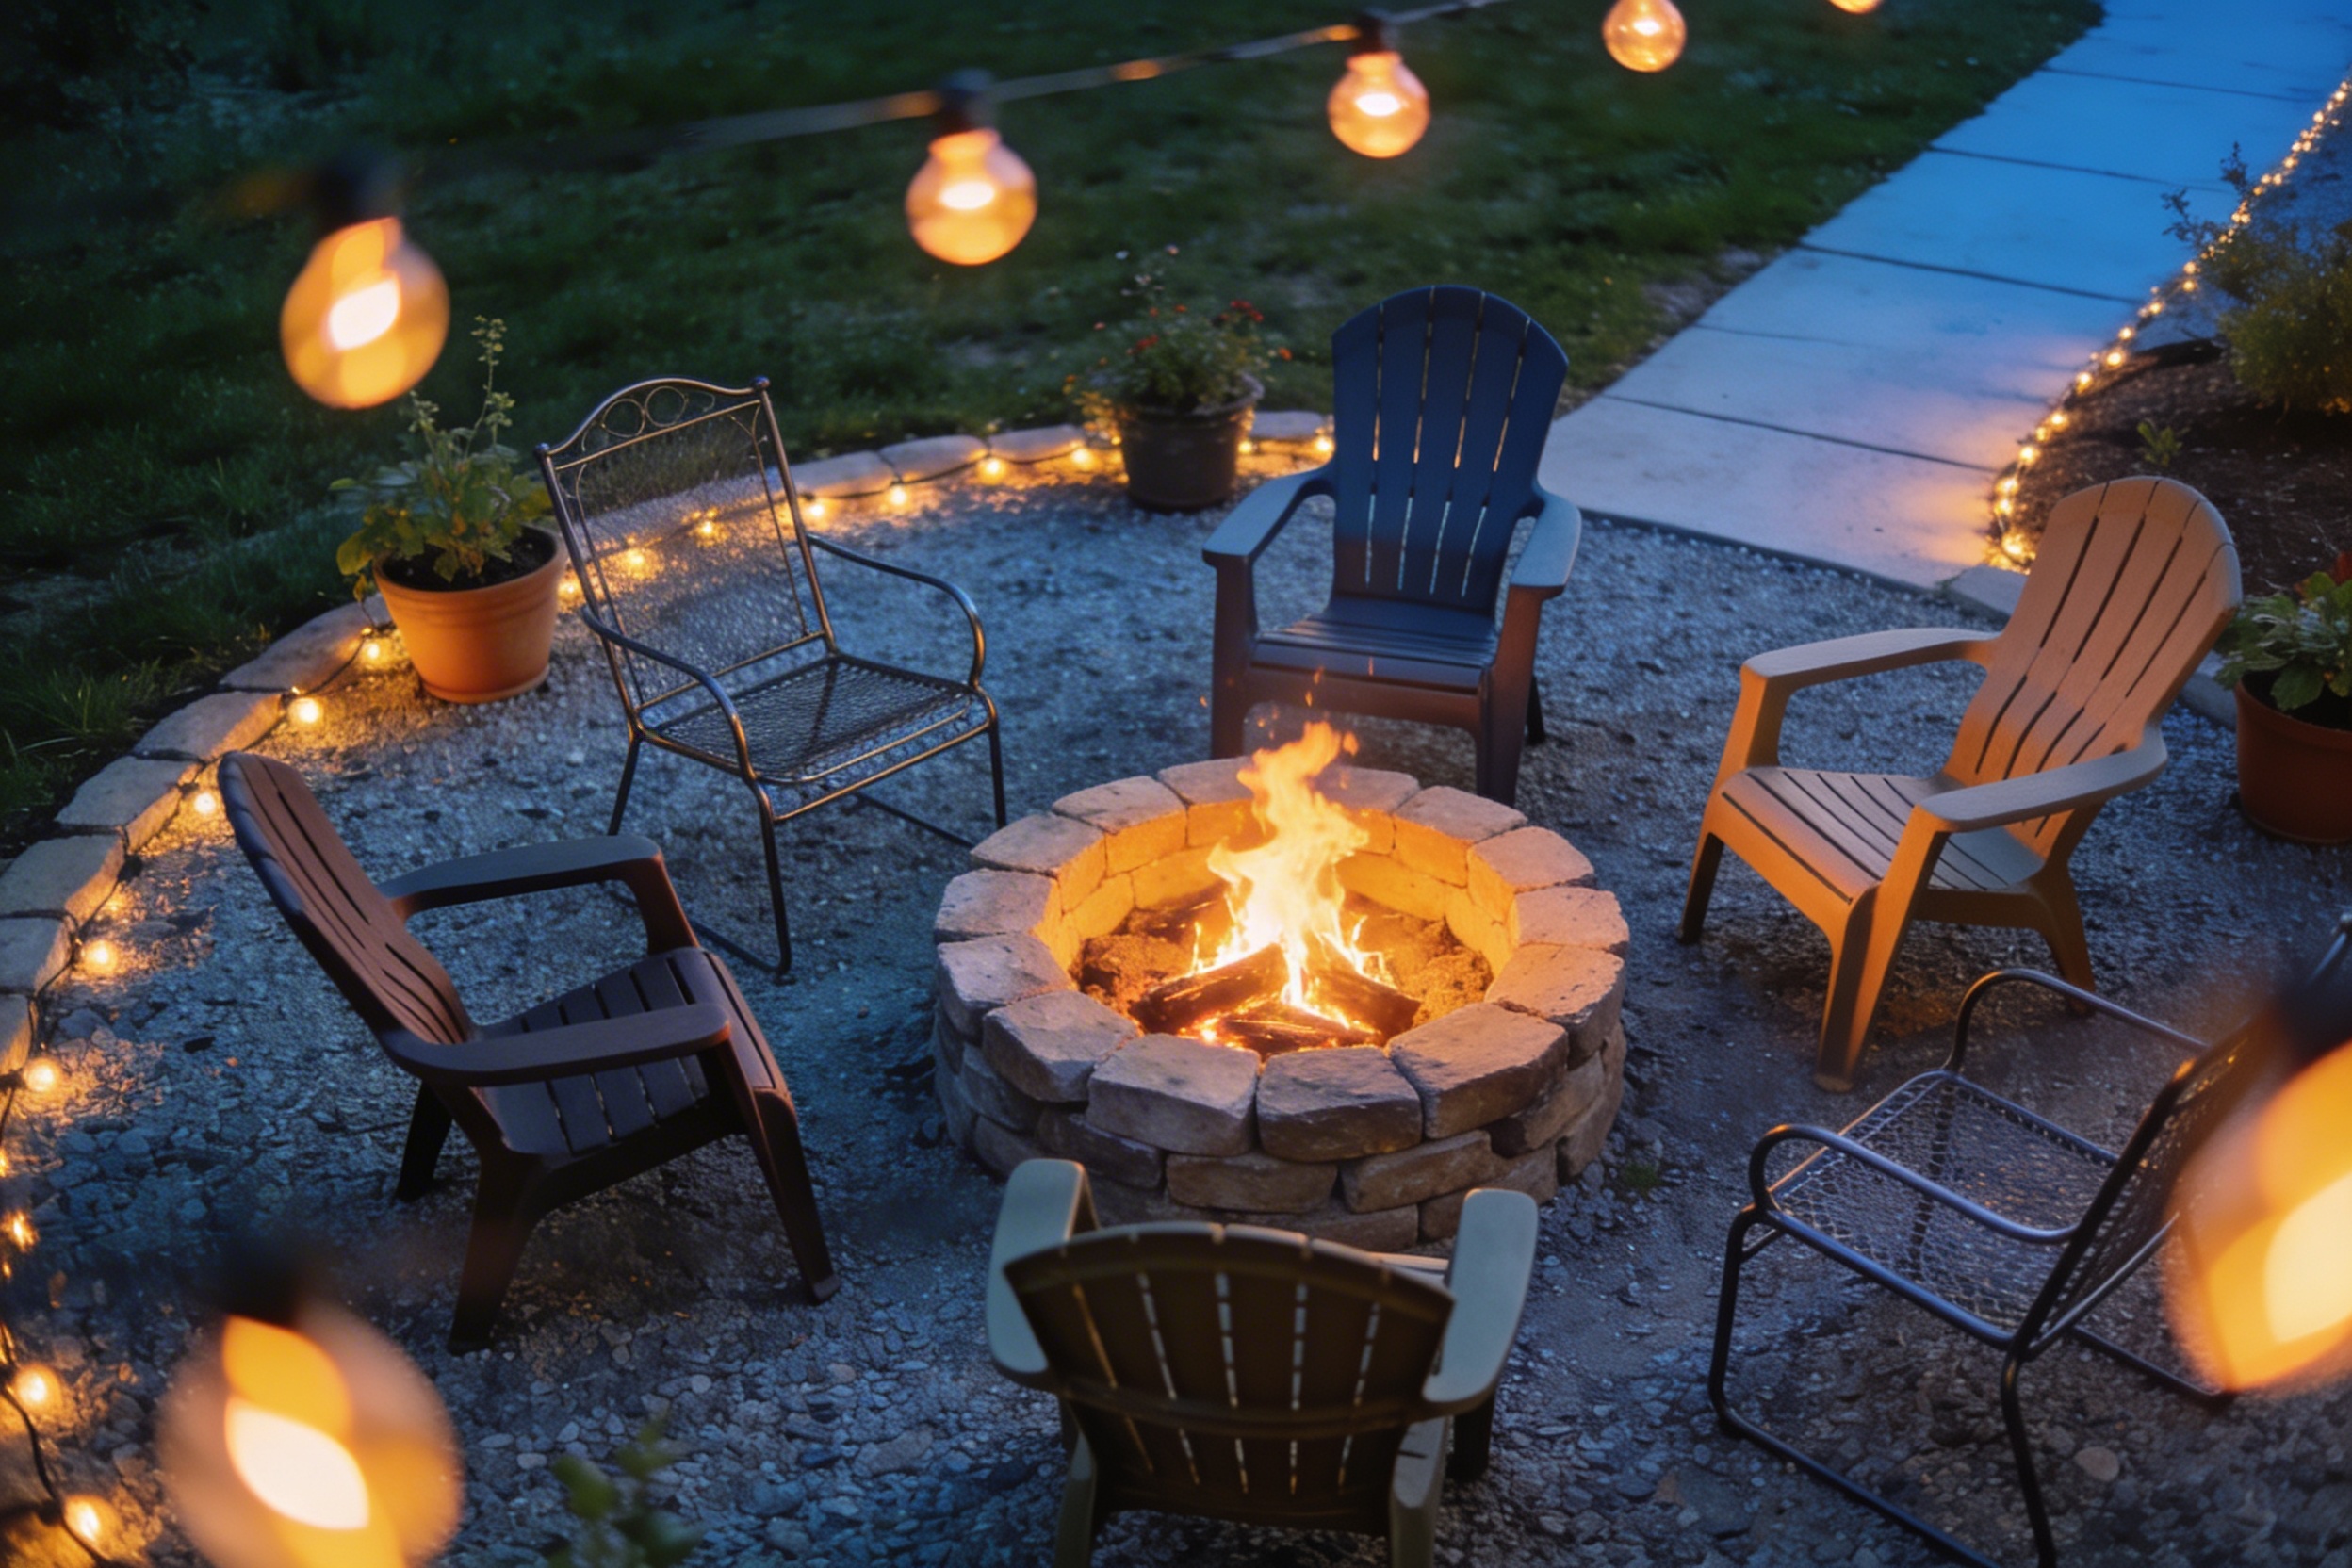
How to Create a Backyard Fire Lounge Without Breaking the Bank Tonight
Craving s’mores and starry-night chats but not the price tag of a designer patio? Same. You can absolutely build a killer backyard fire lounge on a shoestring and still make your neighbors side-eye with envy. We’ll map out smart, affordable moves that look high-end and feel ridiculously cozy. Ready to turn your backyard into everyone’s favorite hangout spot?
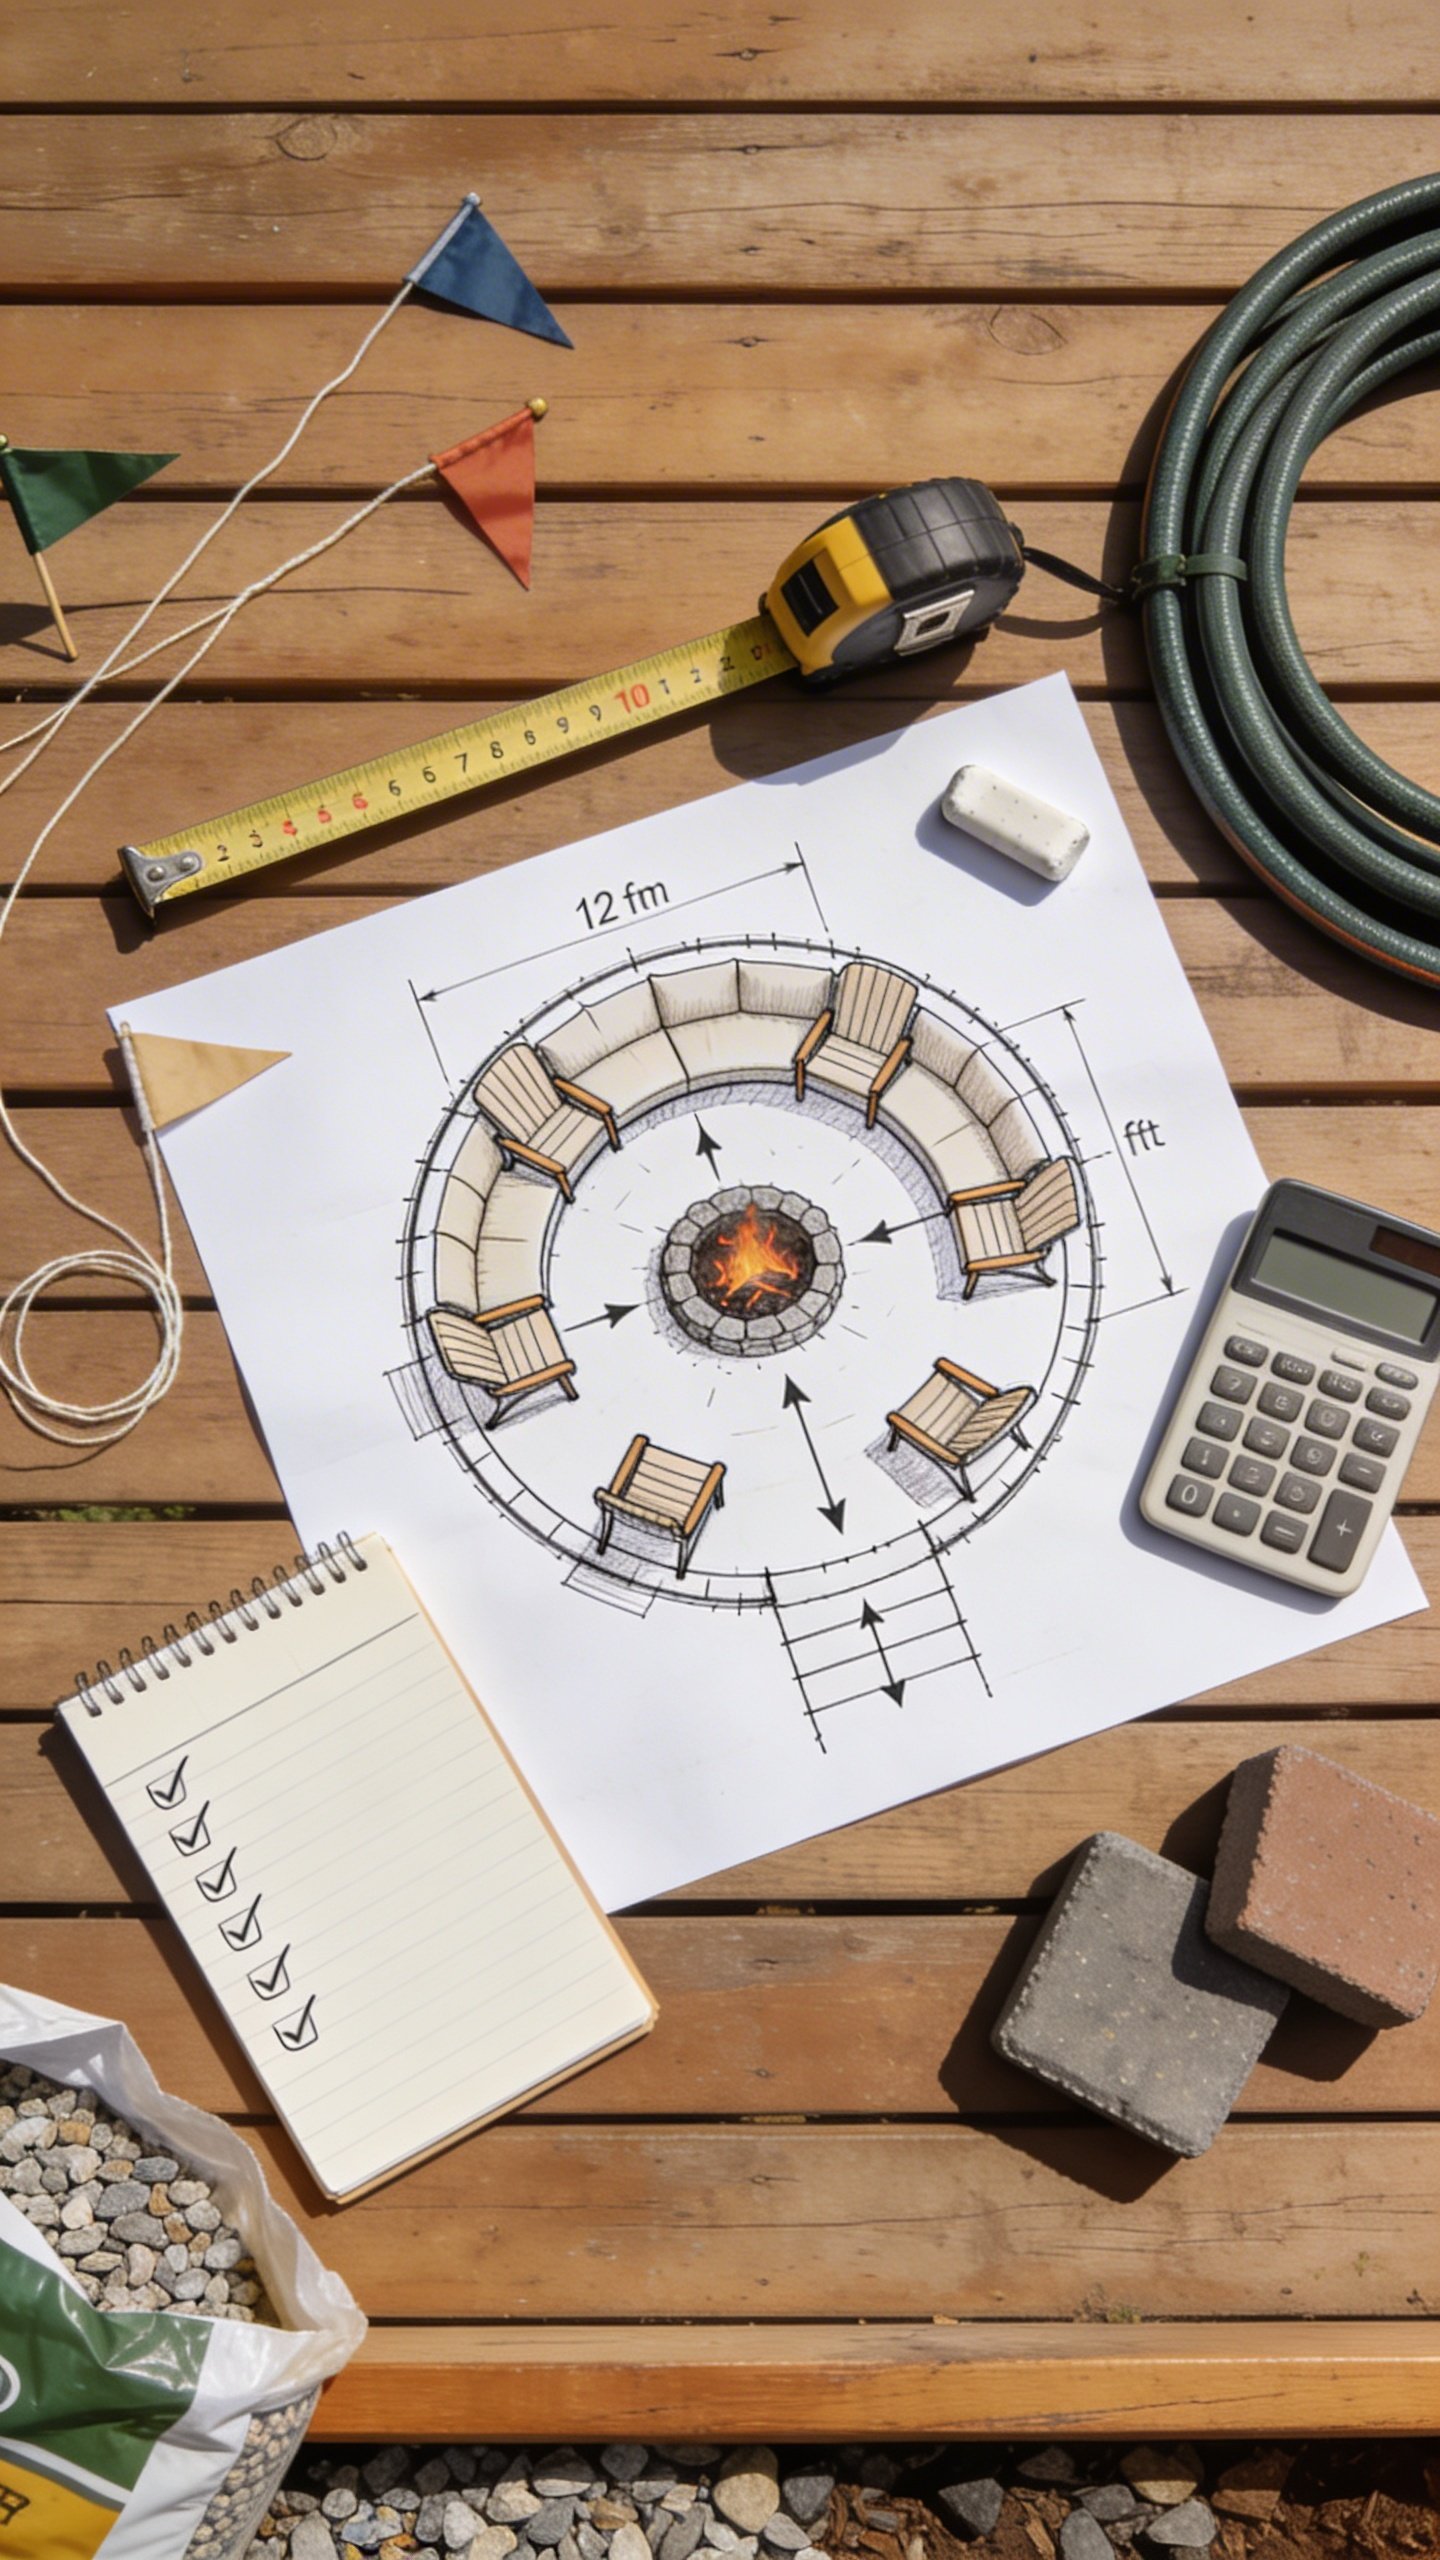
Start With A Smart Game Plan
Before you buy anything, sketch your layout. Where will the fire go? Where will people sit? How do folks walk through without playing hopscotch over chairs?
Tired of snacking when you’re not even hungry? This reset helps you stop the loop and feel back in control.
A simple reset for moments when cravings take over. Easy to use, easy to repeat, and designed to help you feel satisfied instead of stuck.
- Pick the right spot: Keep the fire pit at least 10 feet from your house, fences, and trees.
- Use a simple shape: Circles and squares keep materials cheap and measuring easy.
- Measure your footprint: A 10–12 ft diameter lounge fits a small fire pit and 4–6 chairs without elbow wars.
Pro Tip: Mock It Up
Lay out chairs, a hose-reel stand-in for the pit, and string for borders. Adjust until it feels right. This costs $0 and saves you from impulse-buy regret.
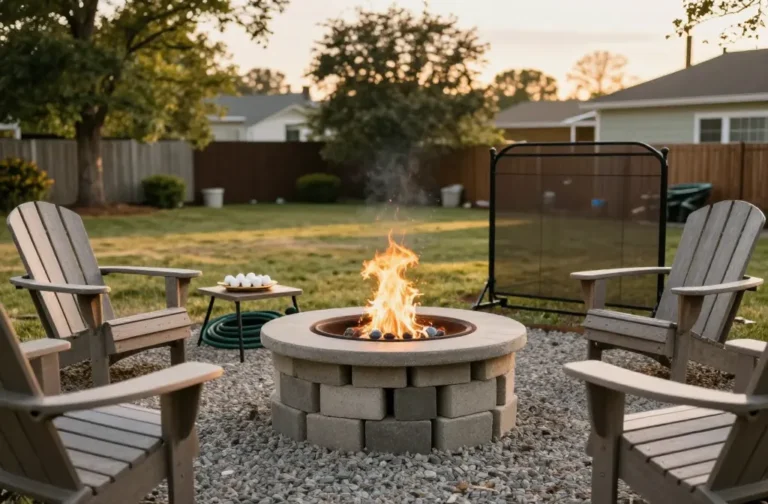
Choose A Budget-Friendly Fire Feature
You’ve got options, and no, you don’t need a $900 steel bowl.
- DIY stone ring: Stack interlocking retaining wall blocks in a circle, add a metal ring, and call it done. Cost: $80–$200.
- Store-bought steel pit: Watch for end-of-season sales. Look for sturdy legs, a spark screen, and a drain hole. Cost: $60–$150.
- Portable propane pit: Cleaner, HOA-friendly, and no sparks. Cost: $120–$200, fuel extra.
Safety Musts
- Non-combustible base: Gravel, pavers, or a fire mat under and around the pit.
- Clear overhead: No low branches. Seriously.
- Local rules: Check city or HOA codes. FYI, some places ban wood smoke on high-wind days.
Lay A Low-Cost, High-Impact Surface
Your lounge floor does the heavy lifting for looks and safety. You don’t need poured concrete to win.
- Gravel Pad (cheapest): Frame the area with pressure-treated 2x4s or plastic edging, add landscape fabric, then 2–3 inches of pea gravel or decomposed granite. Rake it smooth. Cost: $80–$200.
- Paver + Sand (mid-budget): Dig 2–3 inches, compact, add paver base and sand, then set budget pavers. Edge it so nothing drifts. Cost: $200–$450.
- Mixed Approach (designer-on-dime): Create a paver “hearth” under the pit and use gravel elsewhere. Looks custom, costs less.
Comfort Add-Ons
- Footfeel matters: Pea gravel feels nicer than sharp rock. Your feet will thank you.
- Weed-block: Use landscape fabric. It’s not optional unless you love surprise dandelions.
Seating That Doesn’t Drain Your Wallet
Seating makes or breaks the vibe. You want comfy, durable, and affordable. You can have all three IMO.
Transform Your Home With 7,250+ Stunning Landscaping Designs—No Expensive Designers Needed!
- 🌿 Access 7,250+ stunning landscaping designs.
- 💰 Save thousands—no pro designer needed.
- 🏡 Plans for gardens, patios, walkways, and more.
- ✨ Simple, beginner-friendly DIY layouts.
- 🛠️ Customize any design to fit your yard.
- Plastic Adirondacks: Lightweight, stackable, and cheap. Spray-paint them a bold color. Cost: $20–$40 each on sale.
- Folding camp chairs: Easy to store, great for small spaces. Bonus: cup holders.
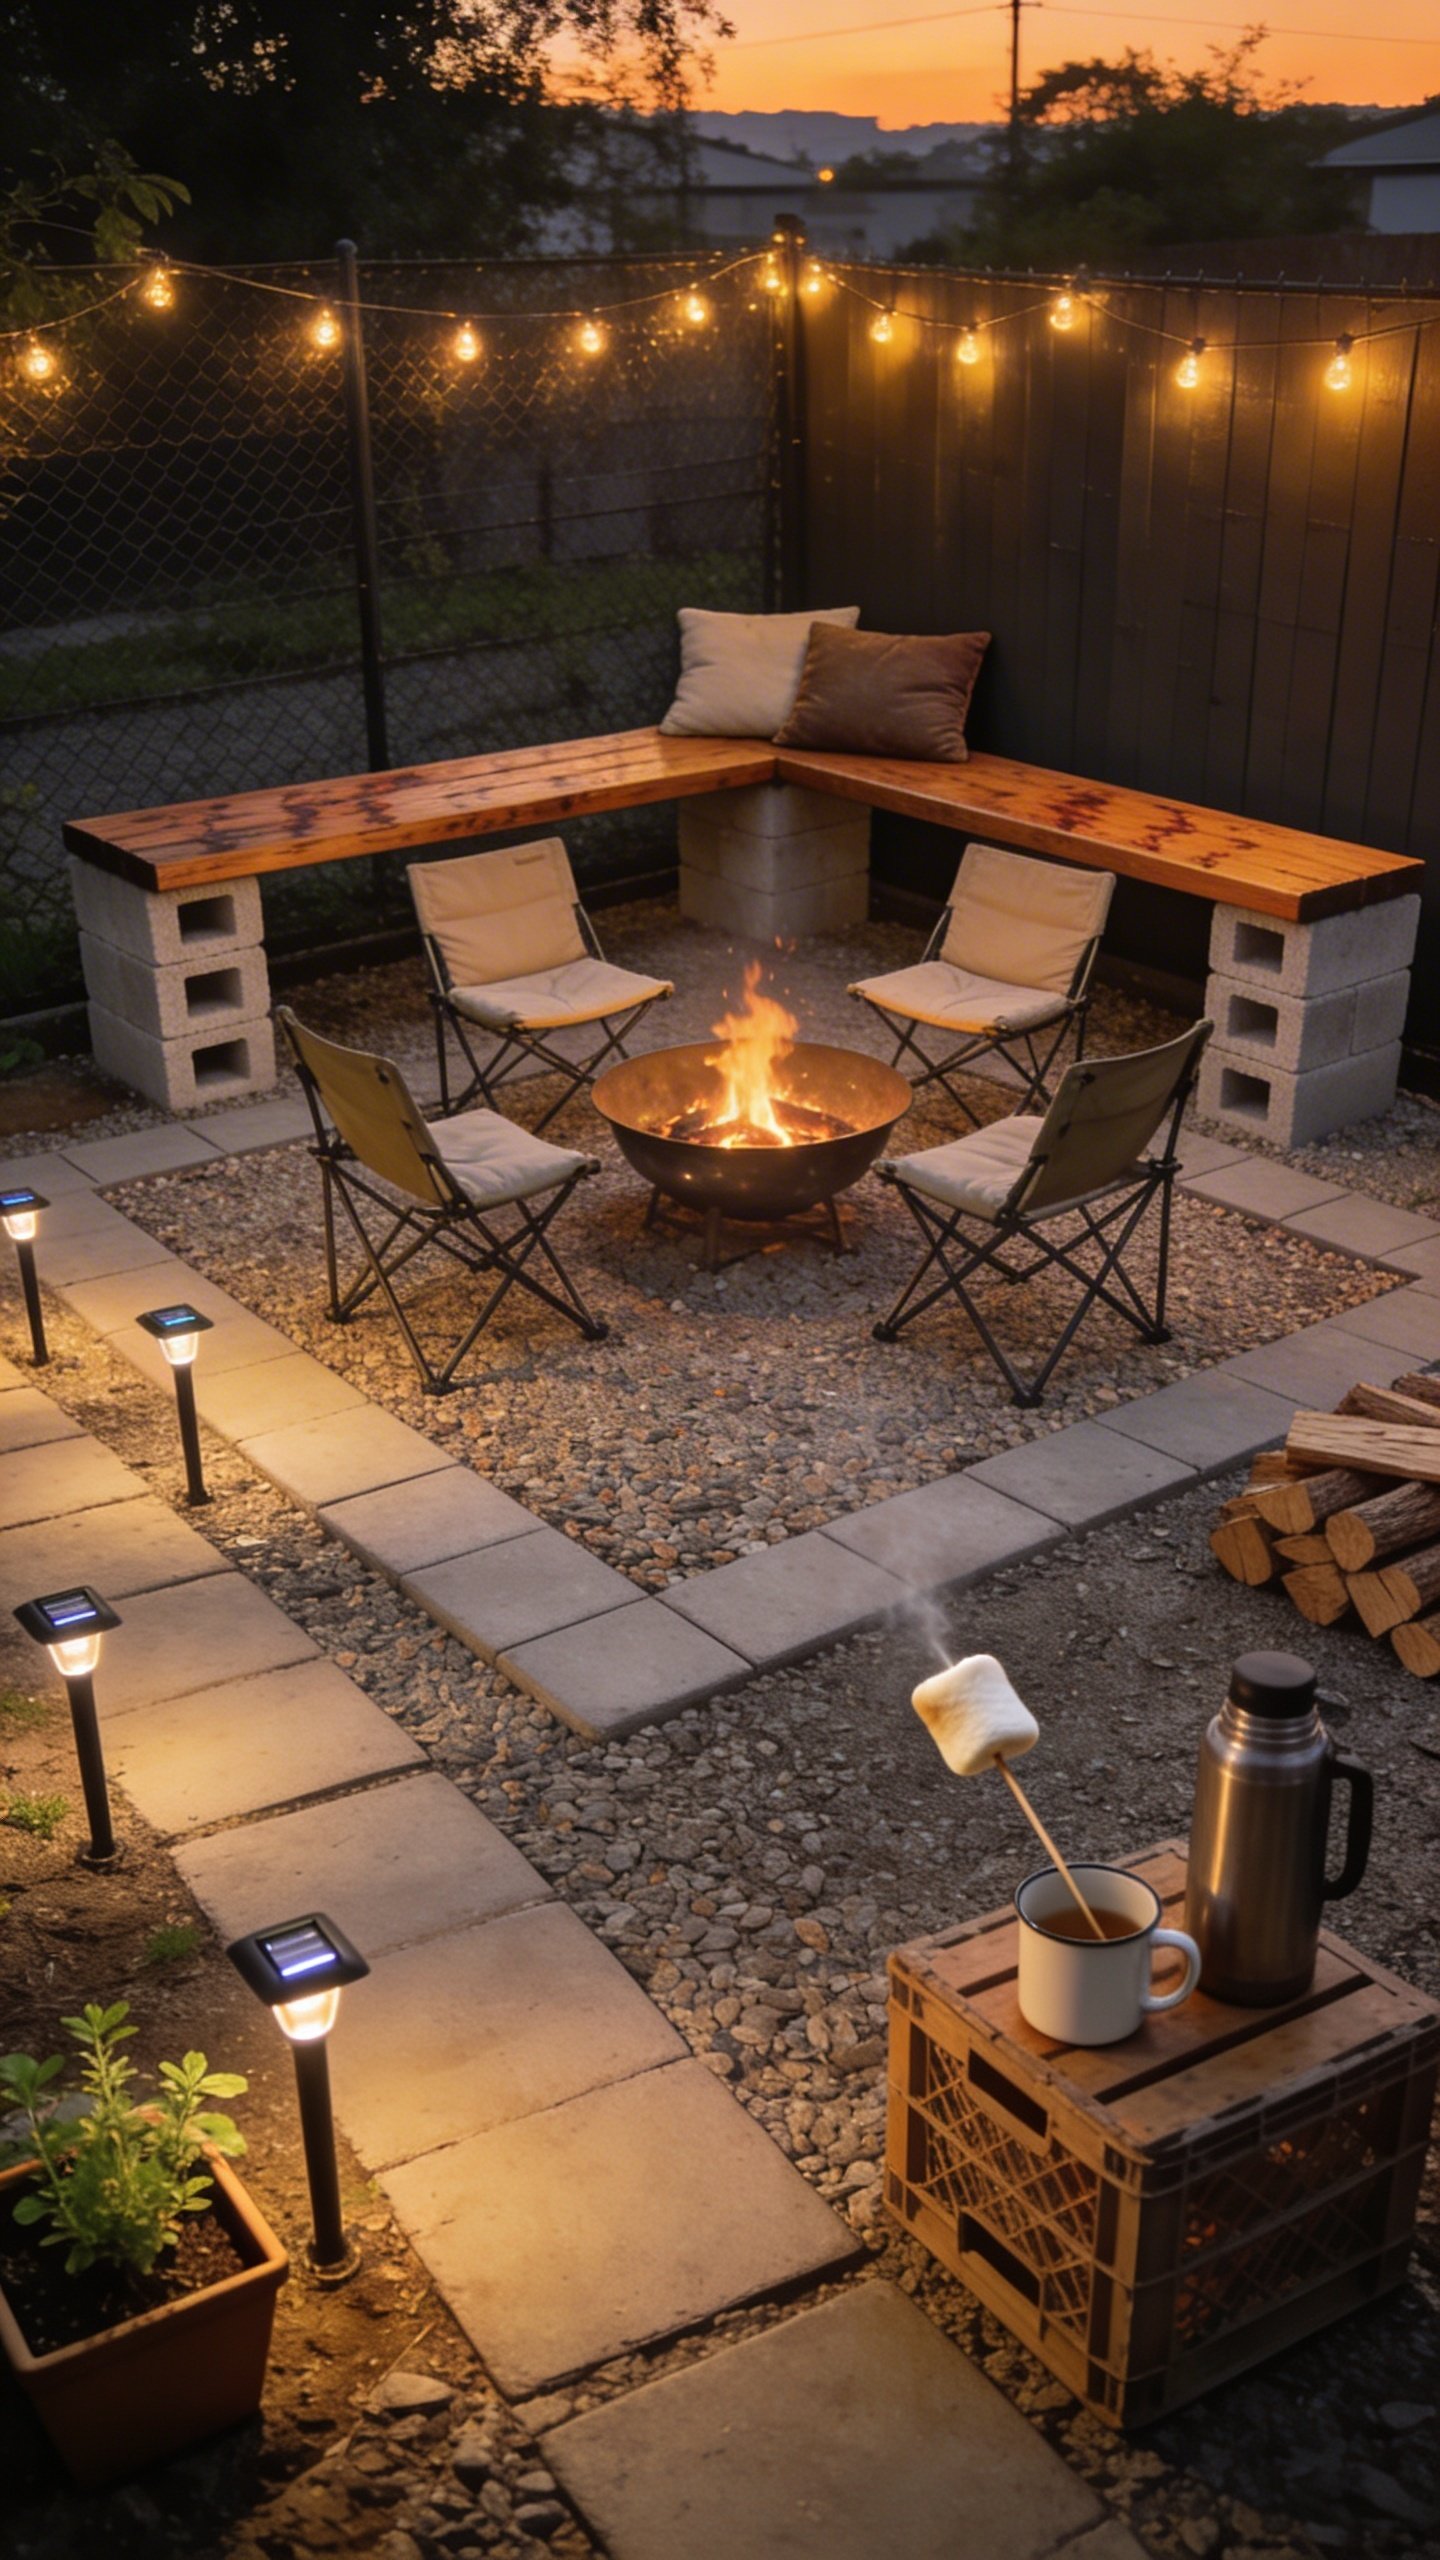
- Cinder-block bench: Slide 4x4s through stacked blocks, add cushions. Looks custom, costs peanuts.
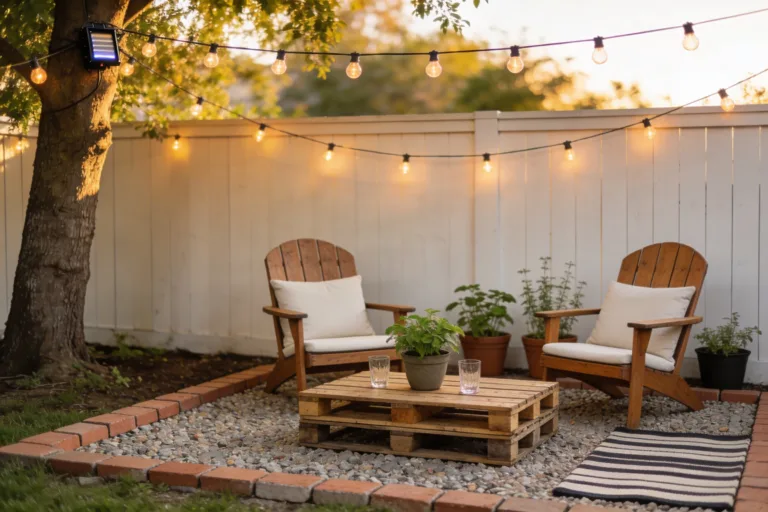
- Upcycle wood pallets: Sand, stain, and stack. Add thick outdoor cushions for instant lounge cred.
Layout Tips
- Circle or horseshoe: Encourages conversation and keeps the heat centered.
- Keep 30–36 inches between the fire edge and seat front so nobody roasts their shins.
- Mix heights: Low chairs + one higher bench = comfortable options for everyone.
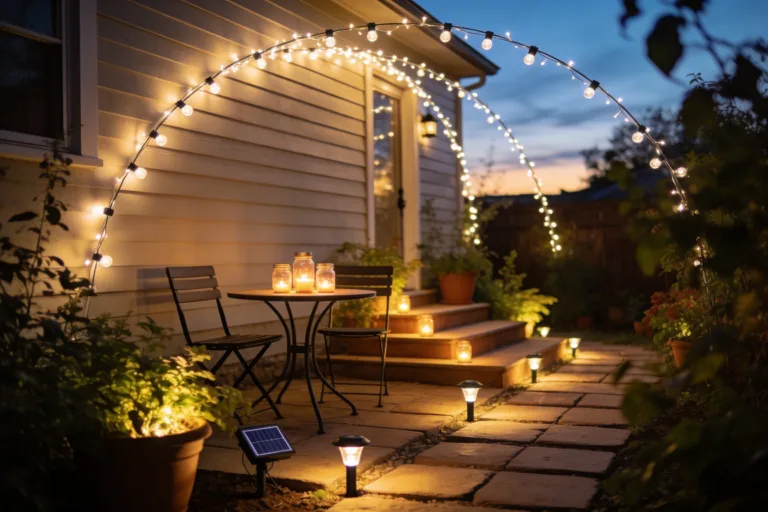
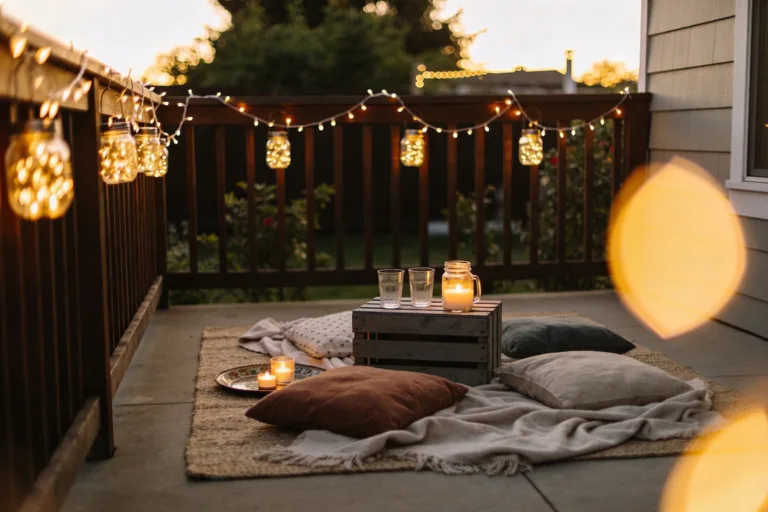
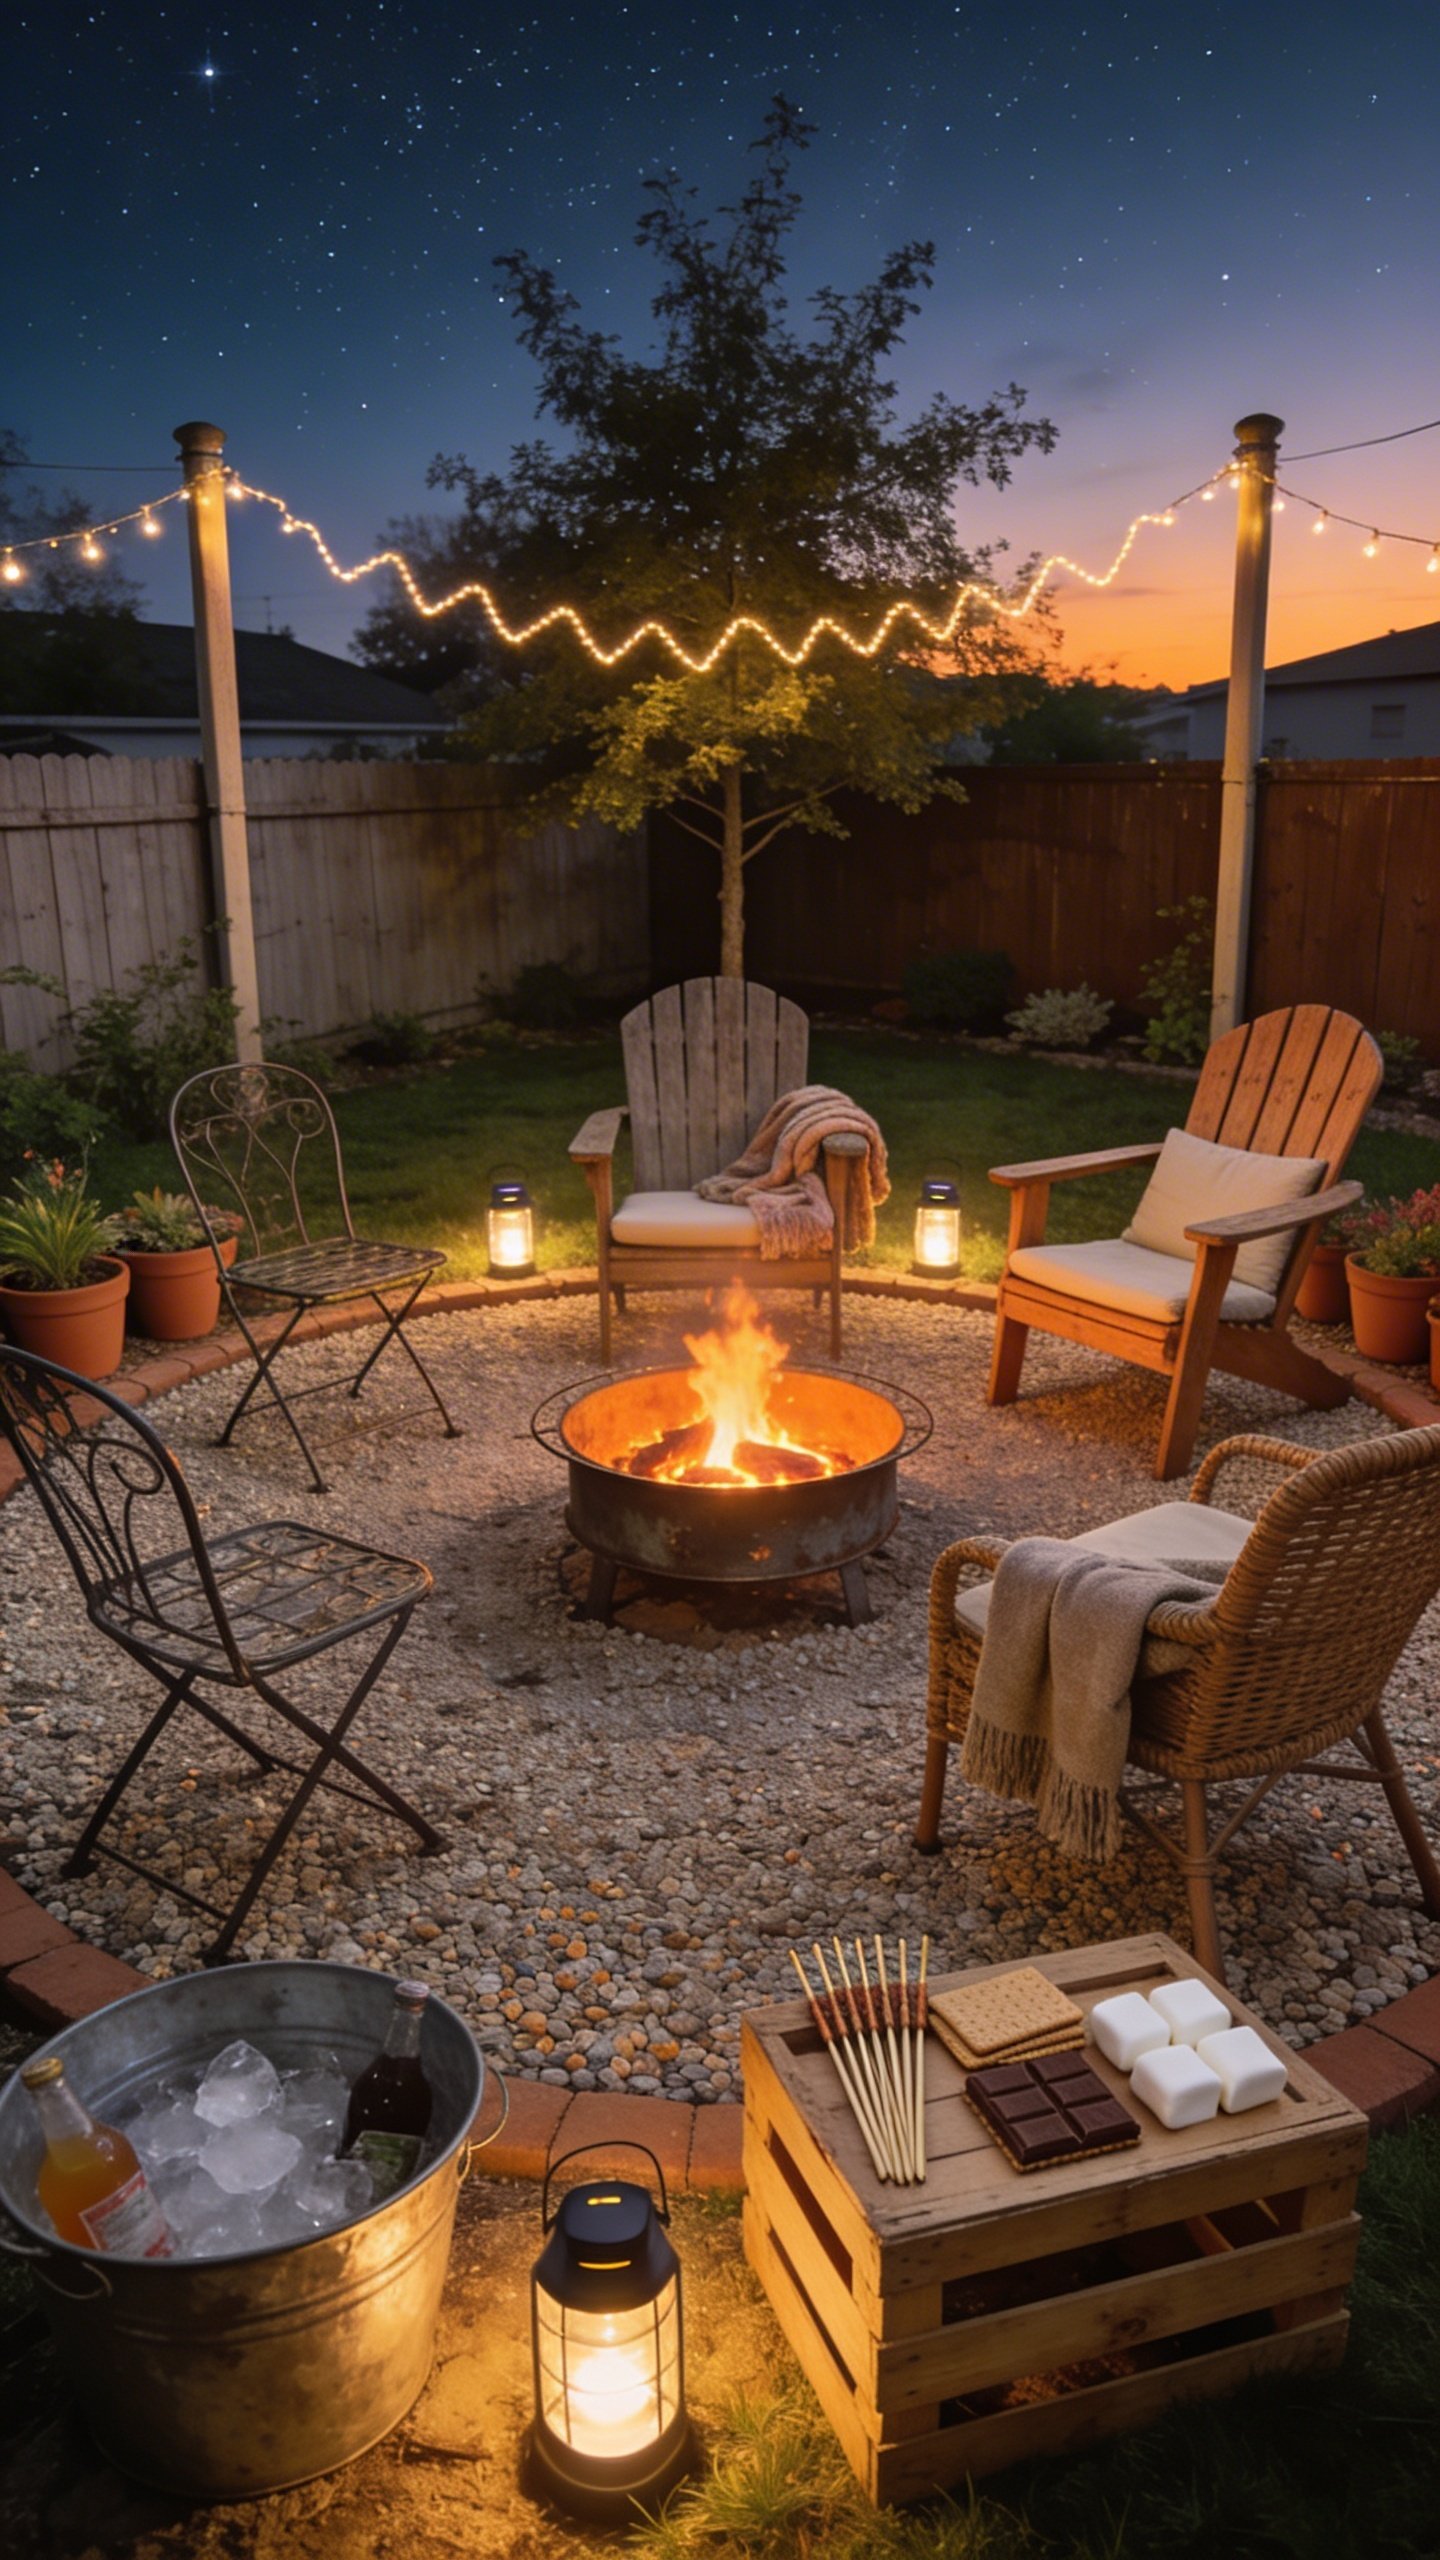
Lighting For Big Ambience On Small Cash
Lighting sets the mood and extends the party past sunset. Go simple, go solar, win the night.
- String lights: Hang across the space using tall fence posts or shepherd’s hooks with guy lines.
- Solar path lights: Define walkways and edges for safety and style.
- Lantern cluster: Group battery lanterns on a crate table for warm, flickery goodness.
Install On A Budget
- Use eye bolts + paracord to run lights. Cheaper than fancy poles.
- Warm white bulbs keep it cozy. Avoid harsh blue tones that scream office break room.

Style Moves That Look Luxe
You can add personality without maxing a credit card. Think texture, color, and a few smart accessories.
- Outdoor rug: A washable 5×7 over gravel instantly unifies the space.
- Side tables: Flip sturdy planters or milk crates with round wood tops.
- Throw pillows: Choose outdoor fabrics. Store in a deck box to keep them fresh.
- Planters: Use mismatched terracotta or thrifted pots with hardy grasses or herbs.
- Blanket basket: Toss in a few thrifted wool throws for chilly nights.
Heat And Smoke Control
- Seasoned hardwood burns hotter and cleaner. Avoid softwood that pops and smokes.
- Fire pit lid or screen tames sparks and keeps rain out.
- DIY windbreak: A lattice panel or tall planters block gusts and look intentional.
Budget Breakdown (Realistic, Not Fantasy)
- Fire pit: $80–$150
- Gravel base + edging: $100–$180
- Seating for four: $80–$200
- Lighting: $30–$80
- Accessories (rugs, planters, tables): $50–$120
Total: $340–$730 for a legit, cozy setup that looks curated, not cobbled together.
Fast Weekend Build Plan
- Friday Evening: Sketch layout, buy materials, and mark your area with string or spray paint.
- Saturday Morning: Lay landscape fabric, build edging, and spread gravel or set pavers.
- Saturday Afternoon: Assemble fire pit, place seating, test clearances.
- Sunday: Hang lights, style with rugs and planters, and stock a s’mores kit. Done.
Maintenance So It Stays Nice (And Safe)
- Cover the pit when not in use to prevent rust and soggy ash.
- Clean ashes after every few burns. Store cooled ash in a metal bin, not plastic. FYI: ashes can smolder for days.
- Rake gravel monthly to level footprints and redistribute.
- Check lights and retighten lines after windy days.
FAQs
Can I put a fire pit on a wooden deck?
You can with serious precautions: use a certified fire mat or paver hearth under it, keep a 3–4 ft clearance, and choose propane over wood. Even then, check your local codes and your deck’s condition. Honestly, moving to a gravel pad is safer and usually cheaper long-term.
What’s the cheapest legal way to build a fire lounge?
Gravel pad + budget steel fire pit + plastic Adirondacks + solar lights. That combo nails safety, style, and cost. Add a thrifted rug and a planter or two and you’re golden.
How do I reduce smoke?
Burn seasoned hardwood, keep logs small, and don’t suffocate the fire. Stack in a teepee or log-cabin pattern for airflow. A spark screen helps, and a “smokeless” double-wall pit works great if you can swing it.
What if my yard is tiny?
Go propane and scale down everything: a 24–28 inch pit, two chairs, one side table. Use vertical lighting (string lights high, lanterns low) to make the space feel bigger. Compact can still be cozy, IMO.
Any kid- or pet-safe tips?
Create a clear boundary with pavers or a low fence, keep a bucket of sand and a hose nearby, and teach a “no run zone” rule. Use a spark screen and never leave the fire unattended. Treat it like a mini stovetop outdoors.
What’s a simple décor upgrade with max impact?
Warm string lights and a big outdoor rug. They anchor the space and instantly raise the vibe. After that, dial in color with two matching planters.
Conclusion
You don’t need a contractor or a fat wallet to build a backyard fire lounge that feels like a tiny retreat. Pick a safe spot, lay a simple base, choose a budget-friendly pit, and add comfy seating with warm lighting. Toss in a rug, a couple planters, and a blanket stash, and boom—instant ambience. Now light it up, pass the marshmallows, and enjoy your new favorite hangout.