How to Build Raised Garden Beds for Under $50 That Last
You don’t need a contractor, a truckload of cedar, or a trust fund to grow veggies in style. With a few smart buys and a couple of scrappy hacks, you can build sturdy raised beds for less than a dinner out. I’ll show you the exact materials, cuts, and shortcuts—no fluff, just the good stuff. Ready to turn that patch of lawn into a salad factory?
Why Raised Beds Rock (Especially On A Budget)
Raised beds warm up faster, drain better, and look tidy without you wrestling roots and rocks. They also help you control soil quality—huge if your yard is basically clay with opinions. And yeah, you can build super-cheap beds that don’t look like a temporary science project. The trick? Use affordable lumber, skip fancy hardware, and source soil smartly.
Tired of snacking when you’re not even hungry? This reset helps you stop the loop and feel back in control.
A simple reset for moments when cravings take over. Easy to use, easy to repeat, and designed to help you feel satisfied instead of stuck.
The $50 Materials List (Realistic, Not Fantasy)
Prices vary by region, but you can stay under $50 for a 4×8 bed if you shop smart. Here’s a baseline setup that works almost everywhere.
- Four 2x8x8’ boards (construction pine or whitewood) – often $8–$12 each. Buy two and have the store cut them in half if needed.
- Deck screws (2.5–3”) – a small box, $6–$8.
- Two 2×2 stakes or scrap stakes – about $3–$5 total (or free scraps).
- Cardboard or a contractor paper roll – free from boxes, or $5 for paper.
- Soil mix – target $15–$20 by blending compost, native soil, and cheap topsoil.
Optional (nice-to-have, still cheap):
- Plastic corner brackets for extra strength – $5–$8.
- Linseed oil to protect wood naturally – $6–$10 for a small bottle (use lightly).
Before You Build: Pick The Spot Like A Pro
Plants love sun more than you love coffee. Aim for 6–8 hours of direct sunlight. Avoid low spots where water puddles. And keep the bed close to a hose because you’ll water a lot at first—unless you enjoy carrying sloshing cans like a medieval peasant.
Quick Layout Tip
Lay the boards on the ground in a rectangle and step back. Do you have space to walk around it? Will the lawn mower fit? If not, flip the boards to a 3×6 or 4×6 footprint. Customize the size to your space instead of forcing the classic 4×8.
Transform Your Home With 7,250+ Stunning Landscaping Designs—No Expensive Designers Needed!
- 🌿 Access 7,250+ stunning landscaping designs.
- 💰 Save thousands—no pro designer needed.
- 🏡 Plans for gardens, patios, walkways, and more.
- ✨ Simple, beginner-friendly DIY layouts.
- 🛠️ Customize any design to fit your yard.
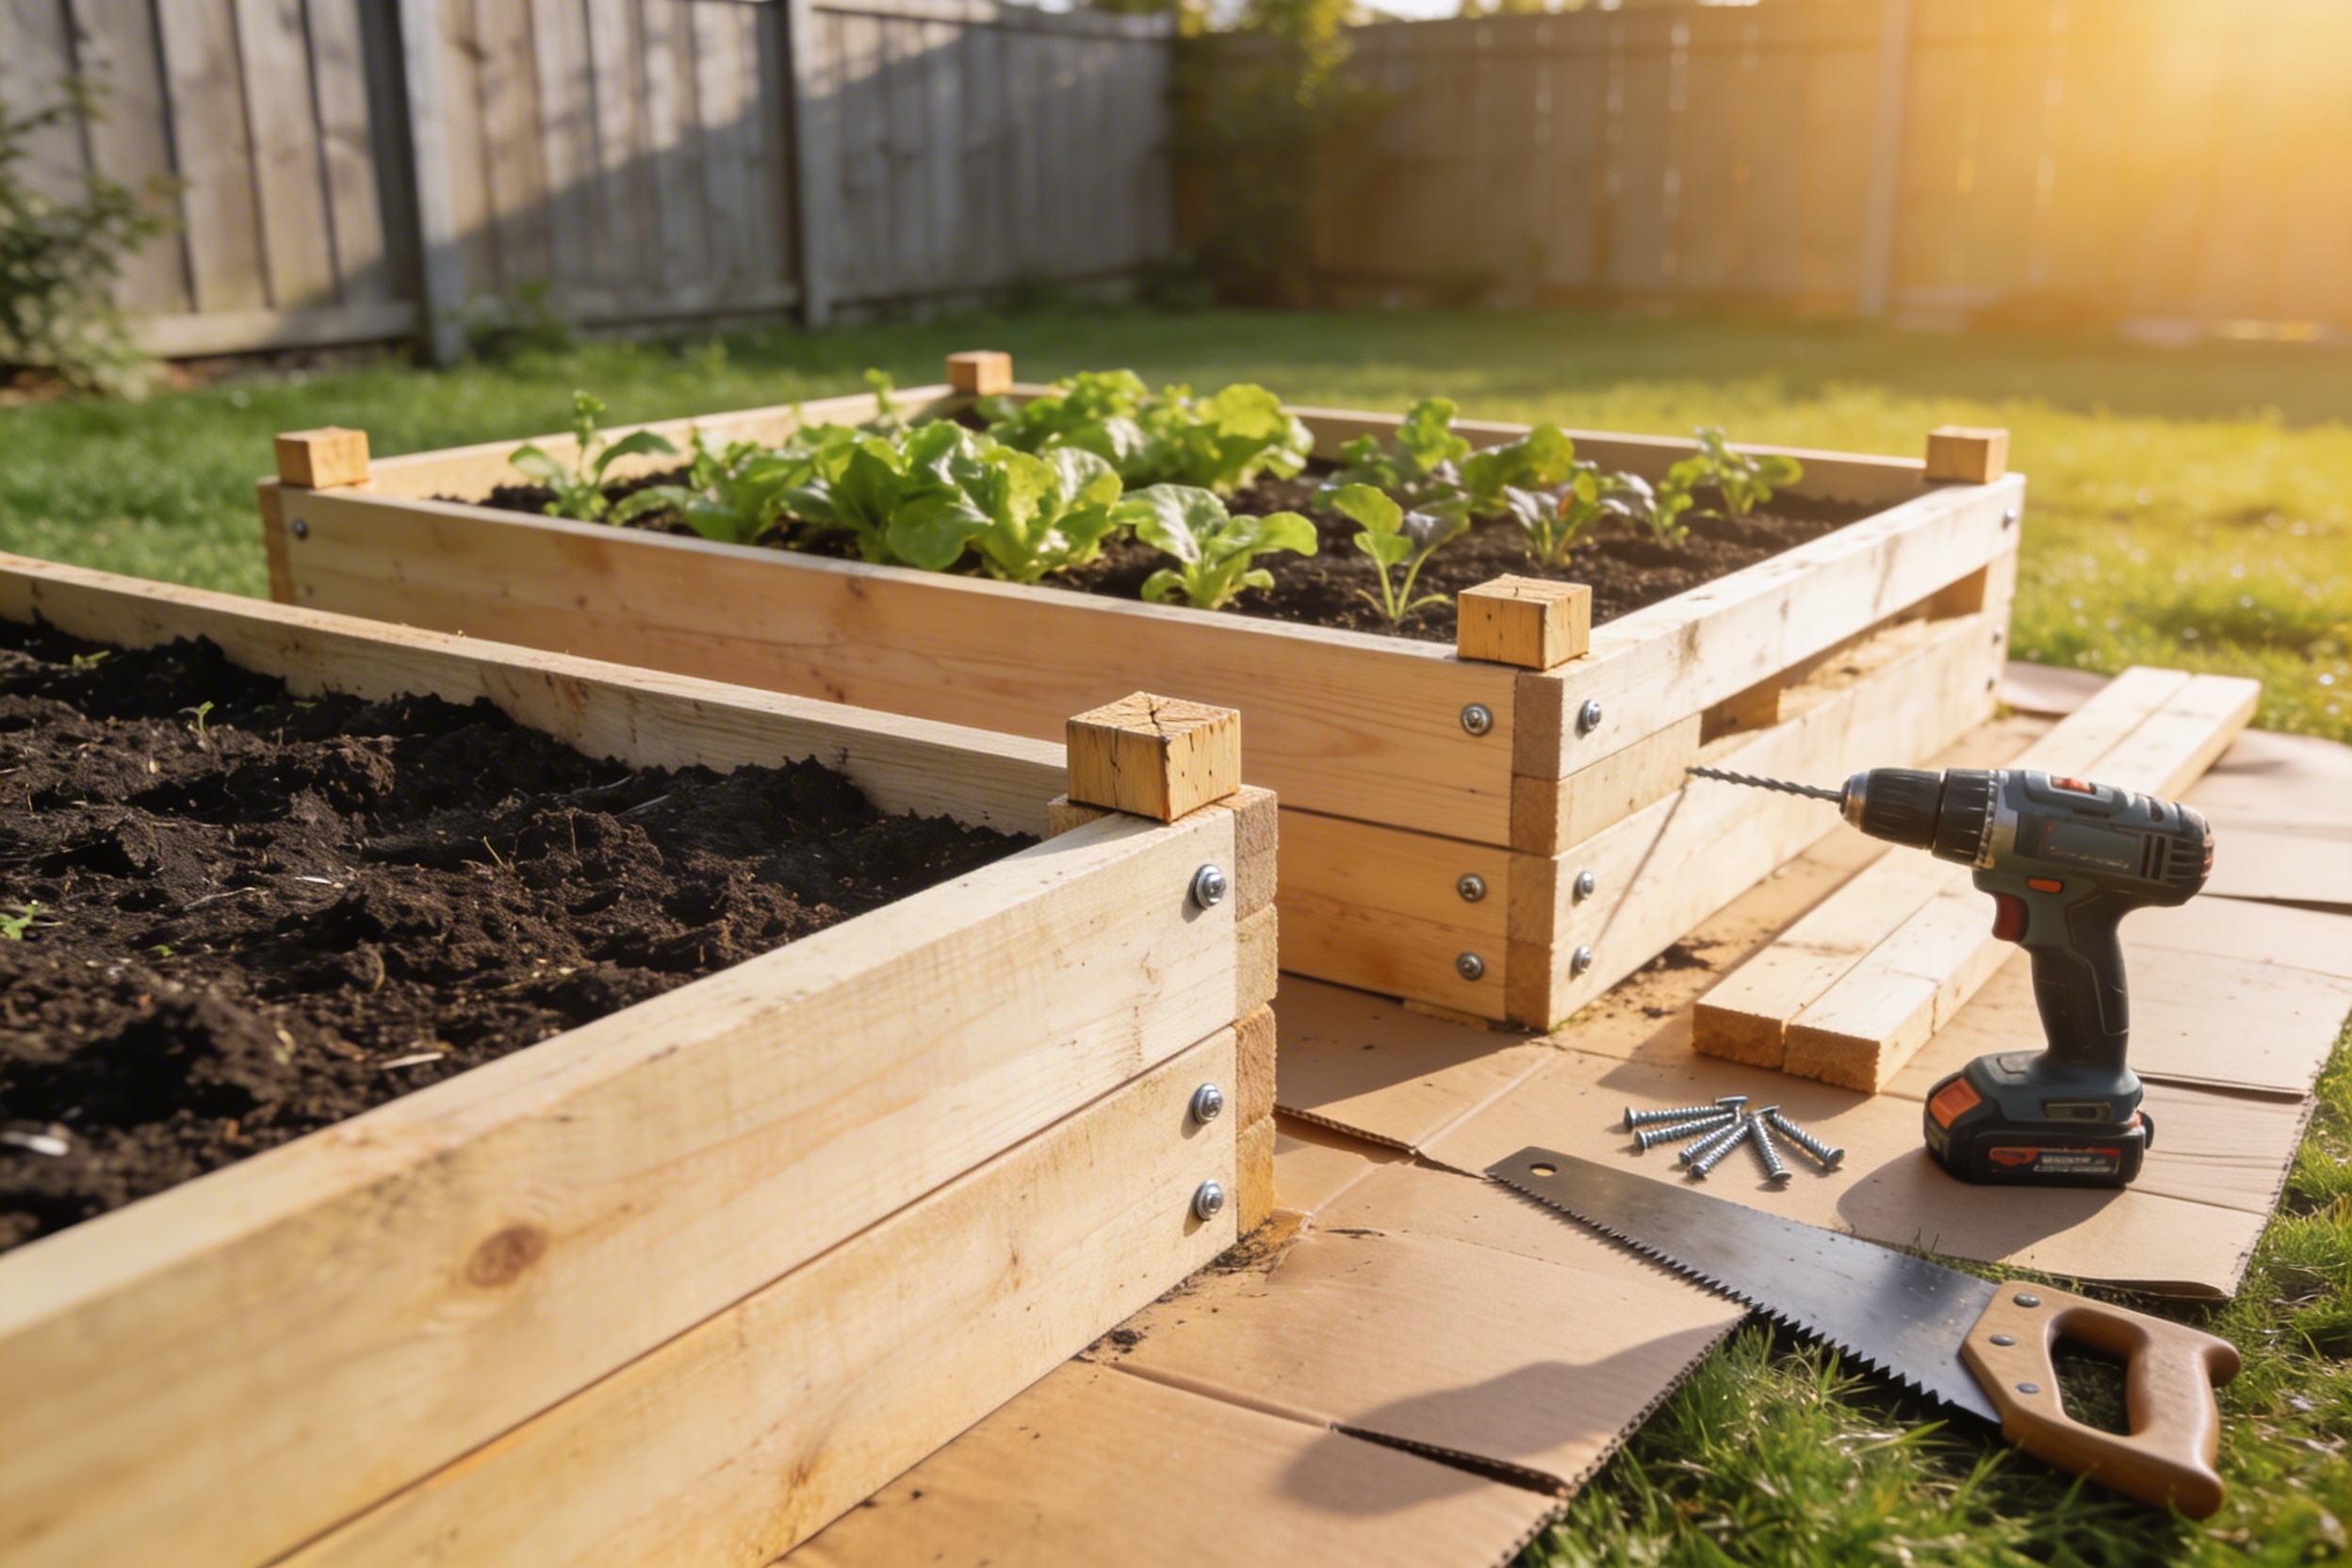
Build The Frame (Zero Fancy Tools Required)
- Cut or size your boards: For a 4×8 bed, use two 8’ boards and cut two down to 4’. Many hardware stores cut for free or cheap. FYI, 2x8s give great depth without breaking the bank.
- Pre-drill near ends to avoid splitting. Two screws per corner, three if your wood feels extra “budget.”
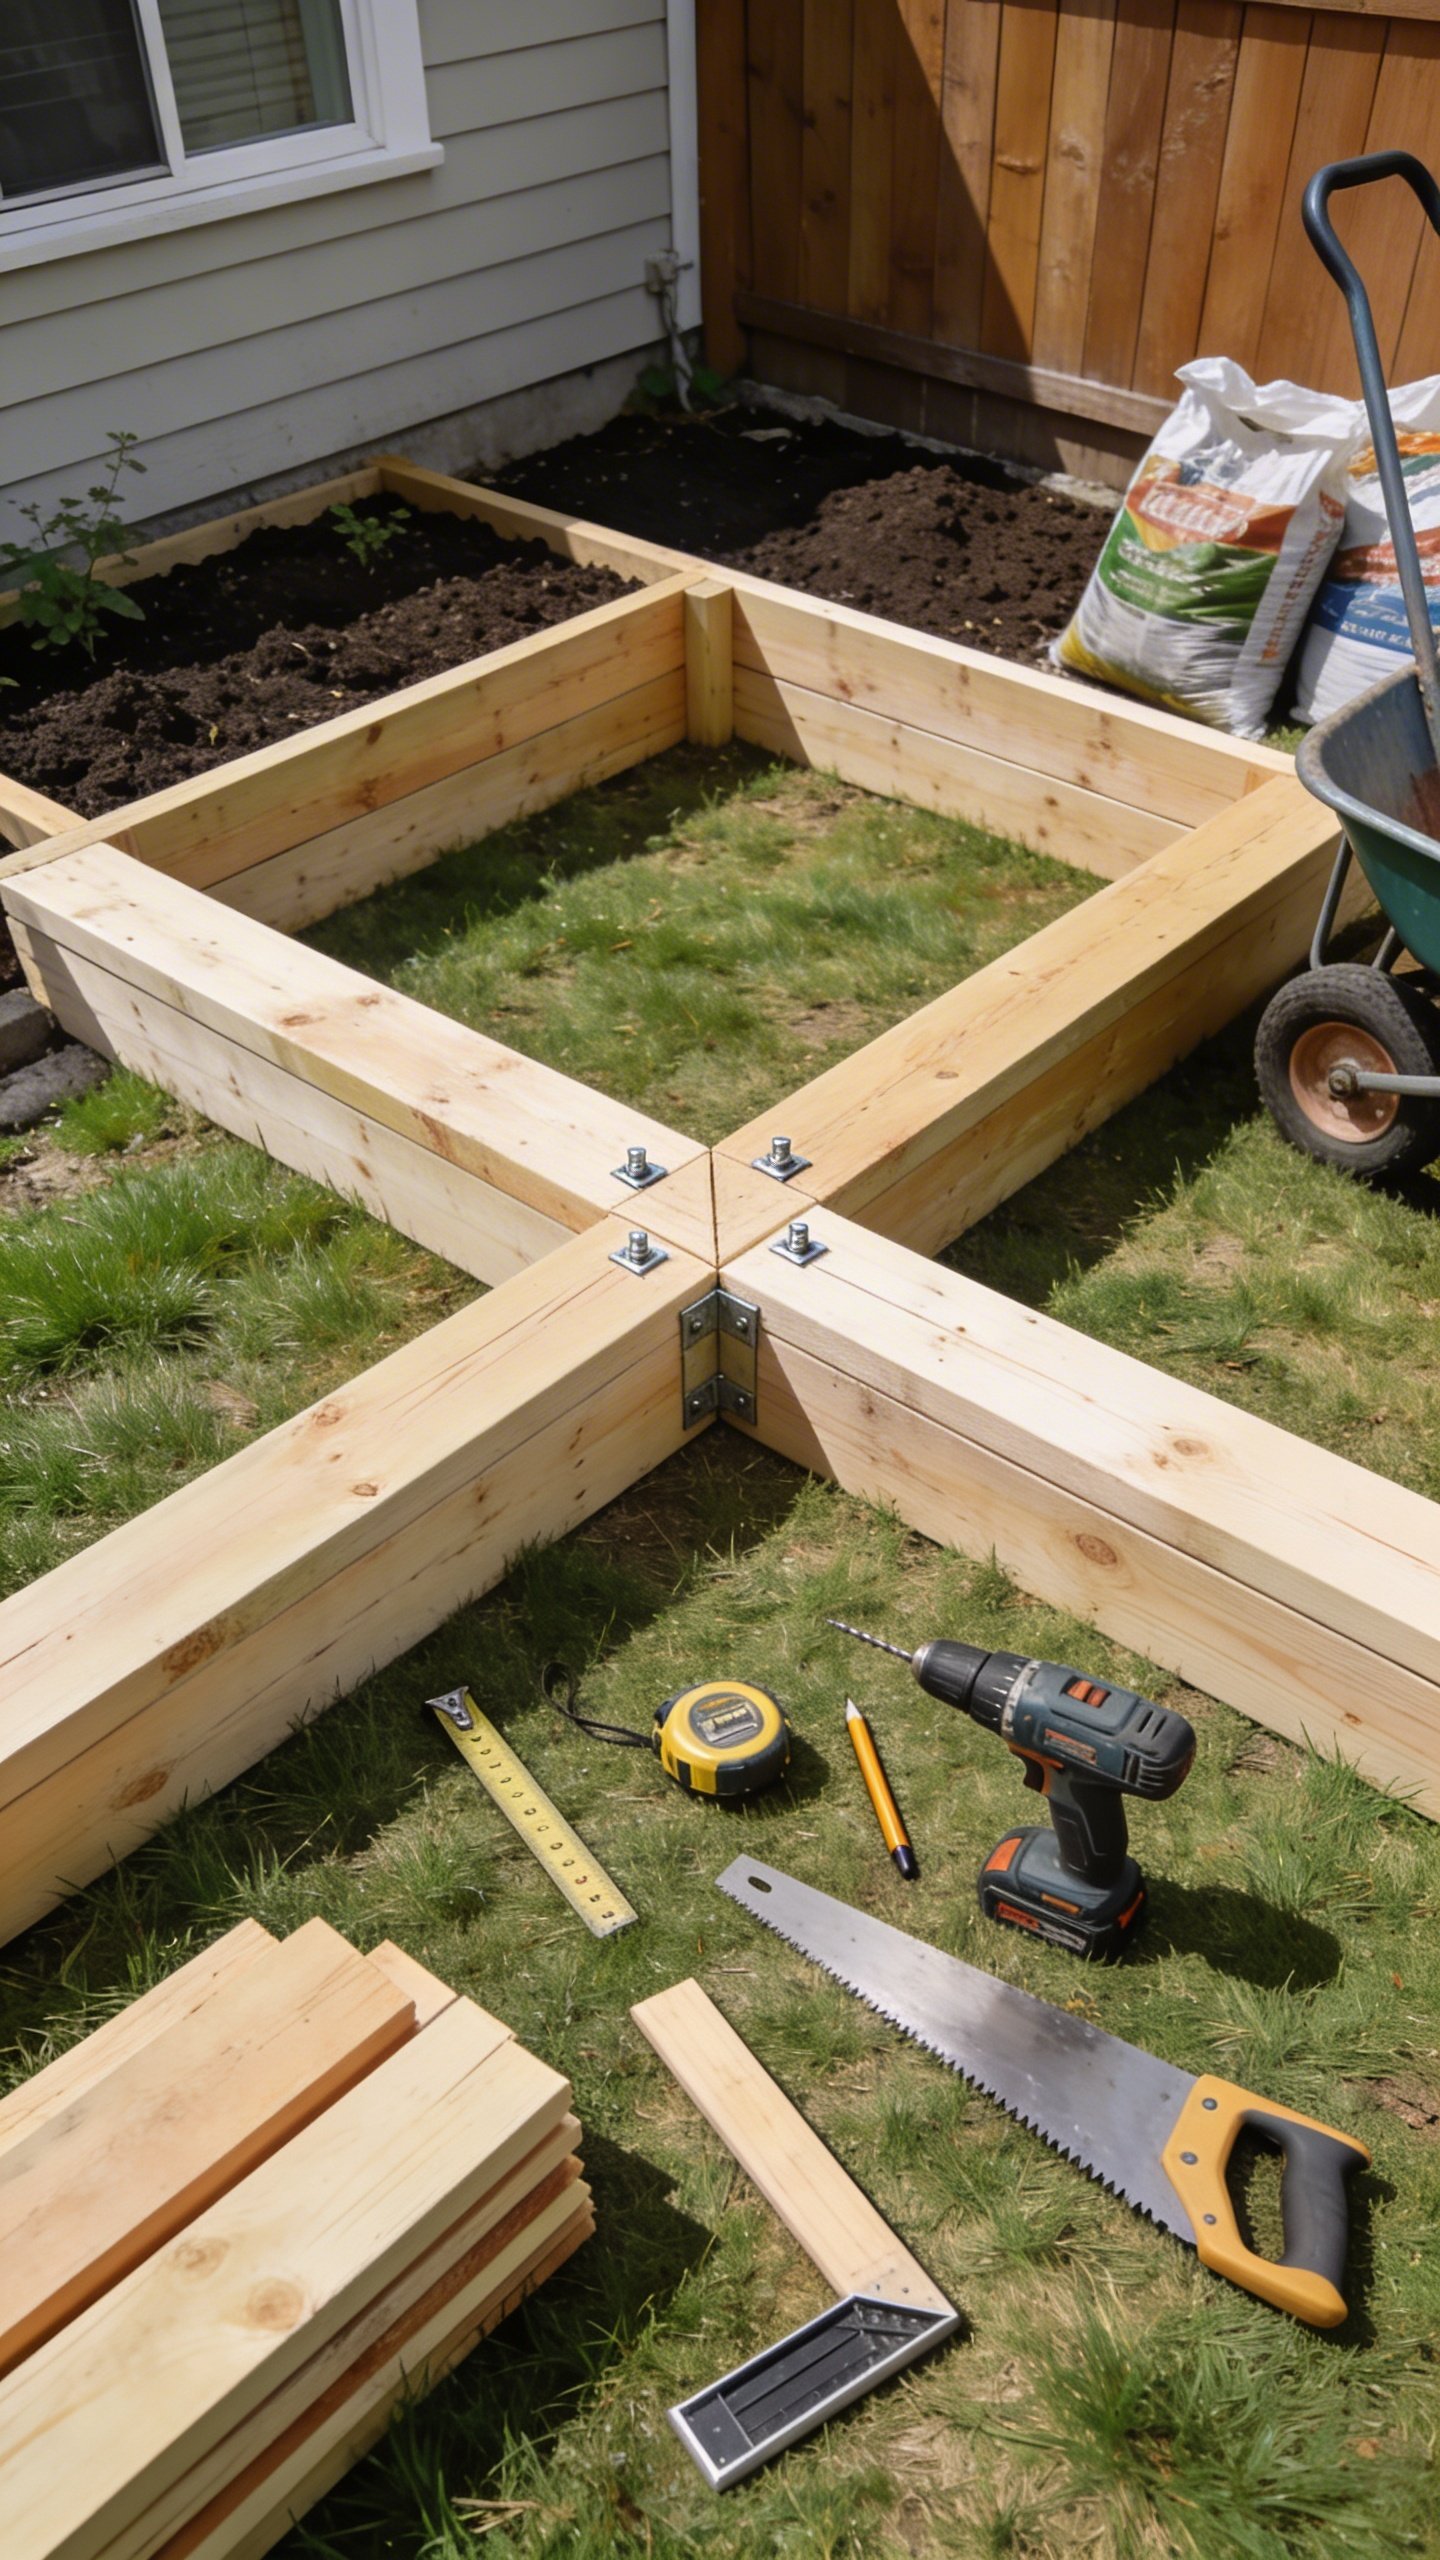
- Screw it together: Make a rectangle and run the screws through the long boards into the short boards. Keep corners square—use a speed square or eyeball it like a confident gremlin.
- Add stakes: Drive 2×2 stakes inside each corner so they sit flush with the top. Screw the sides into the stakes for extra stability.
- Set in place: Level-ish works. Raised beds don’t need laser precision; they need good drainage and a flat-enough top edge.
Wood Choices, Decoded
- Pine/whitewood: Cheapest. Lasts 3–5 years (longer if you oil). Perfect for under $50.
- Cedar: Gorgeous and rot-resistant, but usually blows the budget. IMO, skip unless you find a sale or salvage.
- Pressure-treated: Modern formulas are food-safe per most experts, but if you want to stay ultra-organic, avoid it. Pine + linseed oil hits the sweet spot.
Weed-Proof The Bottom (For Free)
Lay cardboard over the grass inside the frame, overlapping edges by 6 inches. Wet it so it hugs the ground. Cardboard smothers grass, breaks down over time, and feeds microbes. Landscape fabric works too, but cardboard’s free and greener.
Pro Tip: Skip The Dig
No need to remove sod. The cardboard method creates a no-dig bed that’s ready in minutes. Less sweat, more snacks.

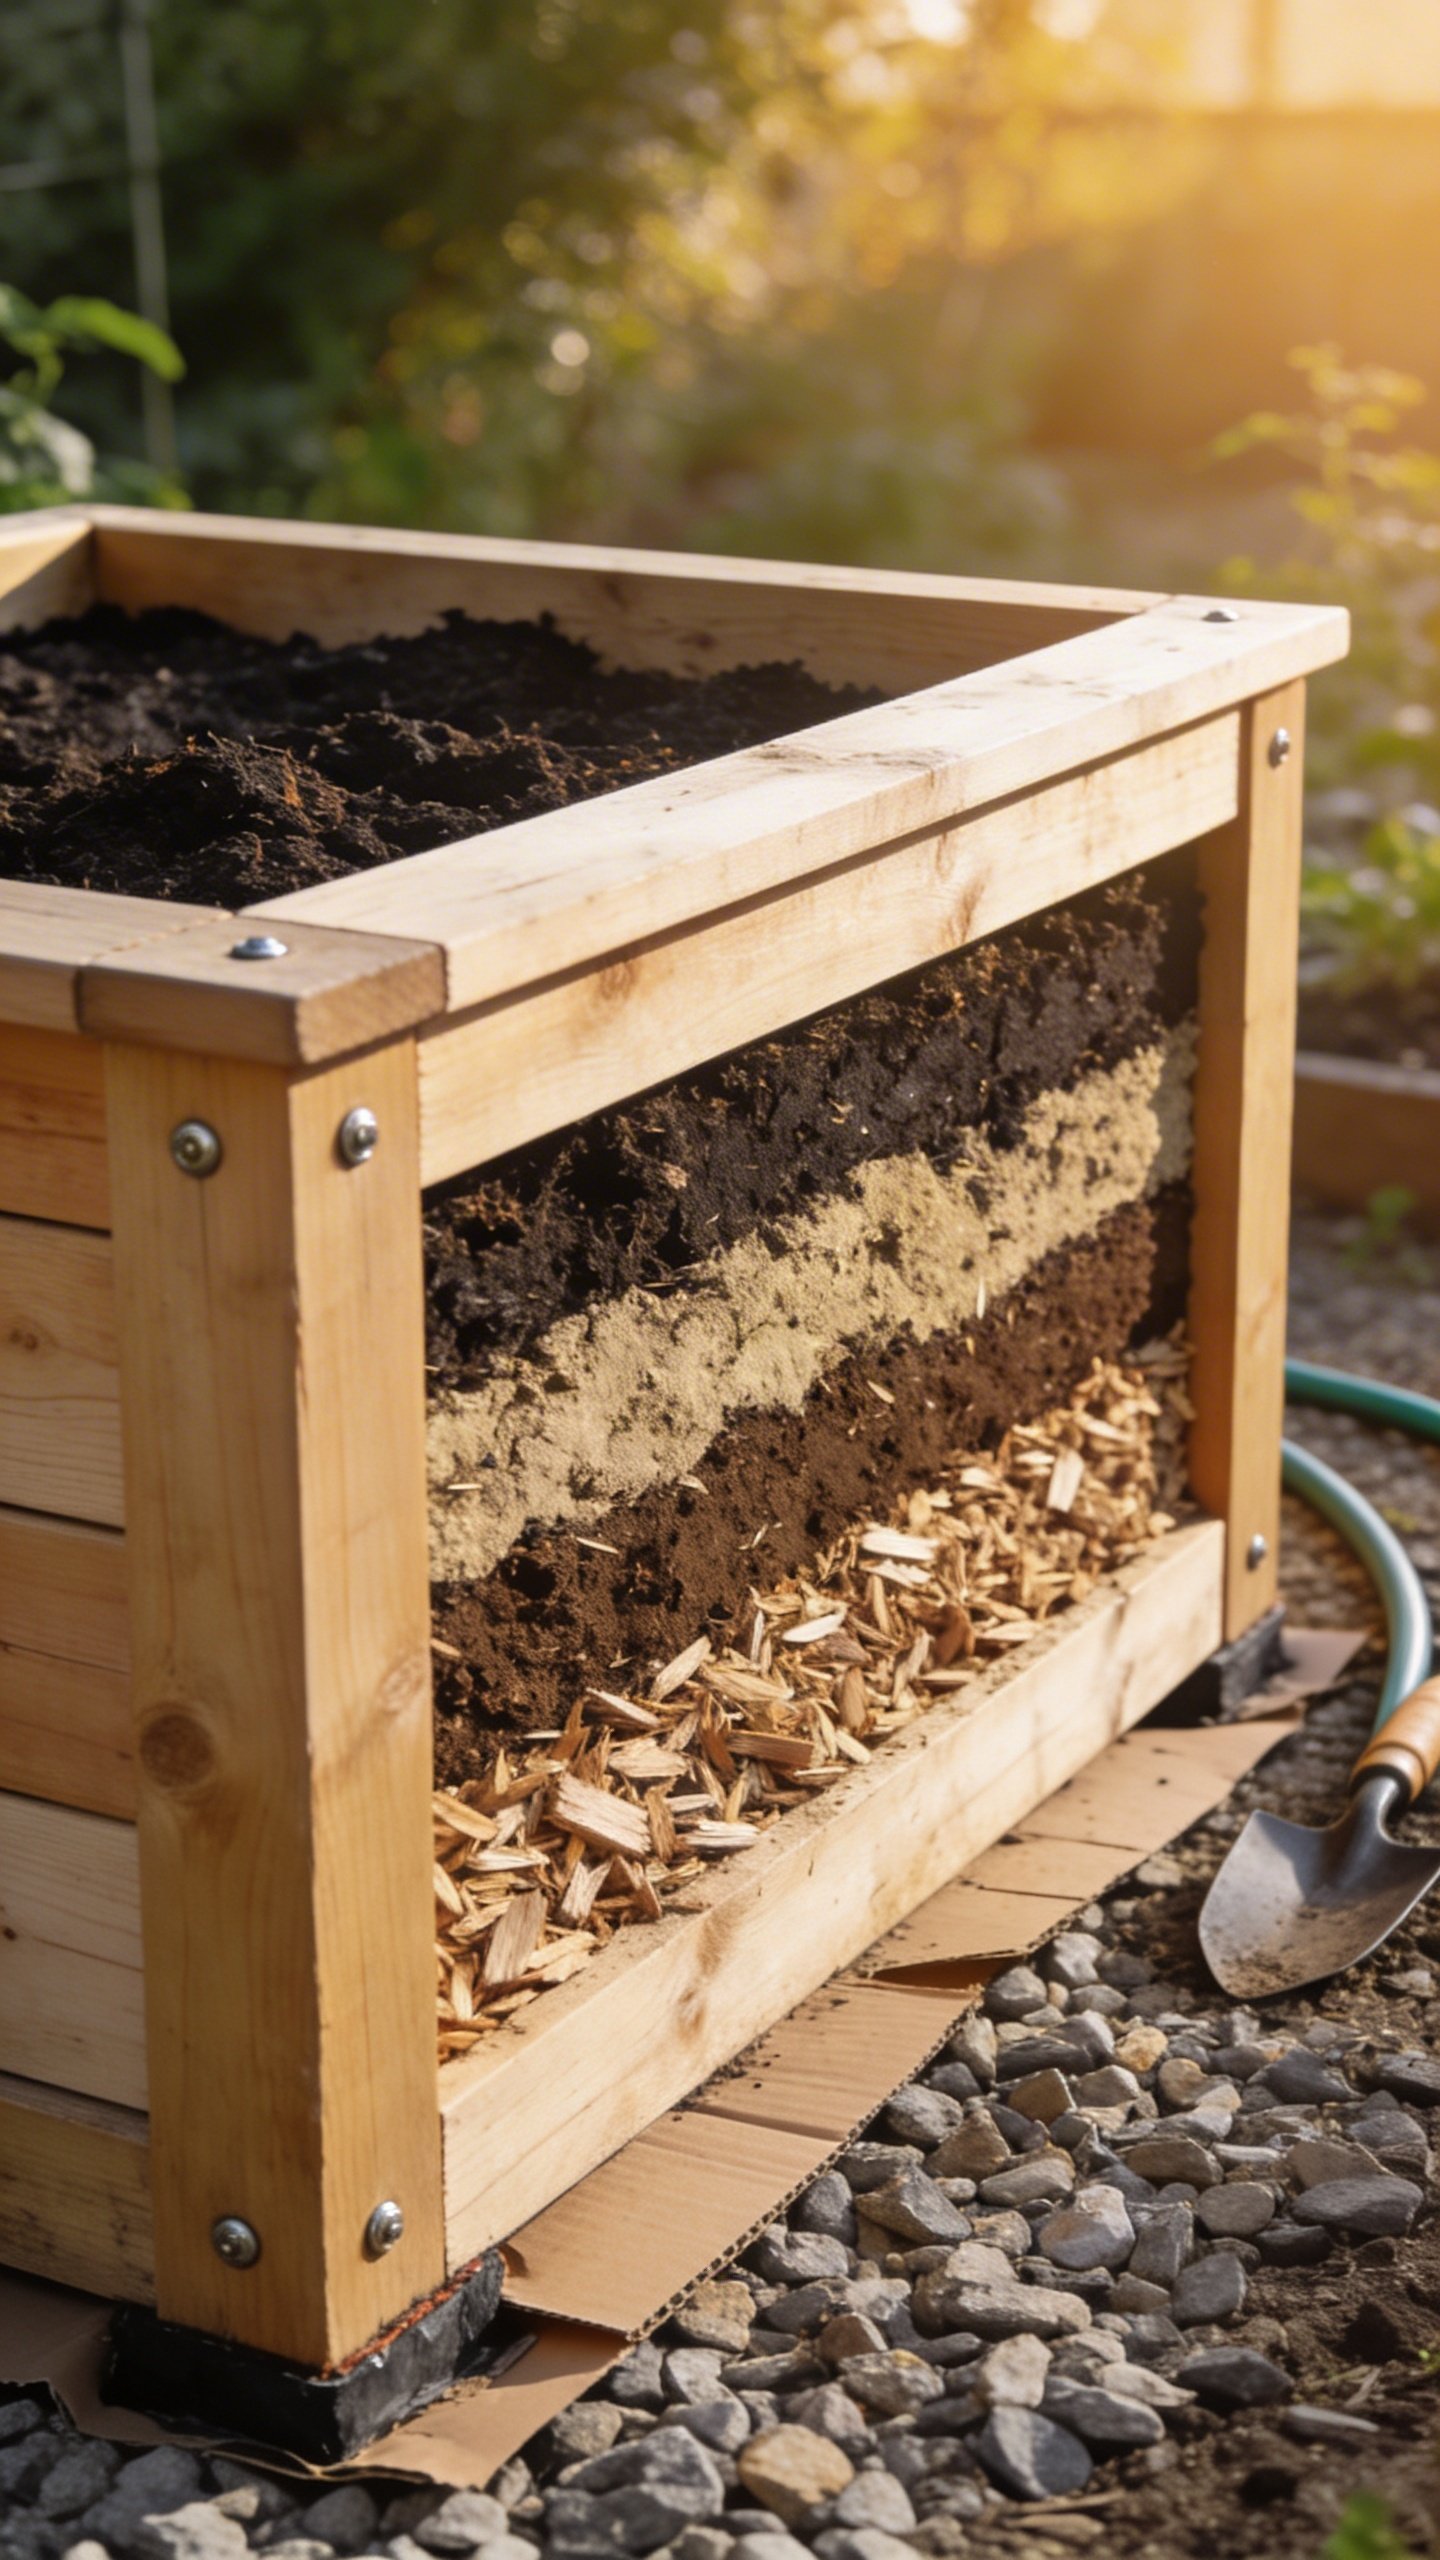
Fill Smart: Cheap Soil That Still Grows Like Crazy
Soil eats budgets if you let it. Instead of buying pricey “raised bed mix,” blend your own:
- 40% topsoil (cheap bags or delivery split with a neighbor)
- 40% compost (store-bought, municipal, or DIY)
- 20% aeration material (coarse sand, pine bark fines, or perlite)
On a super tight budget? Mix native soil + compost 1:1 and call it a day. Avoid filling the bottom with sticks or logs unless you want a slow sinkhole. That hugelkultur trend works, but it steals nitrogen early on—ask me how I know.
How Much Soil Do You Need?
For a 4×8 bed with 7” of soil: about 18–20 cubic feet (roughly 14–15 standard 1.5 cu ft bags). You’ll use fewer if your ground isn’t perfectly level. If prices look scary, blend bulk topsoil with compost to stay under budget.
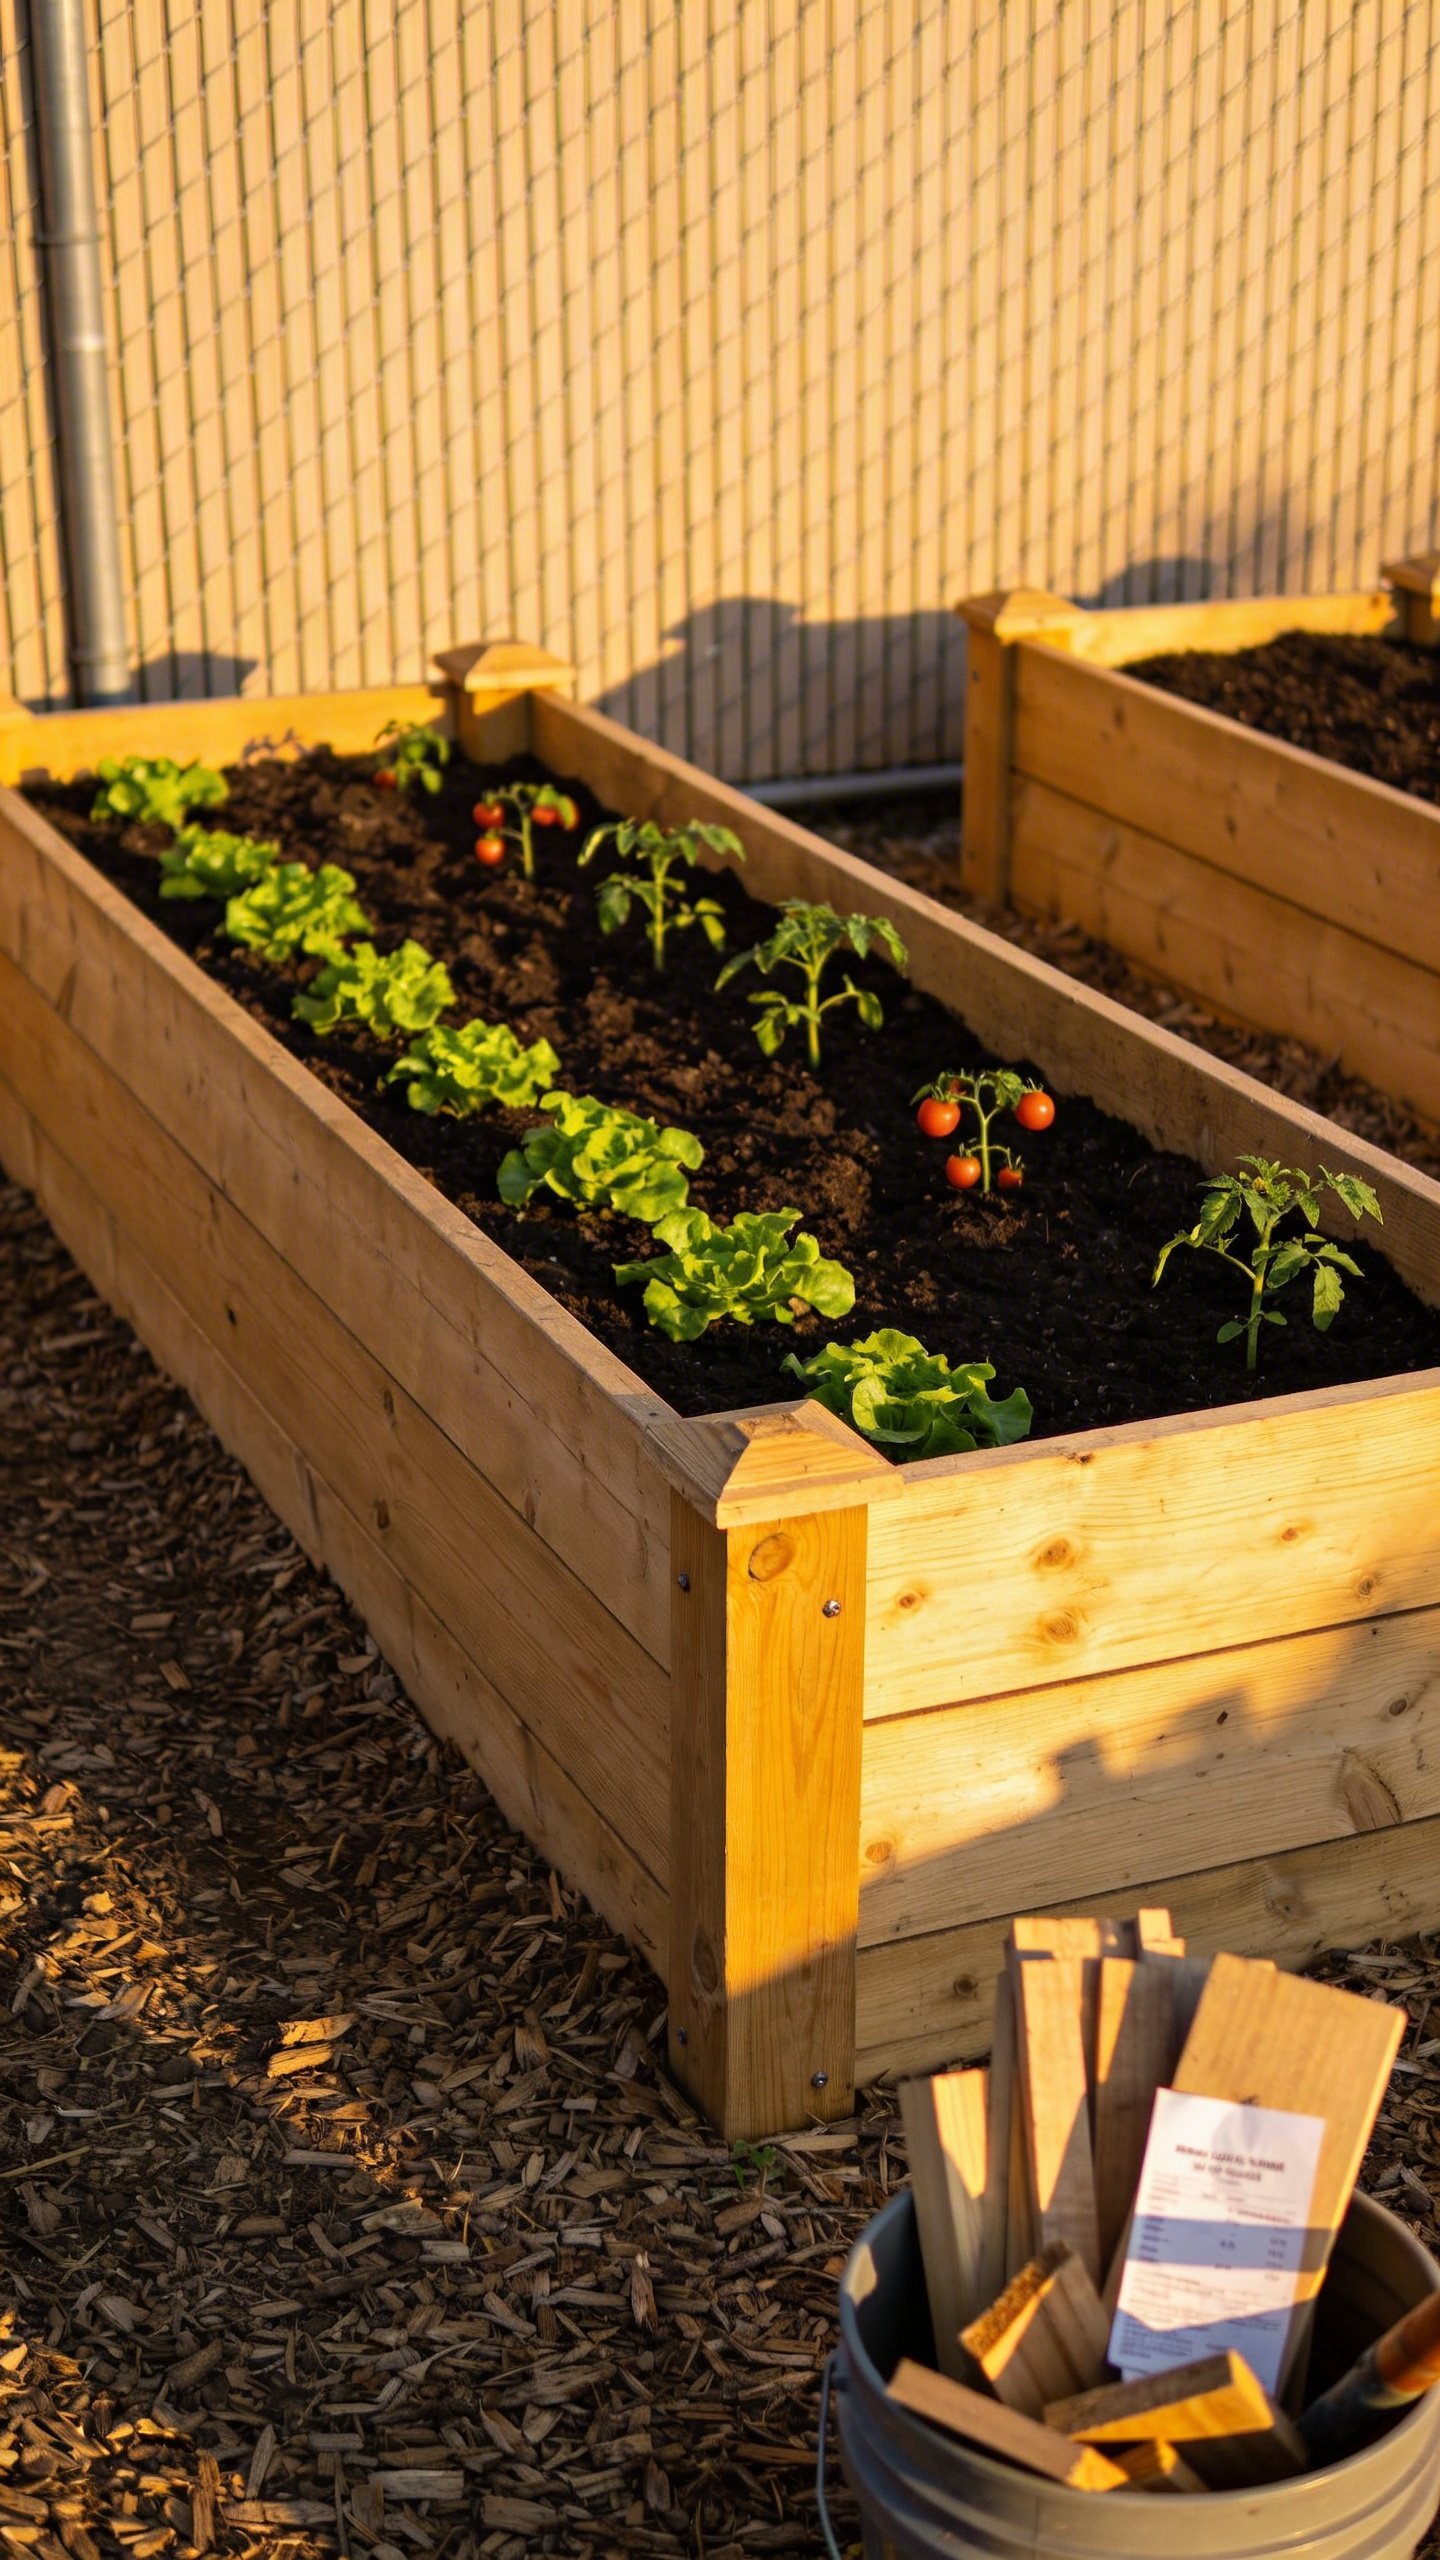
Plant, Water, Win
Once filled, rake the surface smooth. Water thoroughly to settle soil (you’ll top up a little after it compresses). Then plant your MVPs: greens, beans, herbs, and tomatoes all love this setup. Add mulch (shredded leaves, straw) to keep moisture in and weeds out—cheap and effective.
Easy Plant Layouts For New Beds
- Greens zone: Lettuce, spinach, arugula in the shadiest edge.
- Climbers: Beans or peas along one long side with a simple trellis.
- Stars: One or two tomatoes in cages near the center.
- Fillers: Basil, marigolds, and scallions in gaps. Boom—pest control and flavor.
Keep It Cheap, Keep It Strong
- Seal the wood with raw linseed oil for a natural moisture barrier. Wipe on, wipe off. Reapply yearly.
- Brace long sides with one mid-span stake if you see bowing. One scrap stake = instant fix.
- Top up compost each season. Your soil improves every year, and your harvests get ridiculous.
- Scavenge materials: Check habitat-restores, curb alerts, or fencing offcuts. FYI, straight fence pickets can build shallow herb beds for pennies.
FAQs
Will cheap pine leach chemicals into my food?
Regular construction pine doesn’t contain added preservatives. It’s safe for food gardens. If you want extra peace of mind, seal with raw linseed oil. Skip pressure-treated if you’re going ultra-organic, though modern formulas are generally considered safe.
How long will a budget bed actually last?
Expect 3–5 years from pine, longer with oiling and decent drainage. Keep soil and mulch off the outer faces and avoid sprinklers hitting the boards nonstop. When edges finally soften, unscrew and flip boards to squeeze out another season. Frugal and proud.
Do I need to line the inside with plastic?
Nope. Lining traps moisture and can rot wood faster. If your soil is super wet year-round, add a thin gravel trench outside the bed for drainage. Otherwise, good airflow keeps everything happy.
Can I build a deeper bed for root veggies?
Totally. Stack another course of boards for 12–16 inches of depth. It doubles the lumber cost, so watch the budget. A hack: dig a shallow trench inside the frame to gain extra root room without buying more wood.
What if my yard only gets partial sun?
Grow winners for low light: lettuce, kale, spinach, peas, mint, parsley. Save the tomatoes and peppers for the sunniest square you’ve got. You’ll still harvest plenty, IMO.
How do I keep cats/squirrels out without spending money?
Lay cheap bird netting or scrap wire fencing over simple stakes. You can also stick bamboo skewers around seedlings—like a tiny fence they hate navigating. Once plants bulk up, you can remove most defenses.
Conclusion: Your $50 Garden, Activated
You don’t need fancy kits to grow fantastic food—you need a simple frame, smart soil, and a sunny spot. Build it in an afternoon, plant it the next day, and harvest in weeks. Keep it cheap, keep it scrappy, and enjoy those bragging-rights salads. Your future self (and your budget) will say thanks.