How to Make a Diy Water Feature for Under $70 Fast and Zen
Want instant backyard zen without selling a kidney? You can build a gorgeous, burbling water feature in an afternoon for less than a dinner out. No masonry degree required, no heavy lifting beyond a bag of rocks. By the time your coffee gets cold, you’ll have soothing water sounds and major curb-appeal bragging rights.
What You’re Building (And Why It’s Awesome)
You’re making a compact, self-contained fountain that recirculates water using a small pump hidden under stones. It works in a pot, a plastic tub, or a buried bucket. It’s low-maintenance, easy to move, and — the best part — it costs under $70 if you shop smart.
Tired of snacking when you’re not even hungry? This reset helps you stop the loop and feel back in control.
A simple reset for moments when cravings take over. Easy to use, easy to repeat, and designed to help you feel satisfied instead of stuck.
Quick Specs
- Build Time: 1–2 hours
- Skill Level: Confident DIY beginner
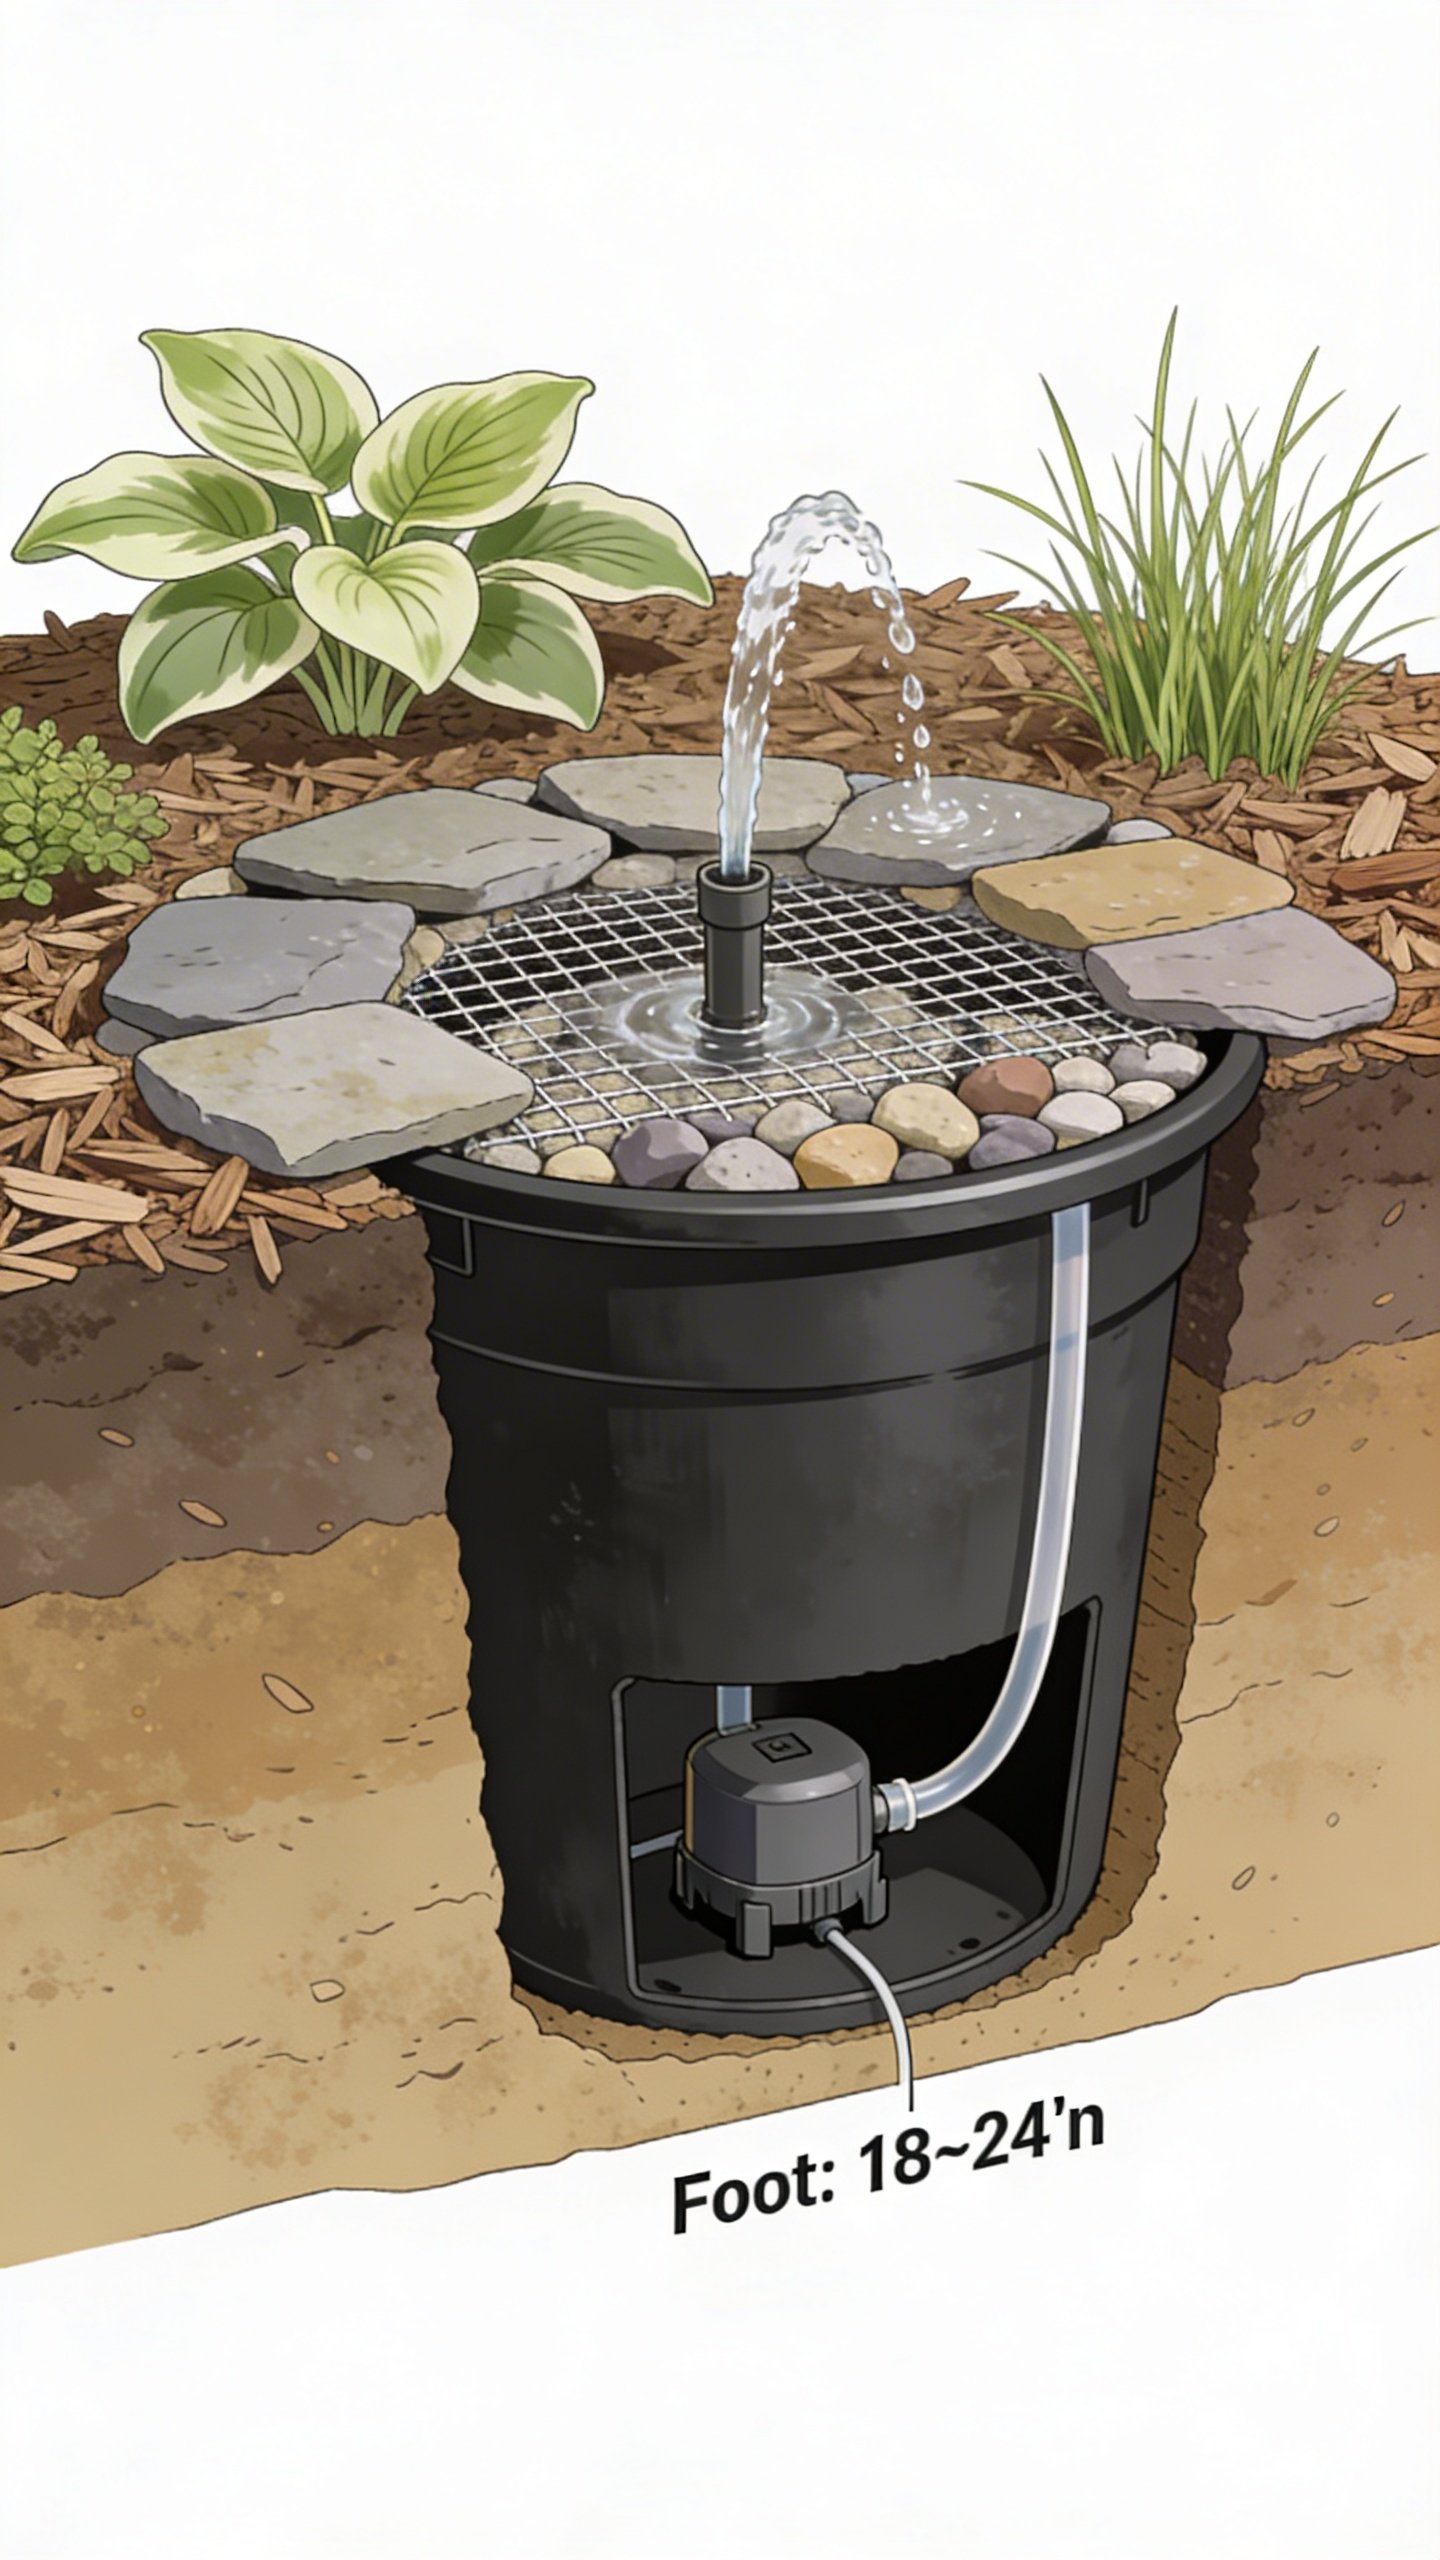
- Footprint: About 18–24 inches wide
- Noise: Gentle burble, not Niagara Falls
Budget Breakdown You Can Actually Hit
Prices vary by store and season, but here’s a realistic cart:
- Submersible pump (80–120 GPH): $15–$25
- Sturdy container (5-gal bucket or 10–15″ pot): $5–$15
- Tubing (3/8″ or 1/2″, 3–4 ft): $4–$8
- Decorative rocks/river stones: $8–$15 (or free if you forage legally)
- Grate or mesh (plastic light diffuser aka “egg crate” or hardware cloth): $8–$12
- Optional topper (small ceramic pot, spillway stone, or bubbler head): $5–$10
Tip: Hit the aquarium aisle or garden center clearance. IMO, thrift stores and “damaged pot” sections are gold mines.
Choose Your Style: Pot, Hidden Basin, Or Tabletop
The container sets the vibe and the sound. What’s your aesthetic?
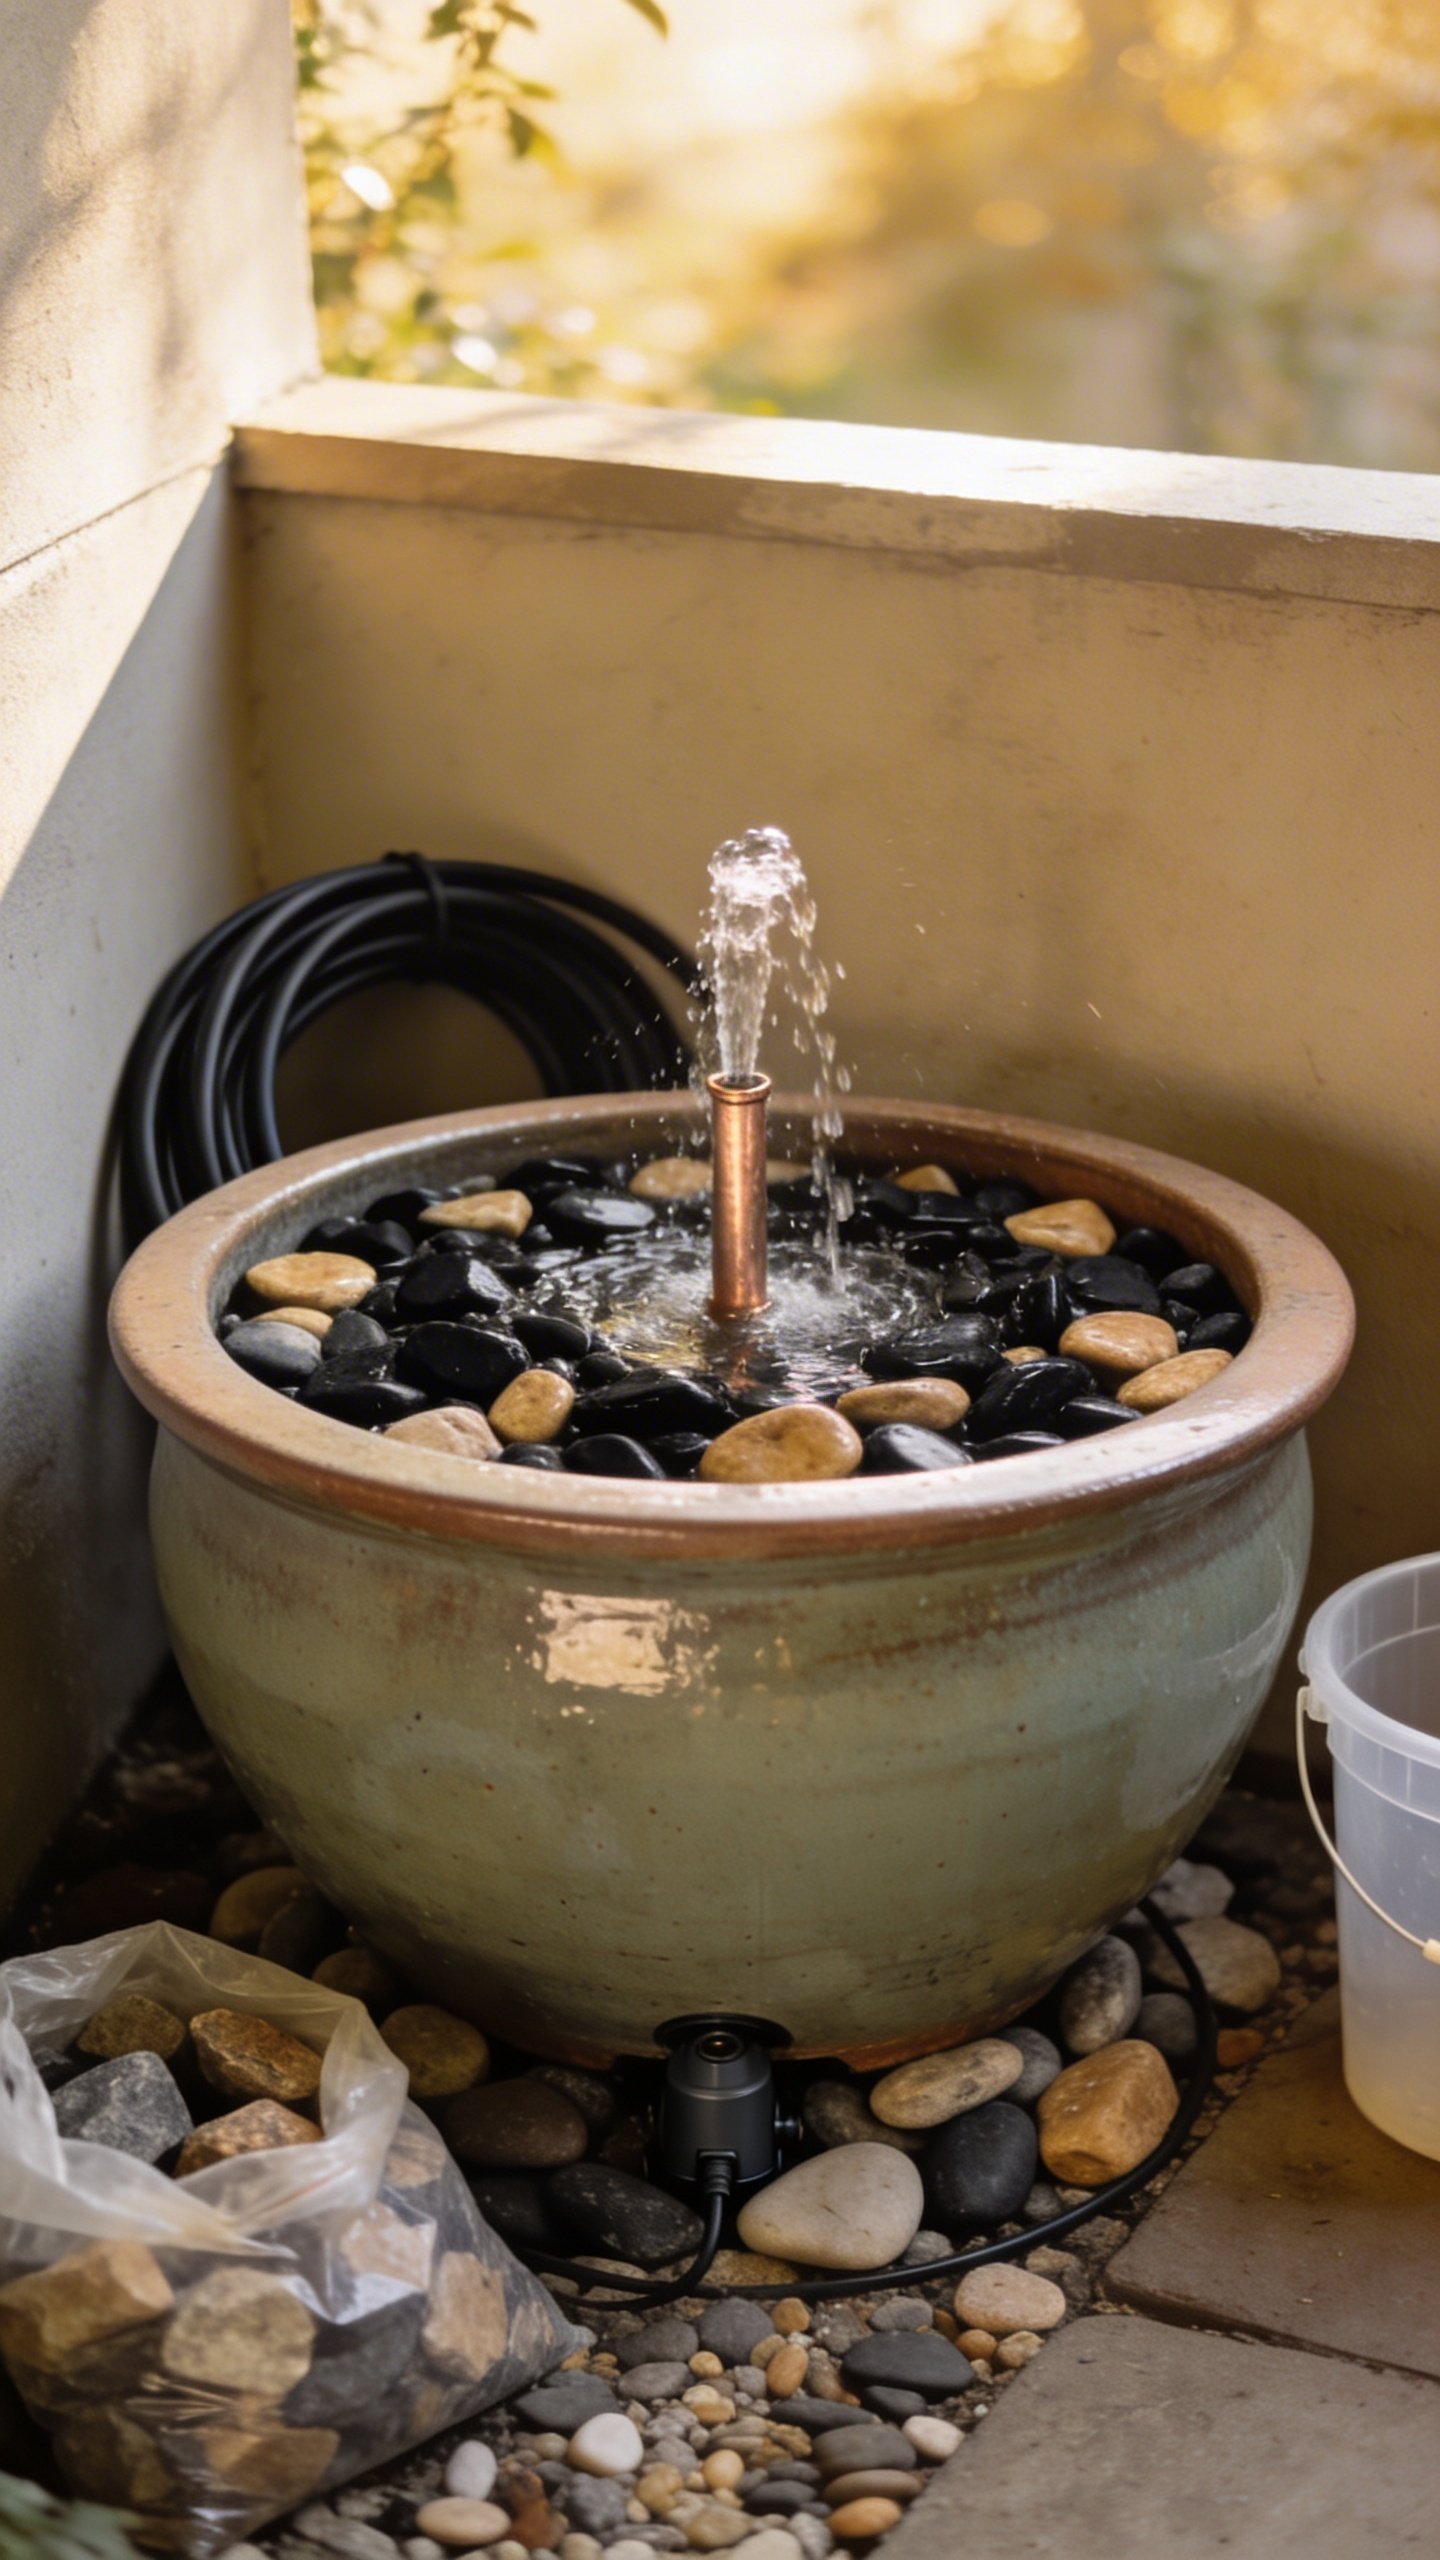
Option 1: Ceramic Pot Bubbler
Pick a pot without a drain hole or plug it with waterproof sealant. The pump sits inside; water bubbles up through tubing and spills over decorative stones. It looks chic and moves easily.
Transform Your Home With 7,250+ Stunning Landscaping Designs—No Expensive Designers Needed!
- 🌿 Access 7,250+ stunning landscaping designs.
- 💰 Save thousands—no pro designer needed.
- 🏡 Plans for gardens, patios, walkways, and more.
- ✨ Simple, beginner-friendly DIY layouts.
- 🛠️ Customize any design to fit your yard.
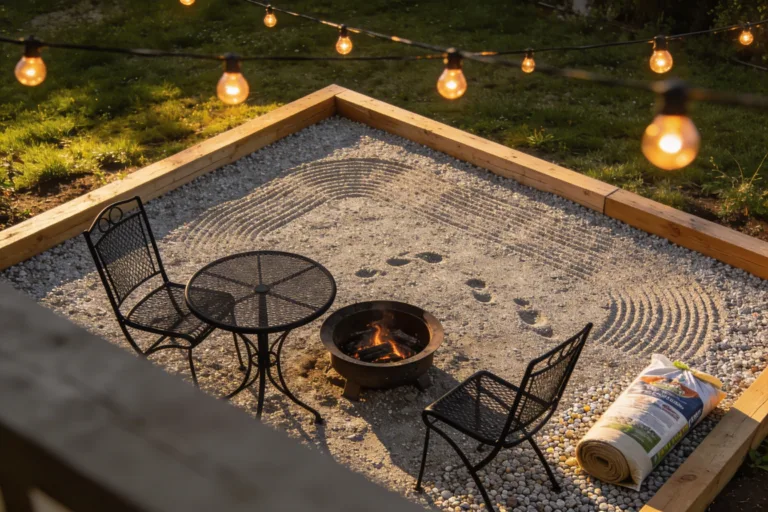
Option 2: Hidden Basin In The Ground
Bury a bucket or plastic tub so it sits flush with the soil. Cover the top with a grate and stones. Your fountain “emerges” from the rock bed. Super tidy and pet-friendly.
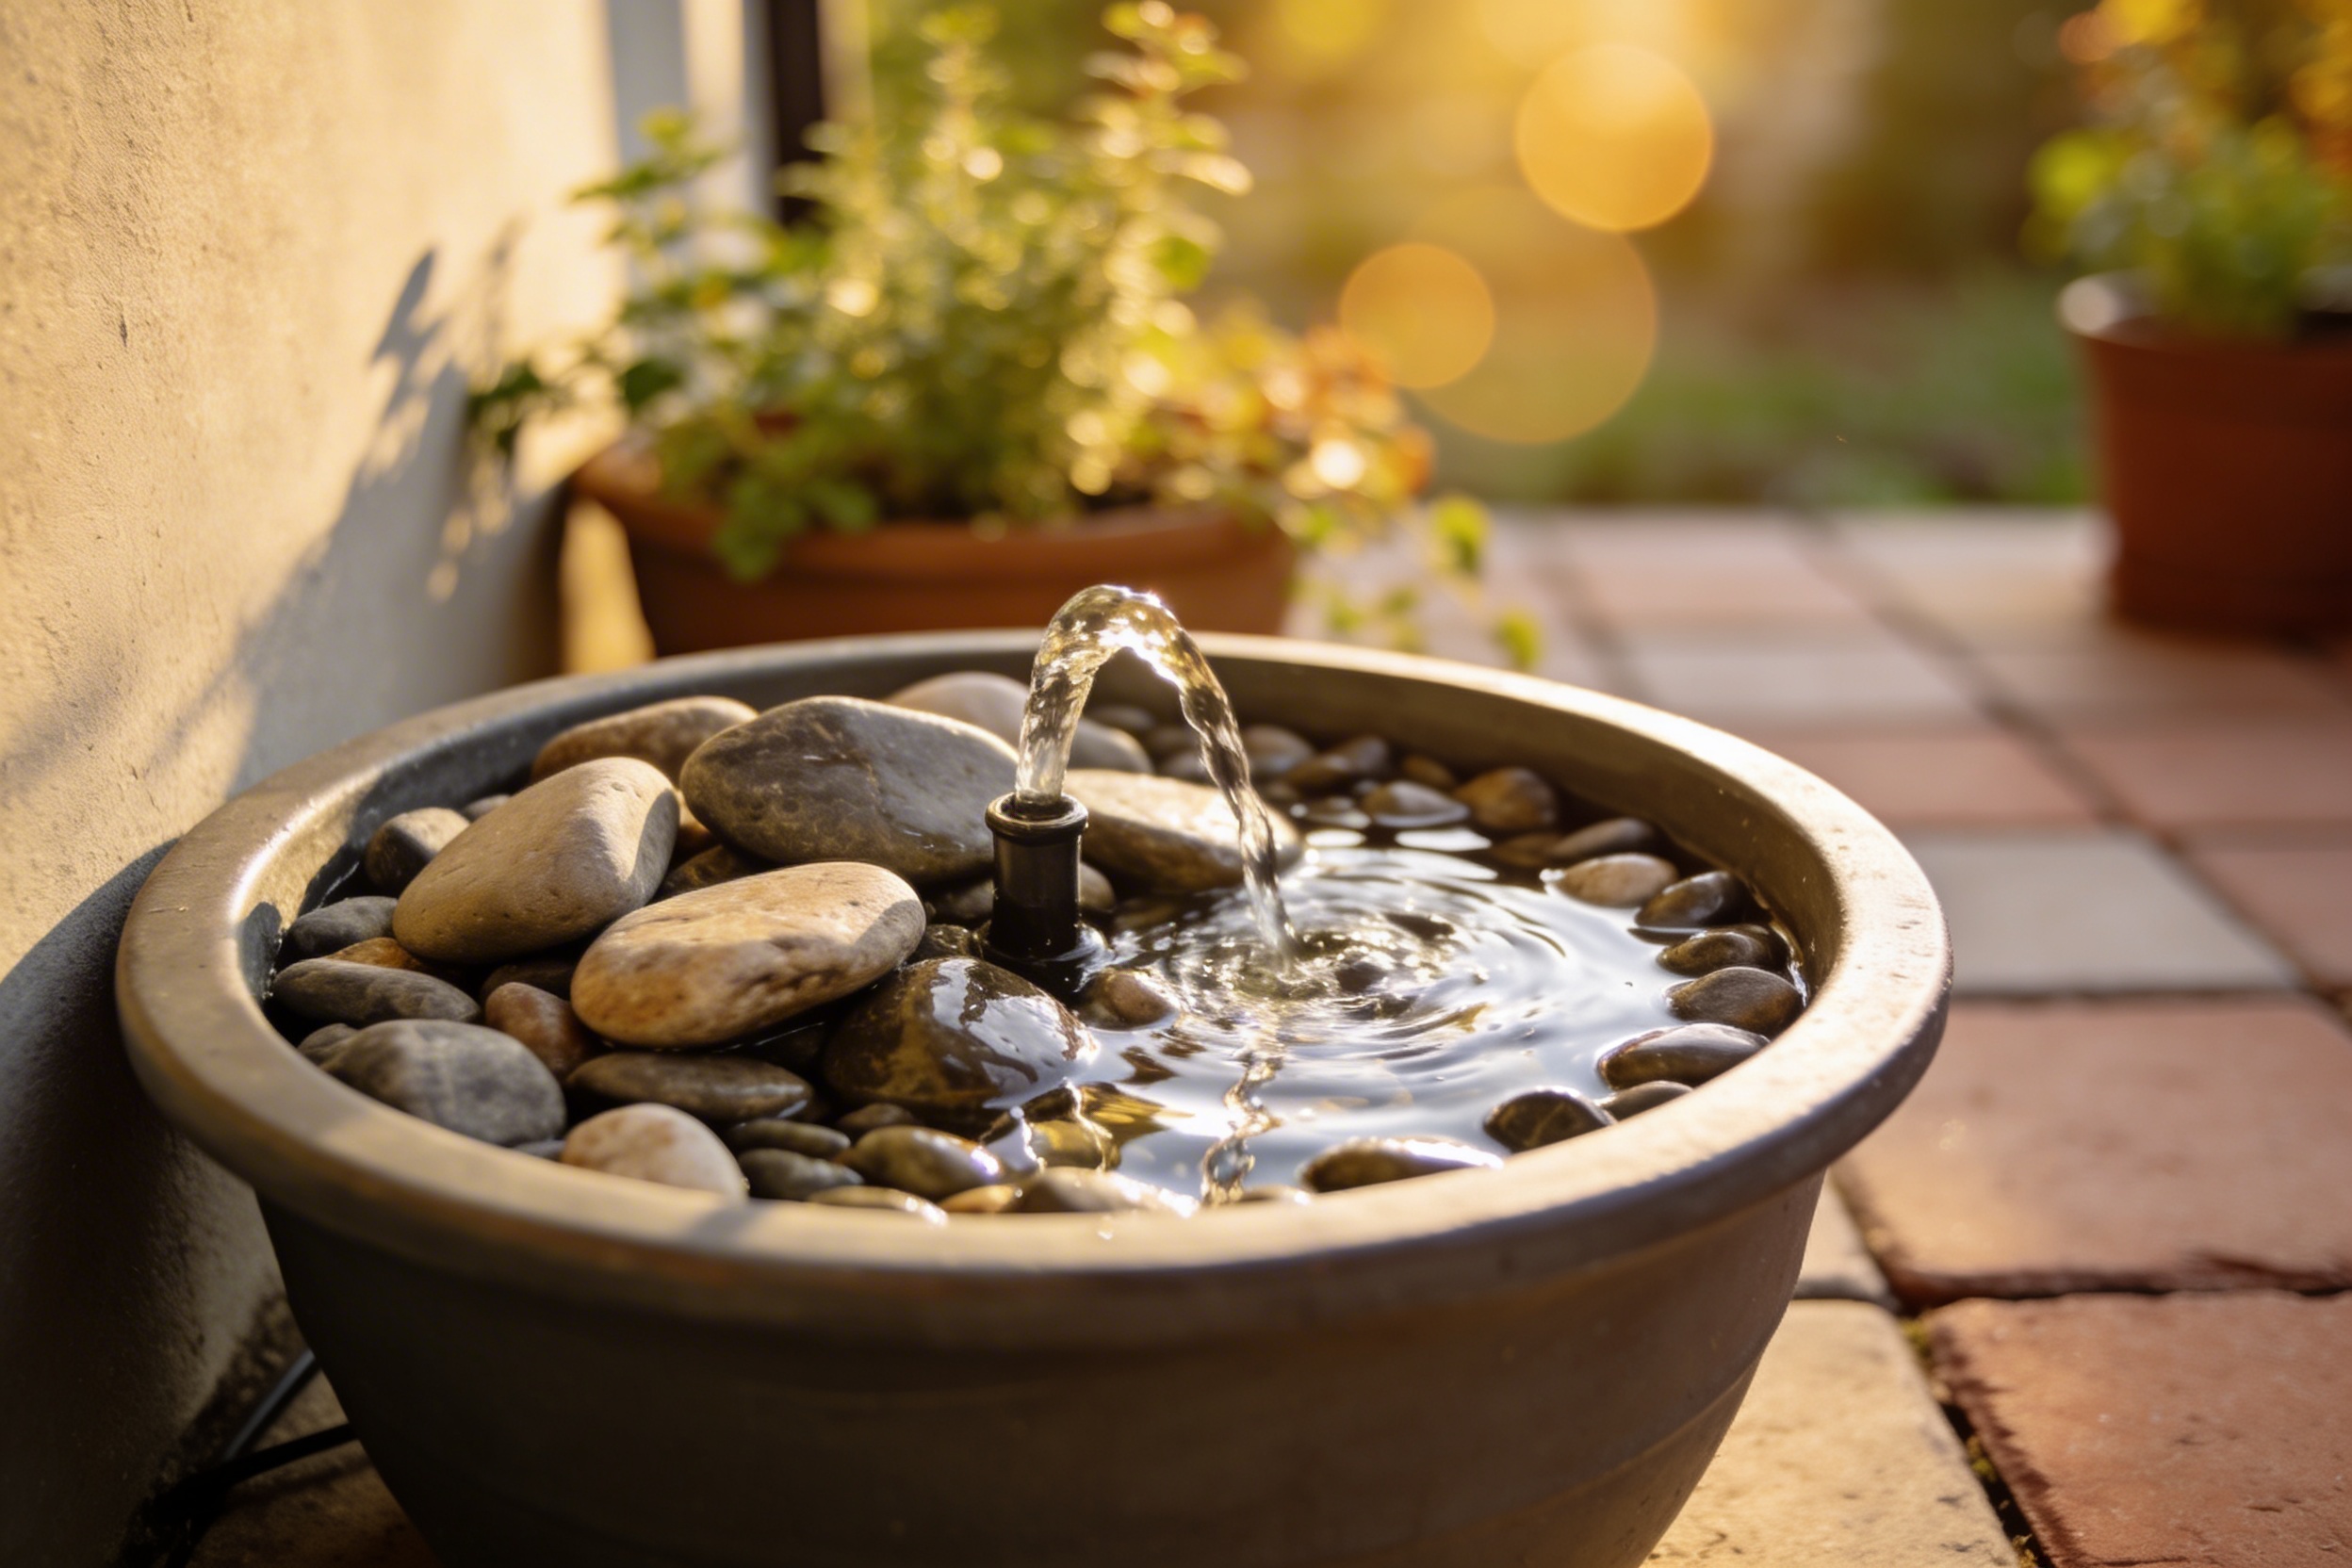
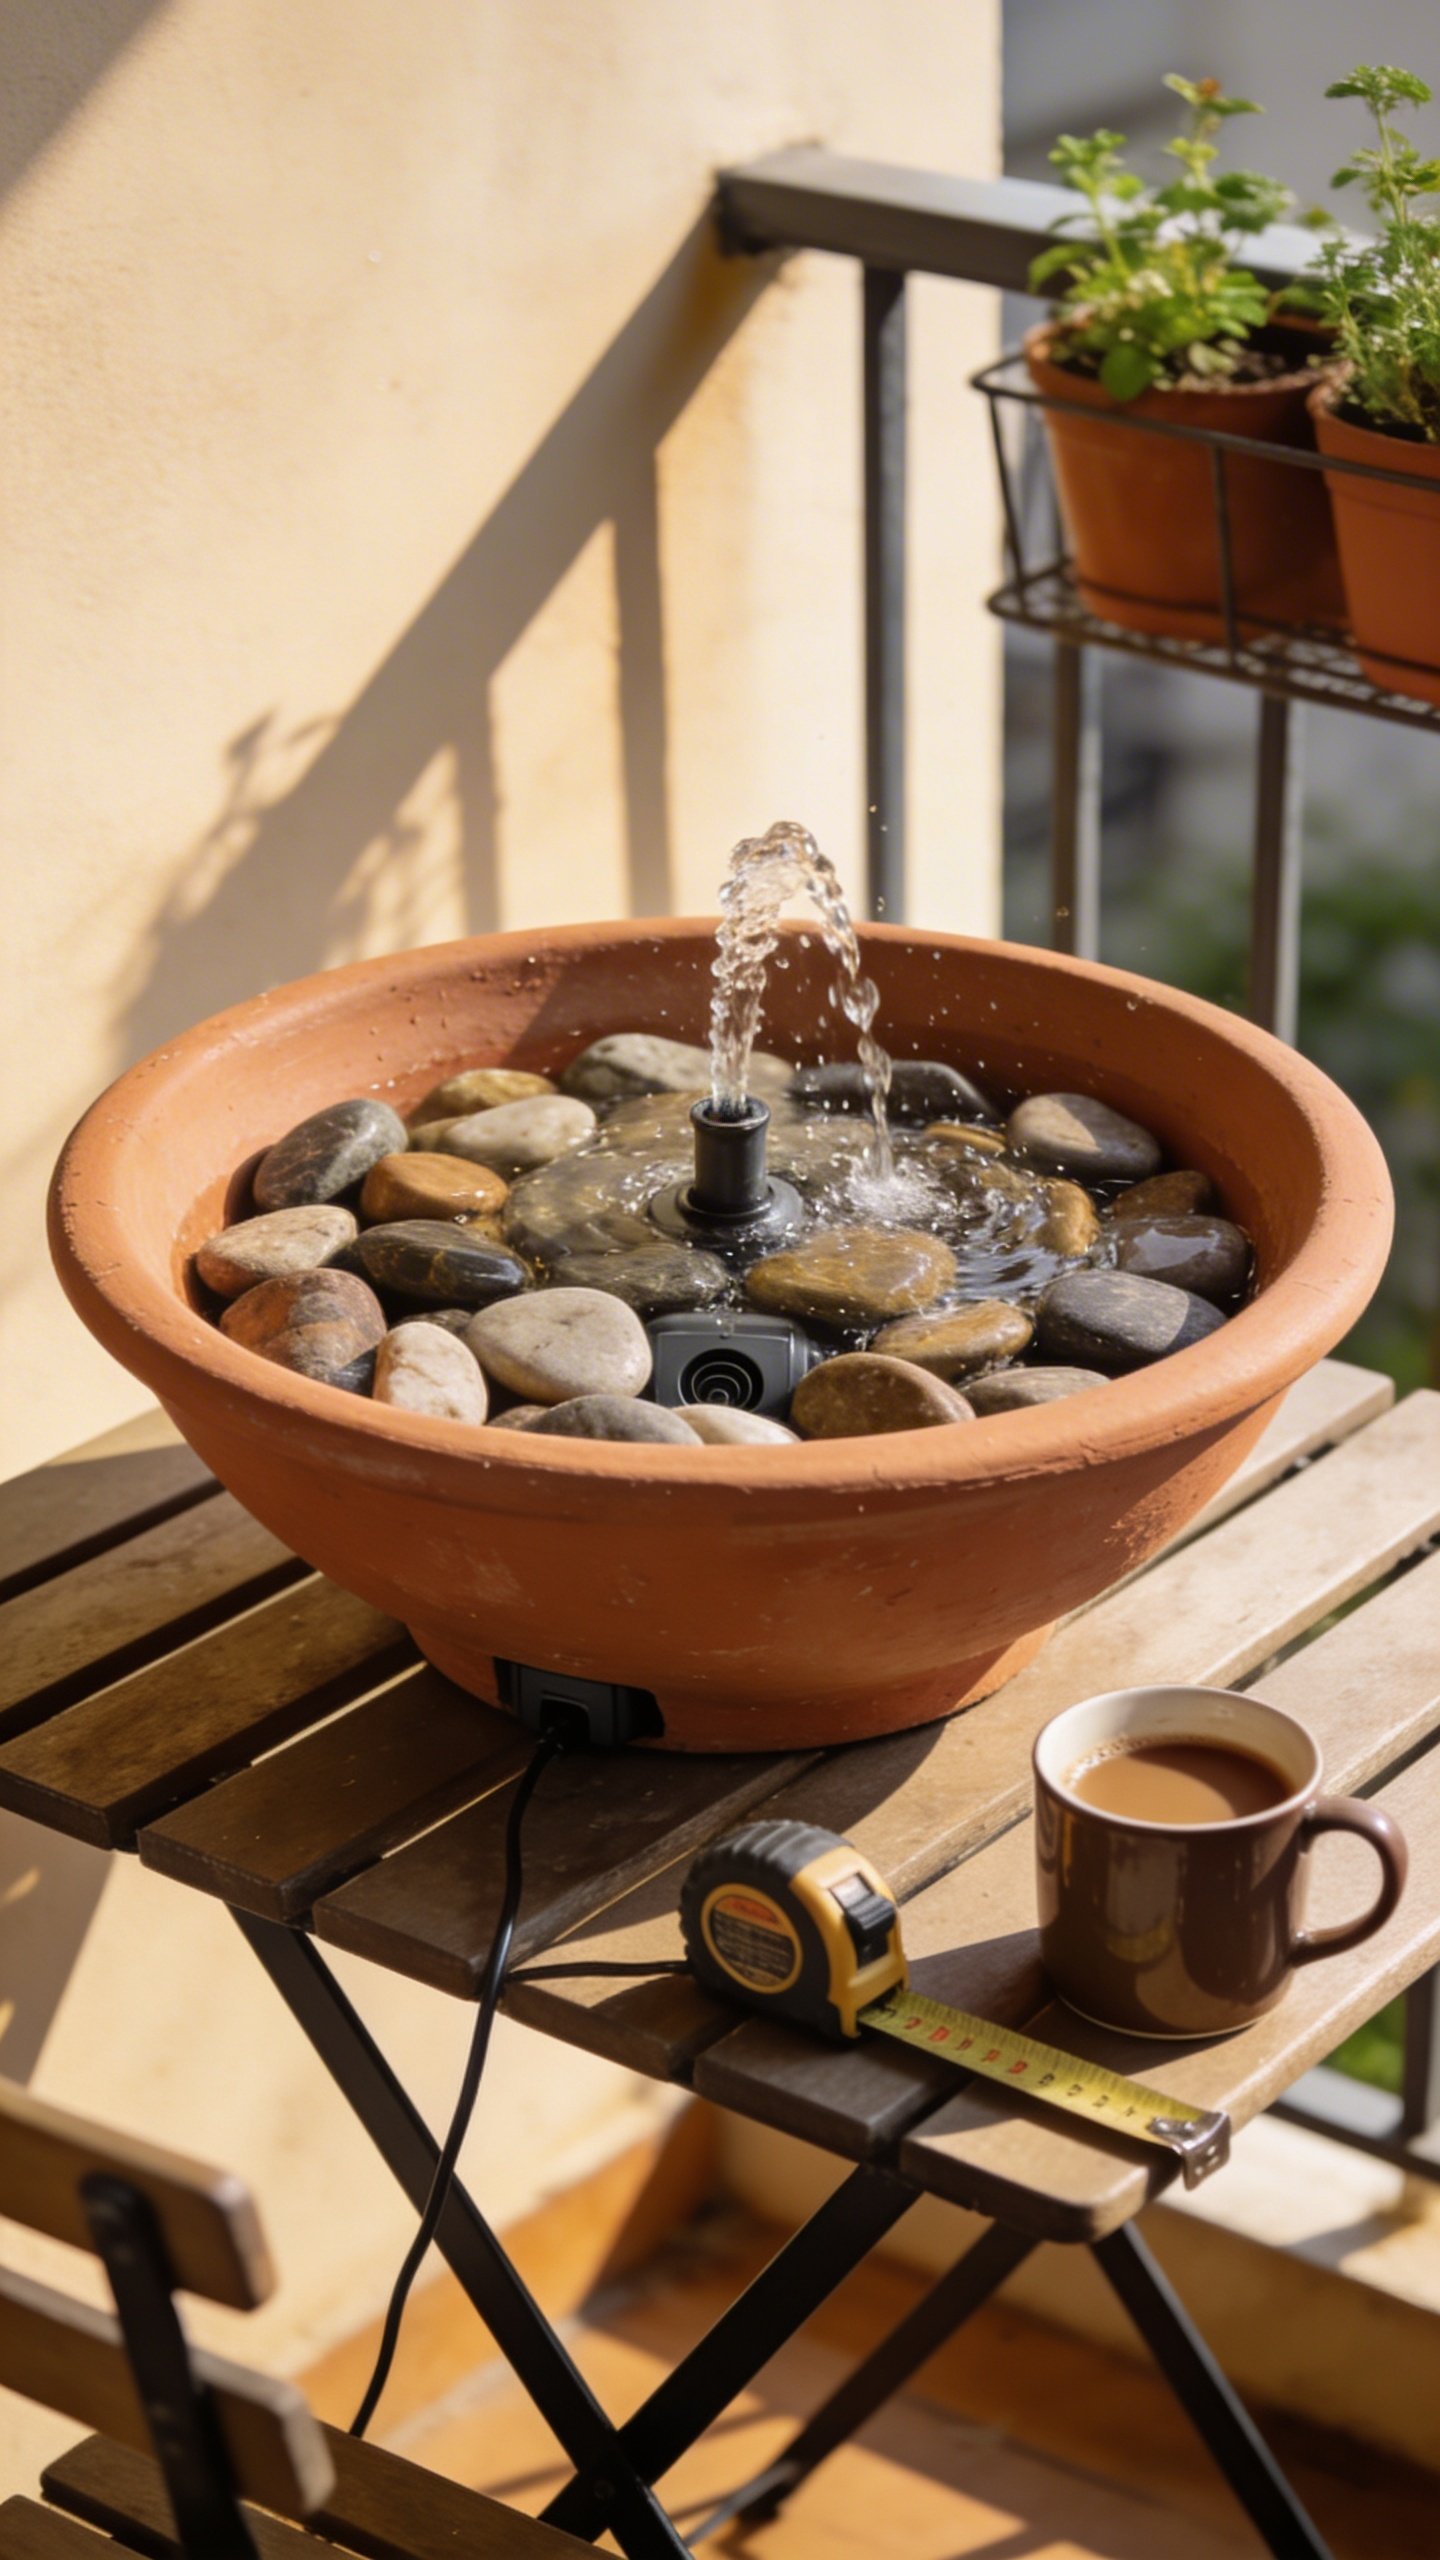
Option 3: Tabletop Mini Fountain
Use a wide, shallow bowl, a tiny 40–60 GPH pump, and pebbles. Perfect for patios or balconies where space (and landlord patience) runs thin.
Tools And Materials (Simple, Promise)
- Utility knife or heavy scissors (for tubing and grate)
- Pliers or tin snips (if using metal mesh)
- Level (or your eyeballs if you live dangerously)
- Bucket for water
- Rag and dish soap (to rinse dust off rocks)
Strong suggestion: rinse stones before you add them so you don’t gunk up your pump on day one. FYI, tiny gravel migrates — use larger stones on top.
Assembly: The Five-Step Flow
1) Prep The Container
– If you’re burying a bucket, dig a hole just big enough and tamp the soil so the rim sits level.
– For a pot fountain, set it where it’ll live; full containers aren’t fun to move.
2) Fit The Grate Or Mesh
– Cut a circle or square to fit the container’s opening or rim.
– Slice a small notch for the tubing.
– The grate spreads weight so stones don’t crush the pump. Smart, right?
3) Pump + Tubing
– Attach tubing to the pump outlet firmly.
– Place the pump at the bottom, cord exiting out the back.
– Run tubing up through the grate and leave a few extra inches for adjustments.
4) Topper And Stone Layout
– Add a small ceramic pot turned upside down, a flat “spill” stone, or a bubbler nozzle.
– Thread the tubing up through the topper or tuck it discretely behind a rock.
– Layer stones: big ones to anchor, medium to hide, small for texture. Keep the pump accessible, just in case.
5) Fill And Test
– Fill the basin until the pump submerges fully.
– Plug it in and adjust the tubing height for the sound you want.
– If you get splashing, lower the flow or reposition stones. Aim for a gentle dome, not an audition for Old Faithful.

Dial In The Sound And Aesthetics
Sound comes from height, flow, and surface. You control all three.
Quieter, More Zen
– Lower the tubing so water kisses a stone instead of falling.
– Use a flat stone with a shallow groove to spread the flow.
– Add more water to raise the basin level.
Livelier, More Sparkly
– Lift the outlet an inch above the rocks.
– Use a narrow nozzle for a little “plume.”
– Angle water to cascade across textured stones for micro-splashes.
Pro move: Hide the cord under mulch or behind planters. You’ll feel instantly fancier.
Keep It Running Smooth For Pennies
– Top off water weekly. Evaporation happens fast in heat and wind.
– Clean the pump monthly. Pop off the intake cover and rinse the little impeller. Takes two minutes.
– Use distilled water if you have hard water and hate mineral crust.
– Add a mosquito dunk fragment if your feature sits still between uses (BTI is safe for pets, read the label).
– Winter? Drain and store the pump indoors if you freeze. Ceramic can crack, and you’ll cry.
Level-Up Ideas That Still Fit The Budget
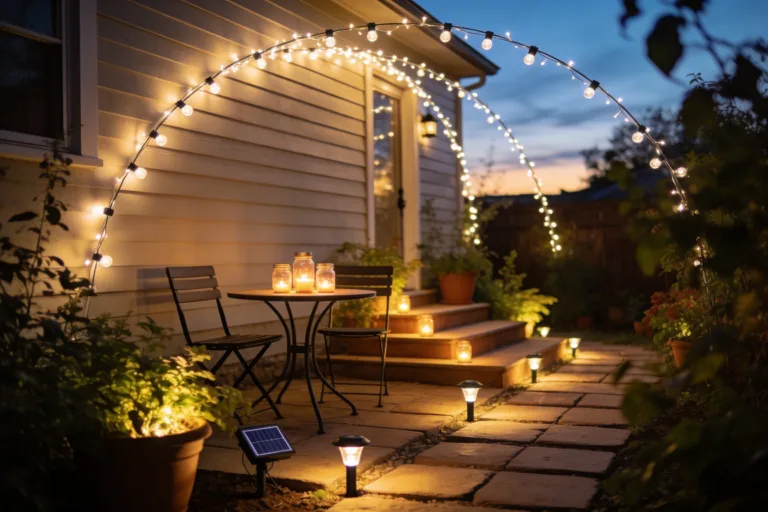
– Glow-up with solar path lights: Tuck one behind a spill stone for night sparkle.
– Herb halo: Surround the basin with thyme or mint. You’ll smell the zen.
– Tiny wildlife stop: Add a shallow “landing stone” for bees and birds.
– Color pop: One bold ceramic accent stone turns “nice” into “whoa.”
Common Mistakes (And How To Dodge Them)
– Pump out of water: It overheats. Keep it submerged at all times.
– Too much splash: You’ll refill daily. Soften flow and raise water level.
– Clogged intake: Pre-rinse rocks and use a scrap of mesh as a pre-filter if needed.
– Wobbly topper: Shim with flat pebbles until everything sits solid. No one wants a surprise geyser.
FAQ
What pump size should I buy?
For small features, 80–120 GPH hits the sweet spot. Bigger pumps get splashy and louder. If your container is huge or tall, step up to 160 GPH, but add a flow control valve so you can tame it.
Can I run it without electricity?
You can use a small solar pump, but budget versions can feel moody on cloudy days. If you want reliable sound, go plug-in. IMO, a smart plug makes on/off a tap on your phone.
How do I keep algae away?
Keep it shaded, rinse the pump monthly, and change water every few weeks. A dash of hydrogen peroxide during cleanings helps. Avoid harsh chemicals if pets sip from it.
Will it attract mosquitoes?
Moving water discourages them. If you turn it off often, toss in a BTI mosquito dunk fragment and keep the water level high. No still puddles, no party.
Is this safe around pets and kids?
Yes, if you secure the grate, use rounded stones, and place cords out of reach. Keep water depth shallow for extra peace of mind. Curious paws will mostly just drink from it, which is fine if you skip additives.
What if my fountain gets noisy overnight?
It’s usually low water. Top it off. If it still chatters, clear the intake and push the pump base flat. Tiny vibrations can amplify like a drum if the pump touches the container wall.
Conclusion
You don’t need a landscape crew or a bloated budget to get that spa-level vibe. With a small pump, a handful of stones, and a smart layout, you’ll build a DIY water feature for under $70 that looks custom and sounds dreamy. Set it, forget it, and enjoy that little ripple of calm every time you step outside. FYI, your neighbors will ask how you did it — feel free to send them this guide and take a victory lap.