How to Build a Gravel Patio for Under $100 This Weekend
Want a backyard upgrade without a wallet meltdown? A gravel patio gives you instant hangout vibes for the cost of a grocery run. No concrete, no fancy tools, and no contractor who ghosts you. You’ll get a durable, stylish spot for chairs and string lights—done in a weekend and under $100, IMO.
Why Gravel Wins (Especially on a Budget)
Gravel checks every box for budget DIYers. It drains well, looks clean, and installs fast with basic tools. You don’t need concrete skills or a truckload of materials.
Best part? You can refresh or expand it anytime. If you mess up a section, rake it and redo. Low risk, high reward—like ordering fries after saying you wouldn’t.
Tired of snacking when you’re not even hungry? This reset helps you stop the loop and feel back in control.
A simple reset for moments when cravings take over. Easy to use, easy to repeat, and designed to help you feel satisfied instead of stuck.
Plan the Patio: Size, Style, and Budget Reality Check
You can totally do this under $100, but keep it modest. Think bistro set, fire pit pad, or reading nook.
Target size for $100: Around 6′ x 8′ to 8′ x 8′, depending on local prices.
Choose Your Gravel Smartly
– Pea gravel (3/8″): Comfortable underfoot, good for lounging.
– Crushed stone fines: Locks together better, less wander. Not as plush.
– Decomposed granite: Smooth and compact, sometimes pricier.
Pro tip: Call landscape yards for “by-the-bag” vs. bulk pricing. Bulk can be cheaper, but delivery fees blow the budget. Borrow a truck or bring bins if possible.
Rough Cost Breakdown (Varies by region)
– 20–25 bags pea gravel (0.5 cu ft each): $60–$90
– Landscape fabric (basic roll): $10–$15
– Stakes and twine: $5
– Pavers/edging (optional): $0–$25 if you find reclaimed
FYI: Hit Facebook Marketplace, ReStore, or your neighbor’s leftover pile for edging and stepping stones.
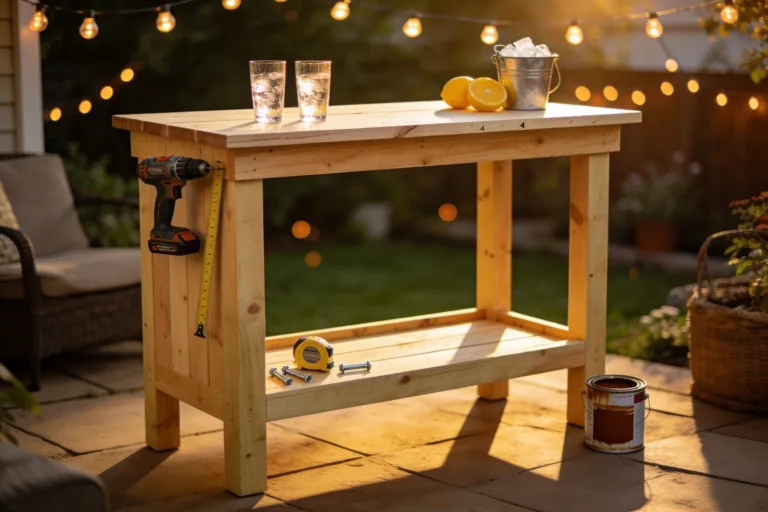
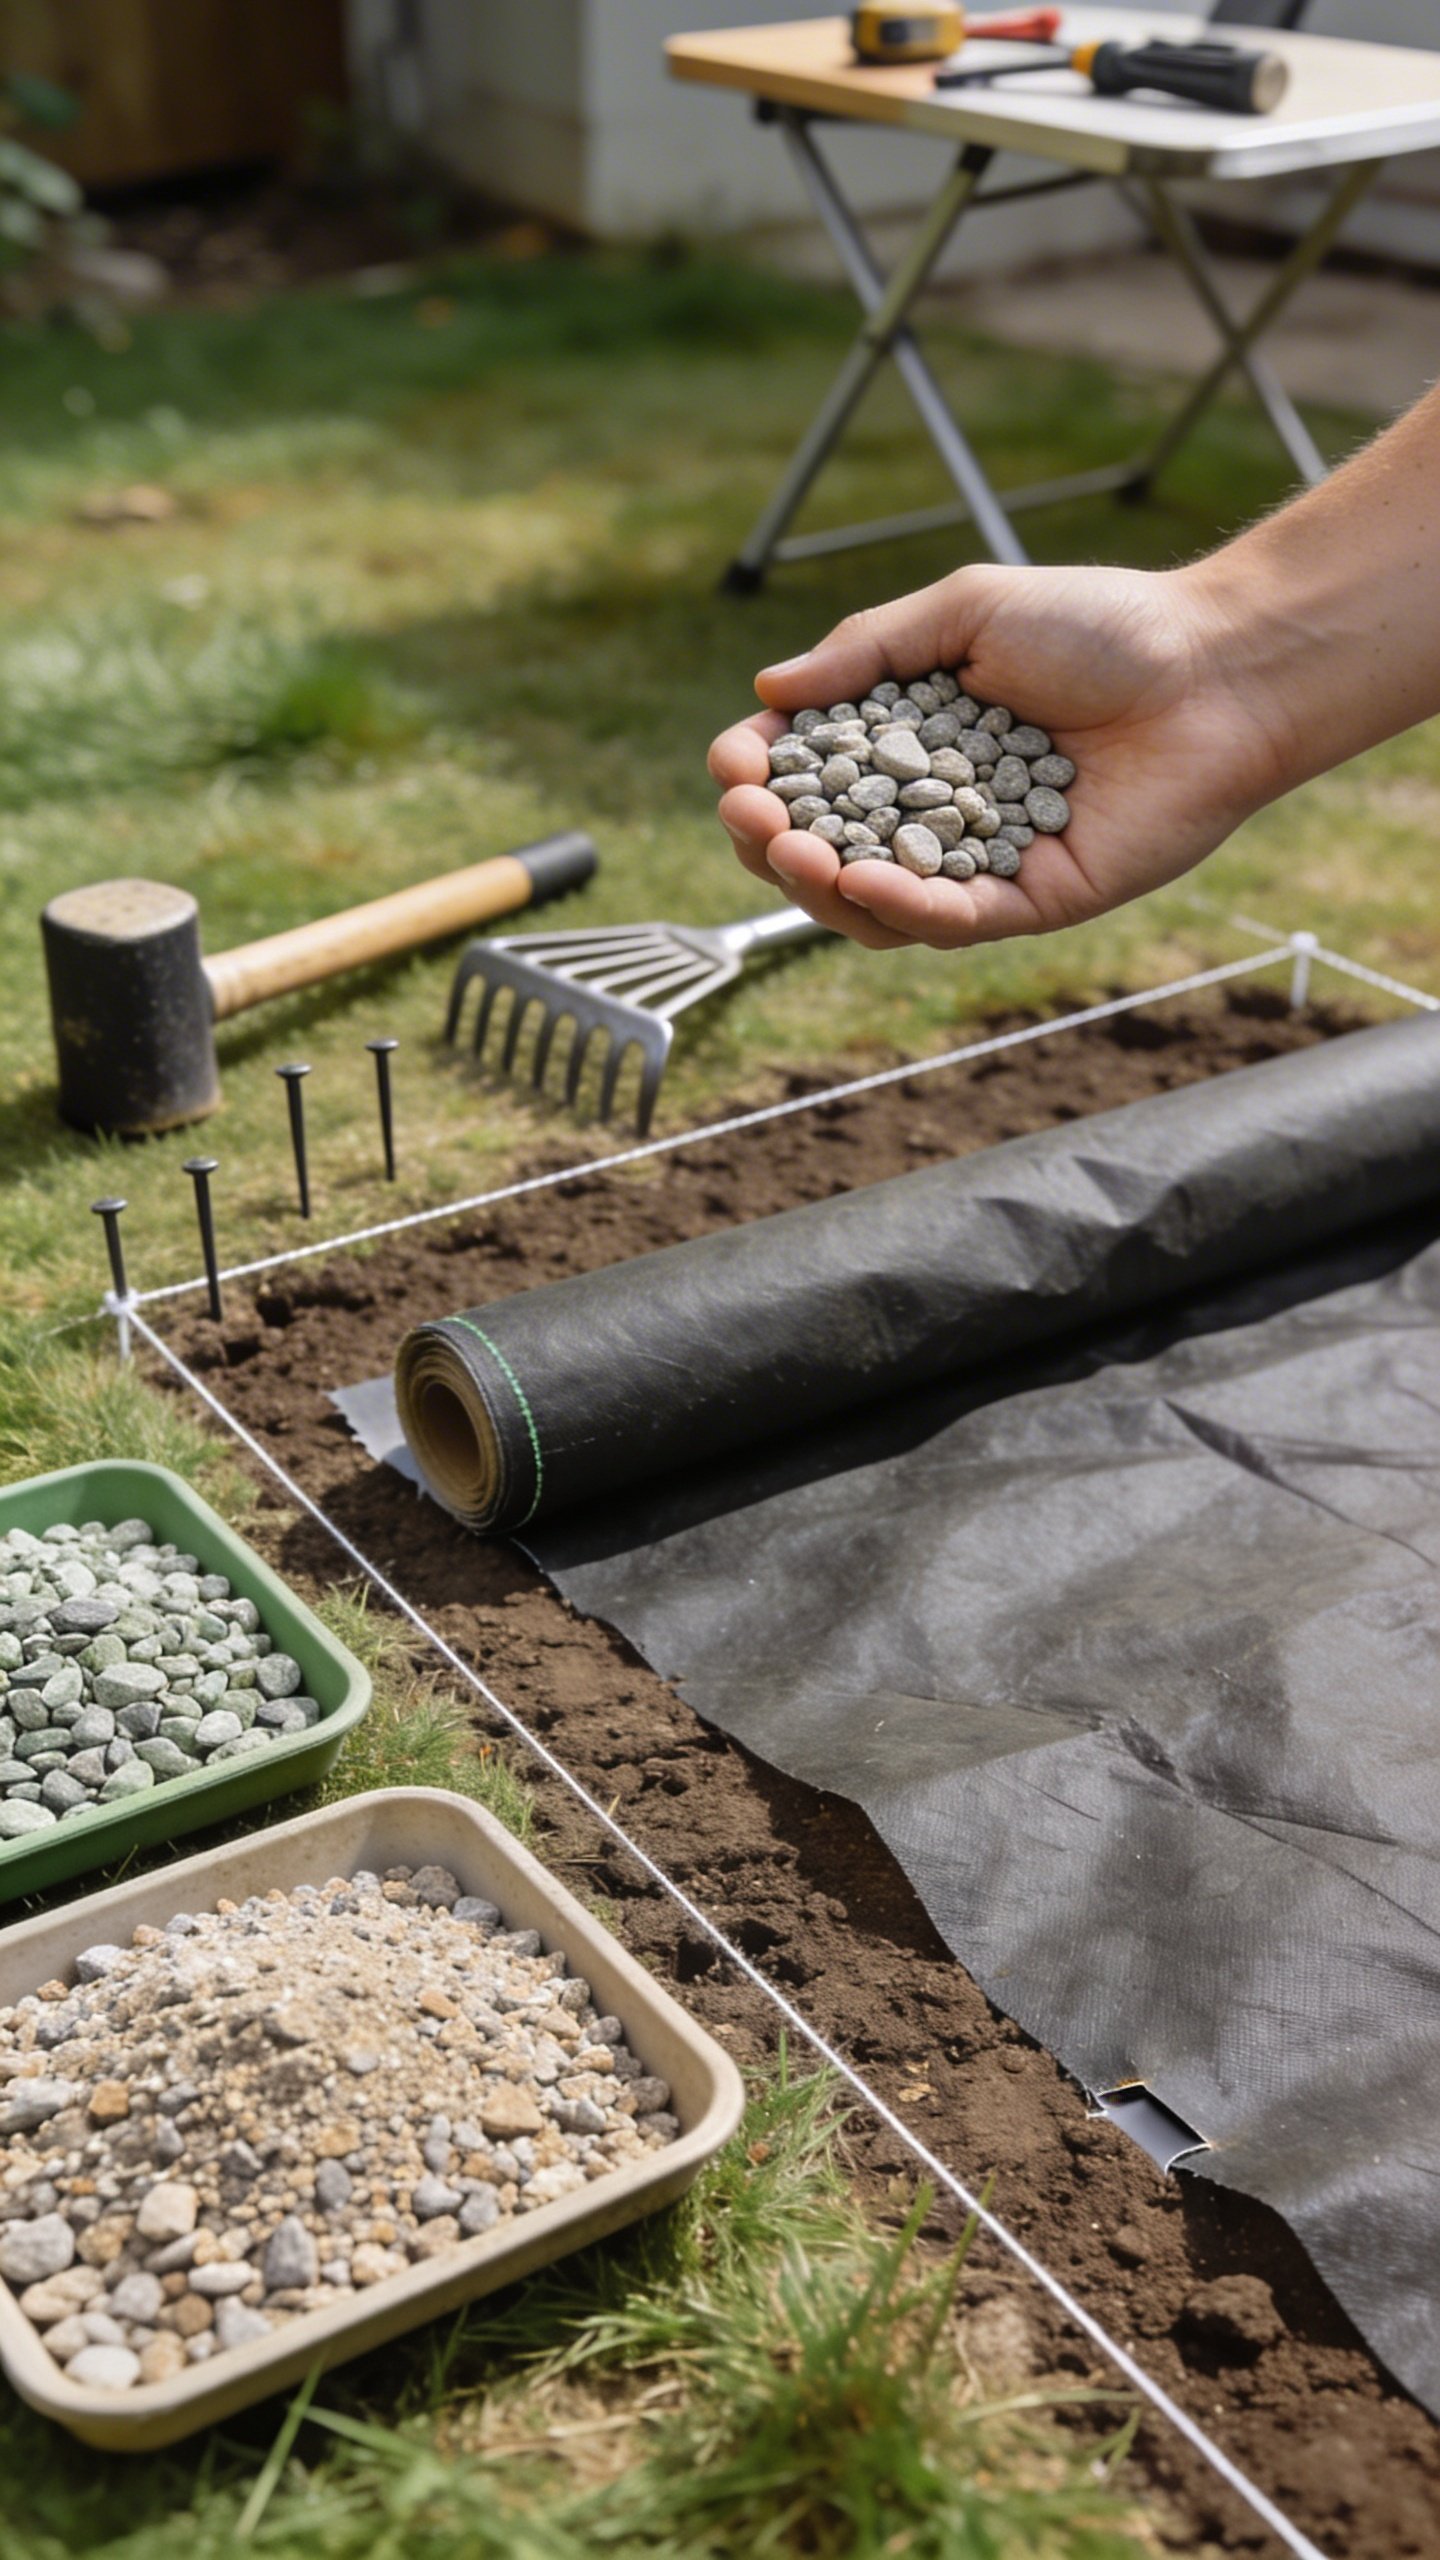
Gather the Essentials (You Probably Own Most)
– Shovel or garden spade
– Rake (bow rake helps a lot)
– Hand tamper (rent for a few bucks or DIY with a scrap 4×4)
– Utility knife
– Wheelbarrow or buckets
– Stakes and twine or spray paint
– Landscape fabric + landscape pins (or rocks in a pinch)
Optional but nice: Inexpensive paver stones or scavenged bricks for edging, a 2×4 for screeding, and a level if you’re picky.
Transform Your Home With 7,250+ Stunning Landscaping Designs—No Expensive Designers Needed!
- 🌿 Access 7,250+ stunning landscaping designs.
- 💰 Save thousands—no pro designer needed.
- 🏡 Plans for gardens, patios, walkways, and more.
- ✨ Simple, beginner-friendly DIY layouts.
- 🛠️ Customize any design to fit your yard.
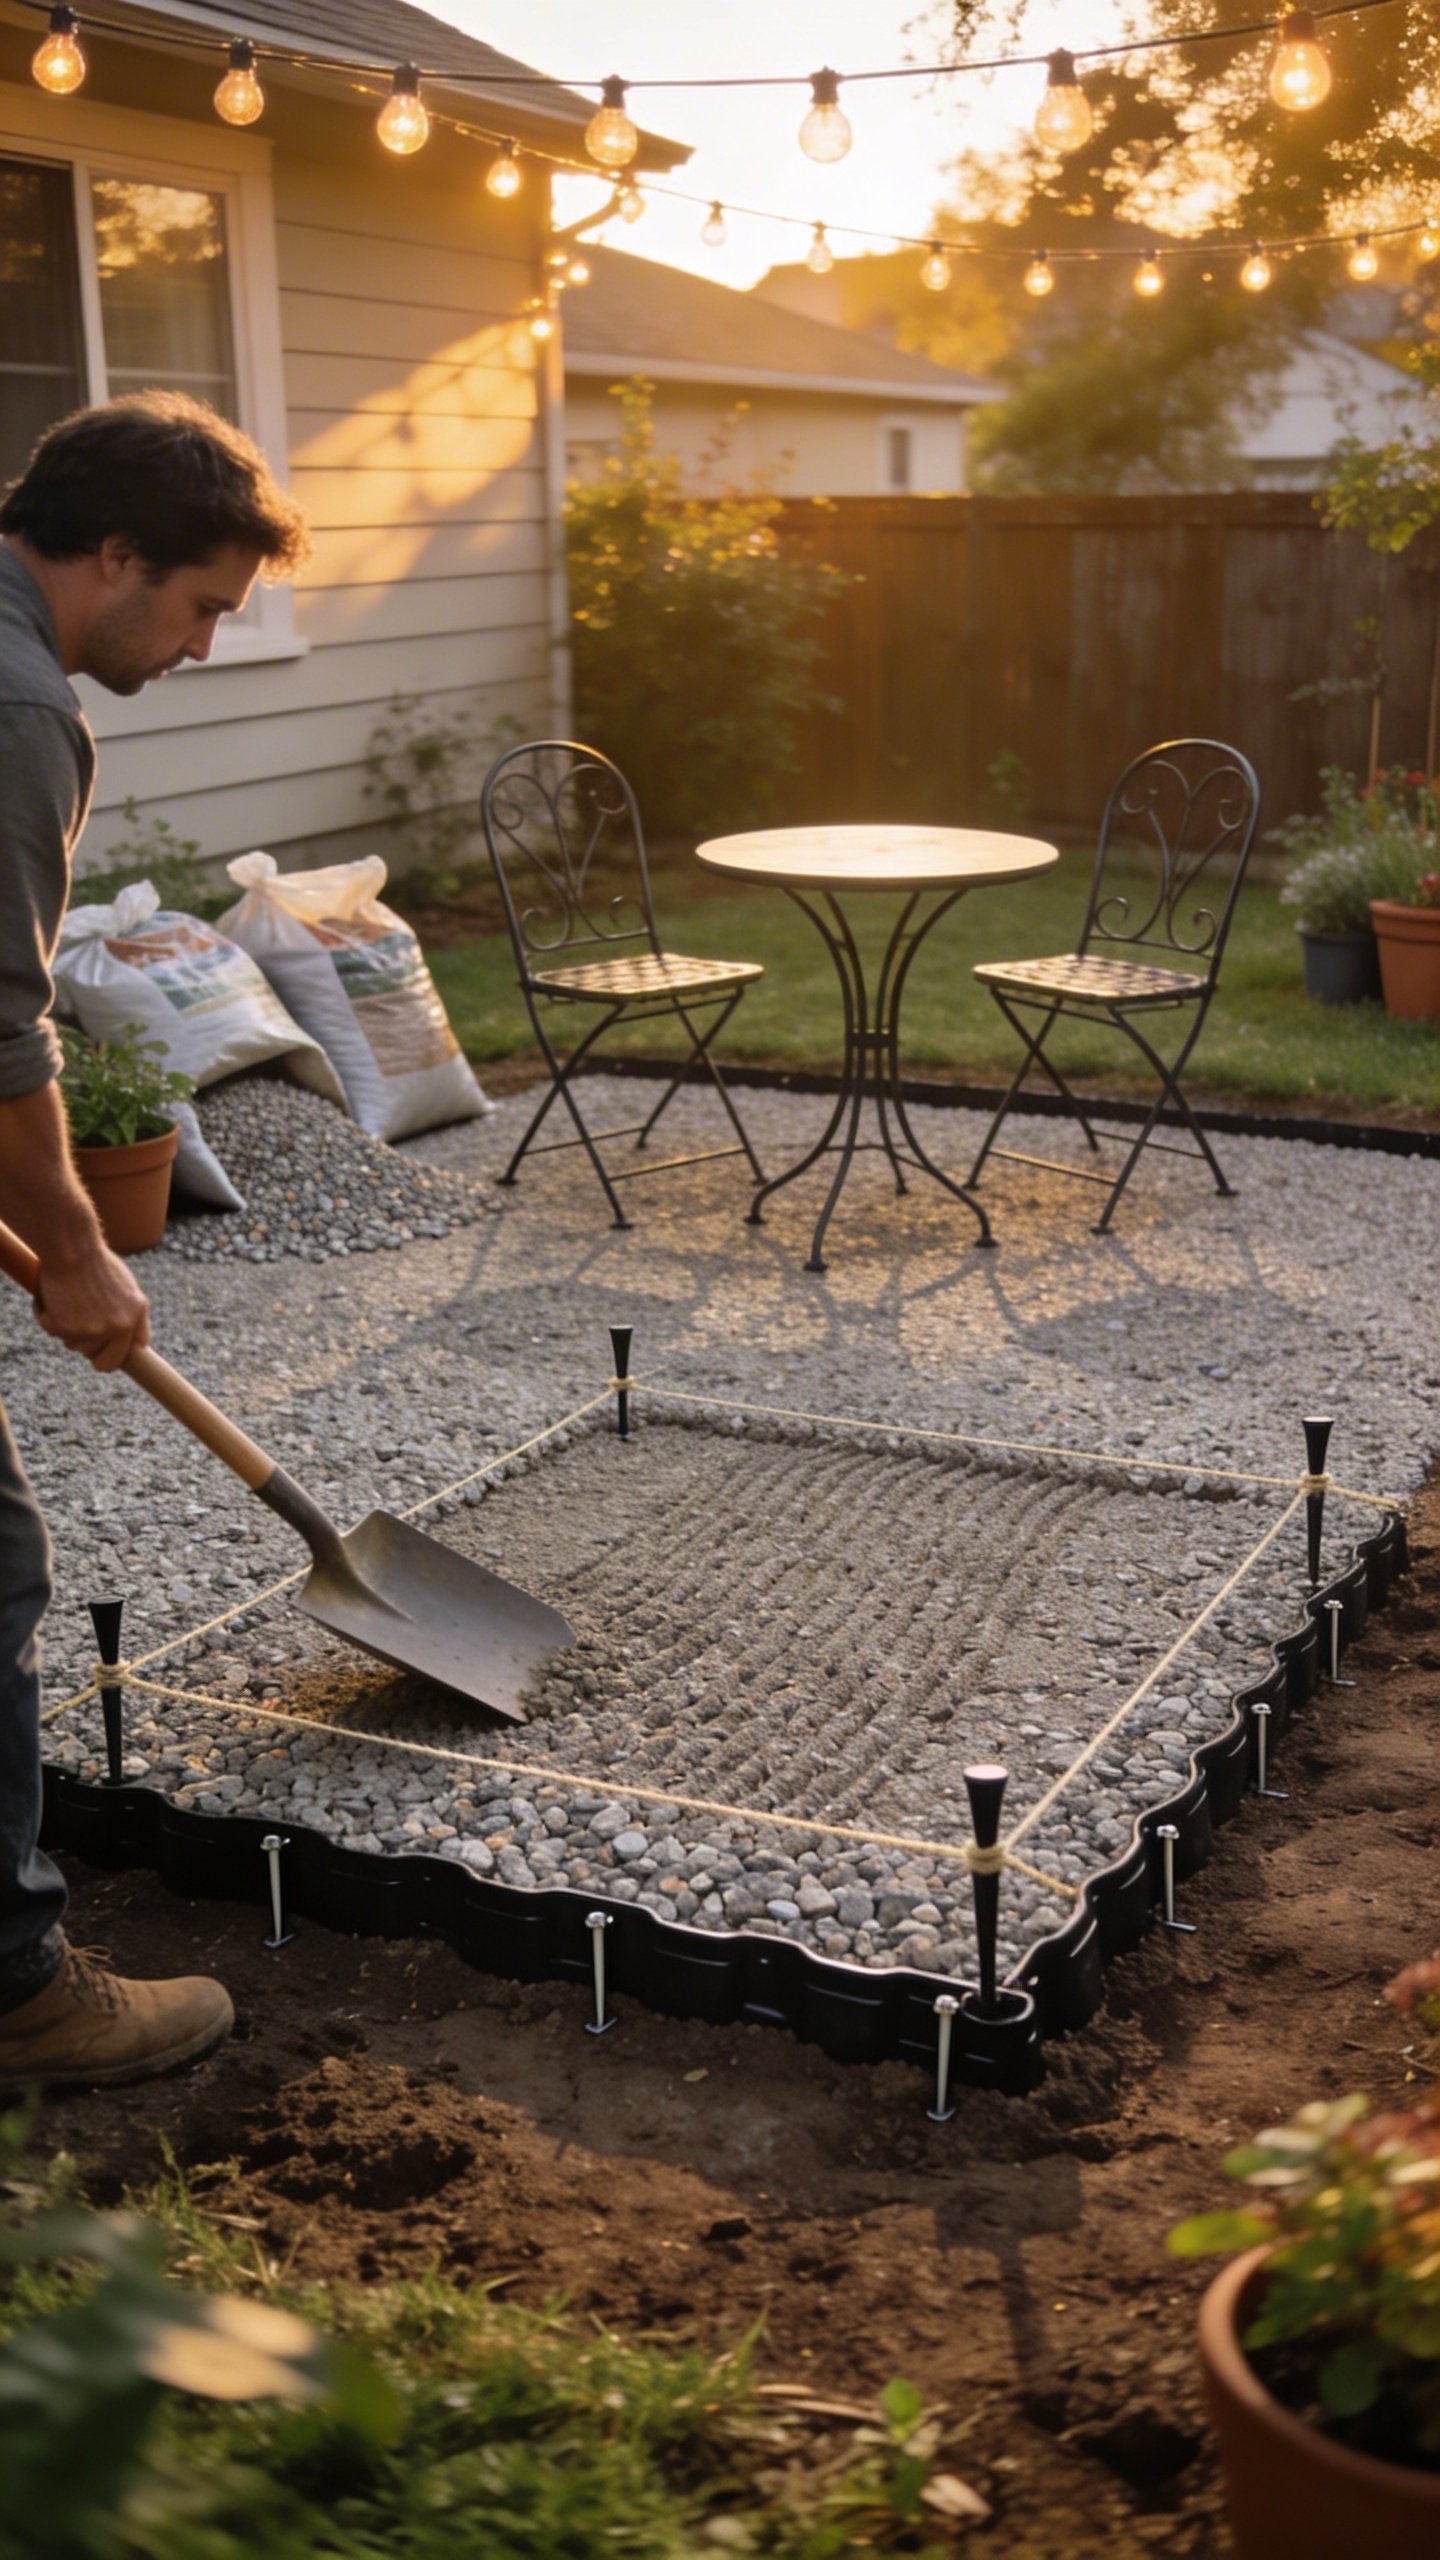
Layout and Prep: The Unsexy Part That Makes It Great
This part decides whether your patio looks crisp or chaotic. Don’t rush it.
- Mark the Shape: Use twine and stakes or spray paint. Keep it simple: rectangle, square, or gentle curve.
- Check Slope: You want a slight slope away from your house (about 1/4″ per foot). No one loves a splash-back patio.
- Remove Sod: Strip 2–3 inches of soil/sod. Pile it aside for a garden bed or give it away.
- Level and Compact: Rake it fairly flat, then tamp. The firmer the base, the less your chairs sink.
Do You Need a Base Layer?
Under $100, you’ll likely skip separate base gravel. For small patios, you can get away with compacted soil plus 2–3″ of gravel. If you can snag a couple of bags of crushed fines cheap, lay a 1″ layer and tamp hard. It helps a ton.
Weed Barrier and Edging: Keep Gravel Where It Belongs
Roll out landscape fabric to block weeds and keep gravel from disappearing into the soil. Overlap seams by 6″. Pin it every 2 feet.
Edging options (cheap to free):
– Reclaimed bricks or pavers
– Pressure-treated 2x4s or 2x6s you already own
– Plastic landscape edging (only if you find a deal)
– No edging? It works, but the gravel will creep. You’ll rake it back occasionally—NBD but worth noting.

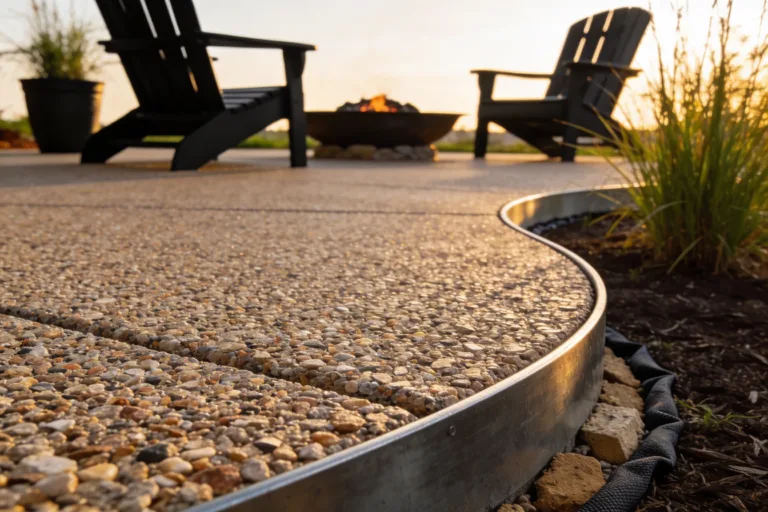
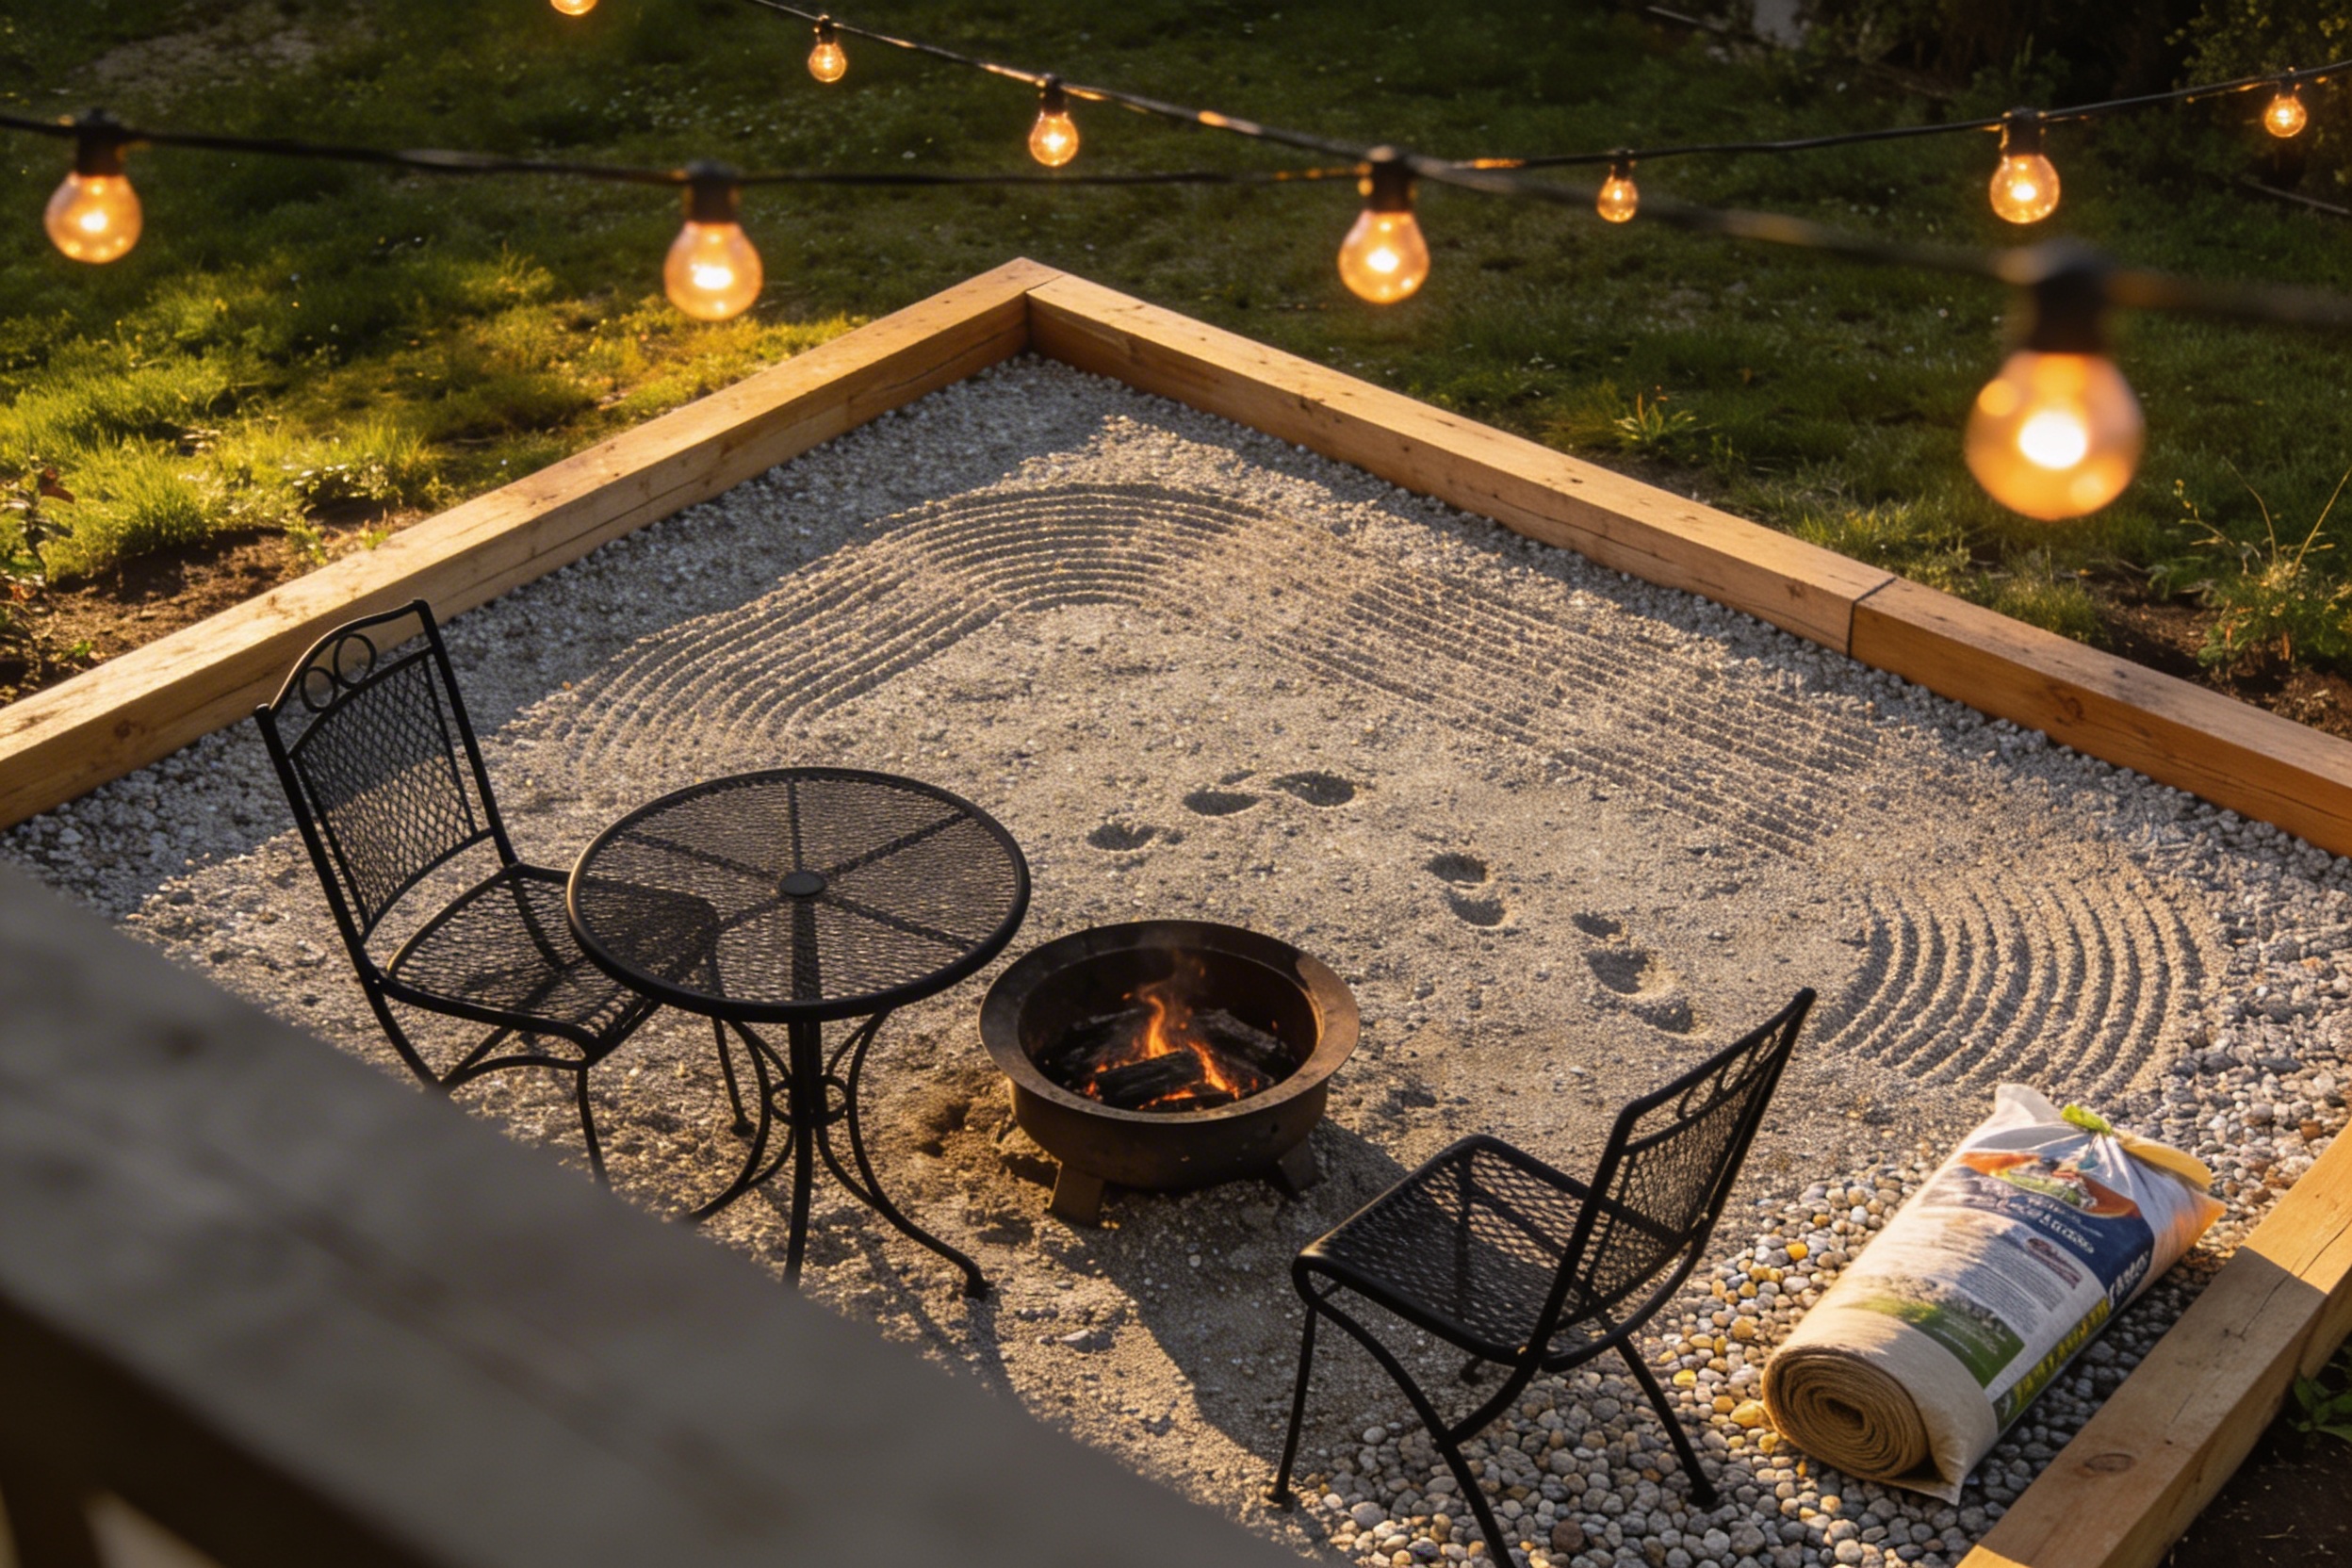
Pour, Rake, and Tamp: The Fun Part
– Depth: Aim for 2–3 inches of gravel after compaction.
– Spread: Dump bags evenly, then use a rake to level. Screed with a 2×4 if you want that chef’s-kiss flatness.
– Tamp: Compact in passes. Add a little water to help it settle, then rake lightly again.
If you see low spots after sitting on a chair for 5 minutes, add more gravel and tamp once more. Easy fix.
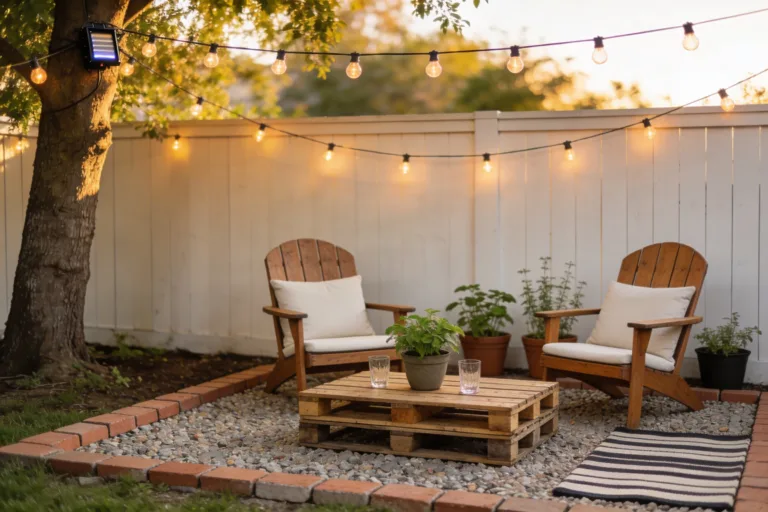
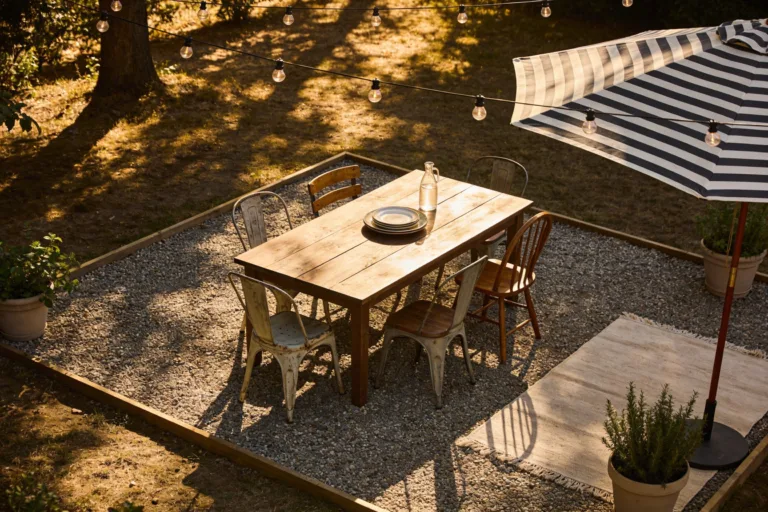
Comfort and Style Upgrades (Still Cheap)
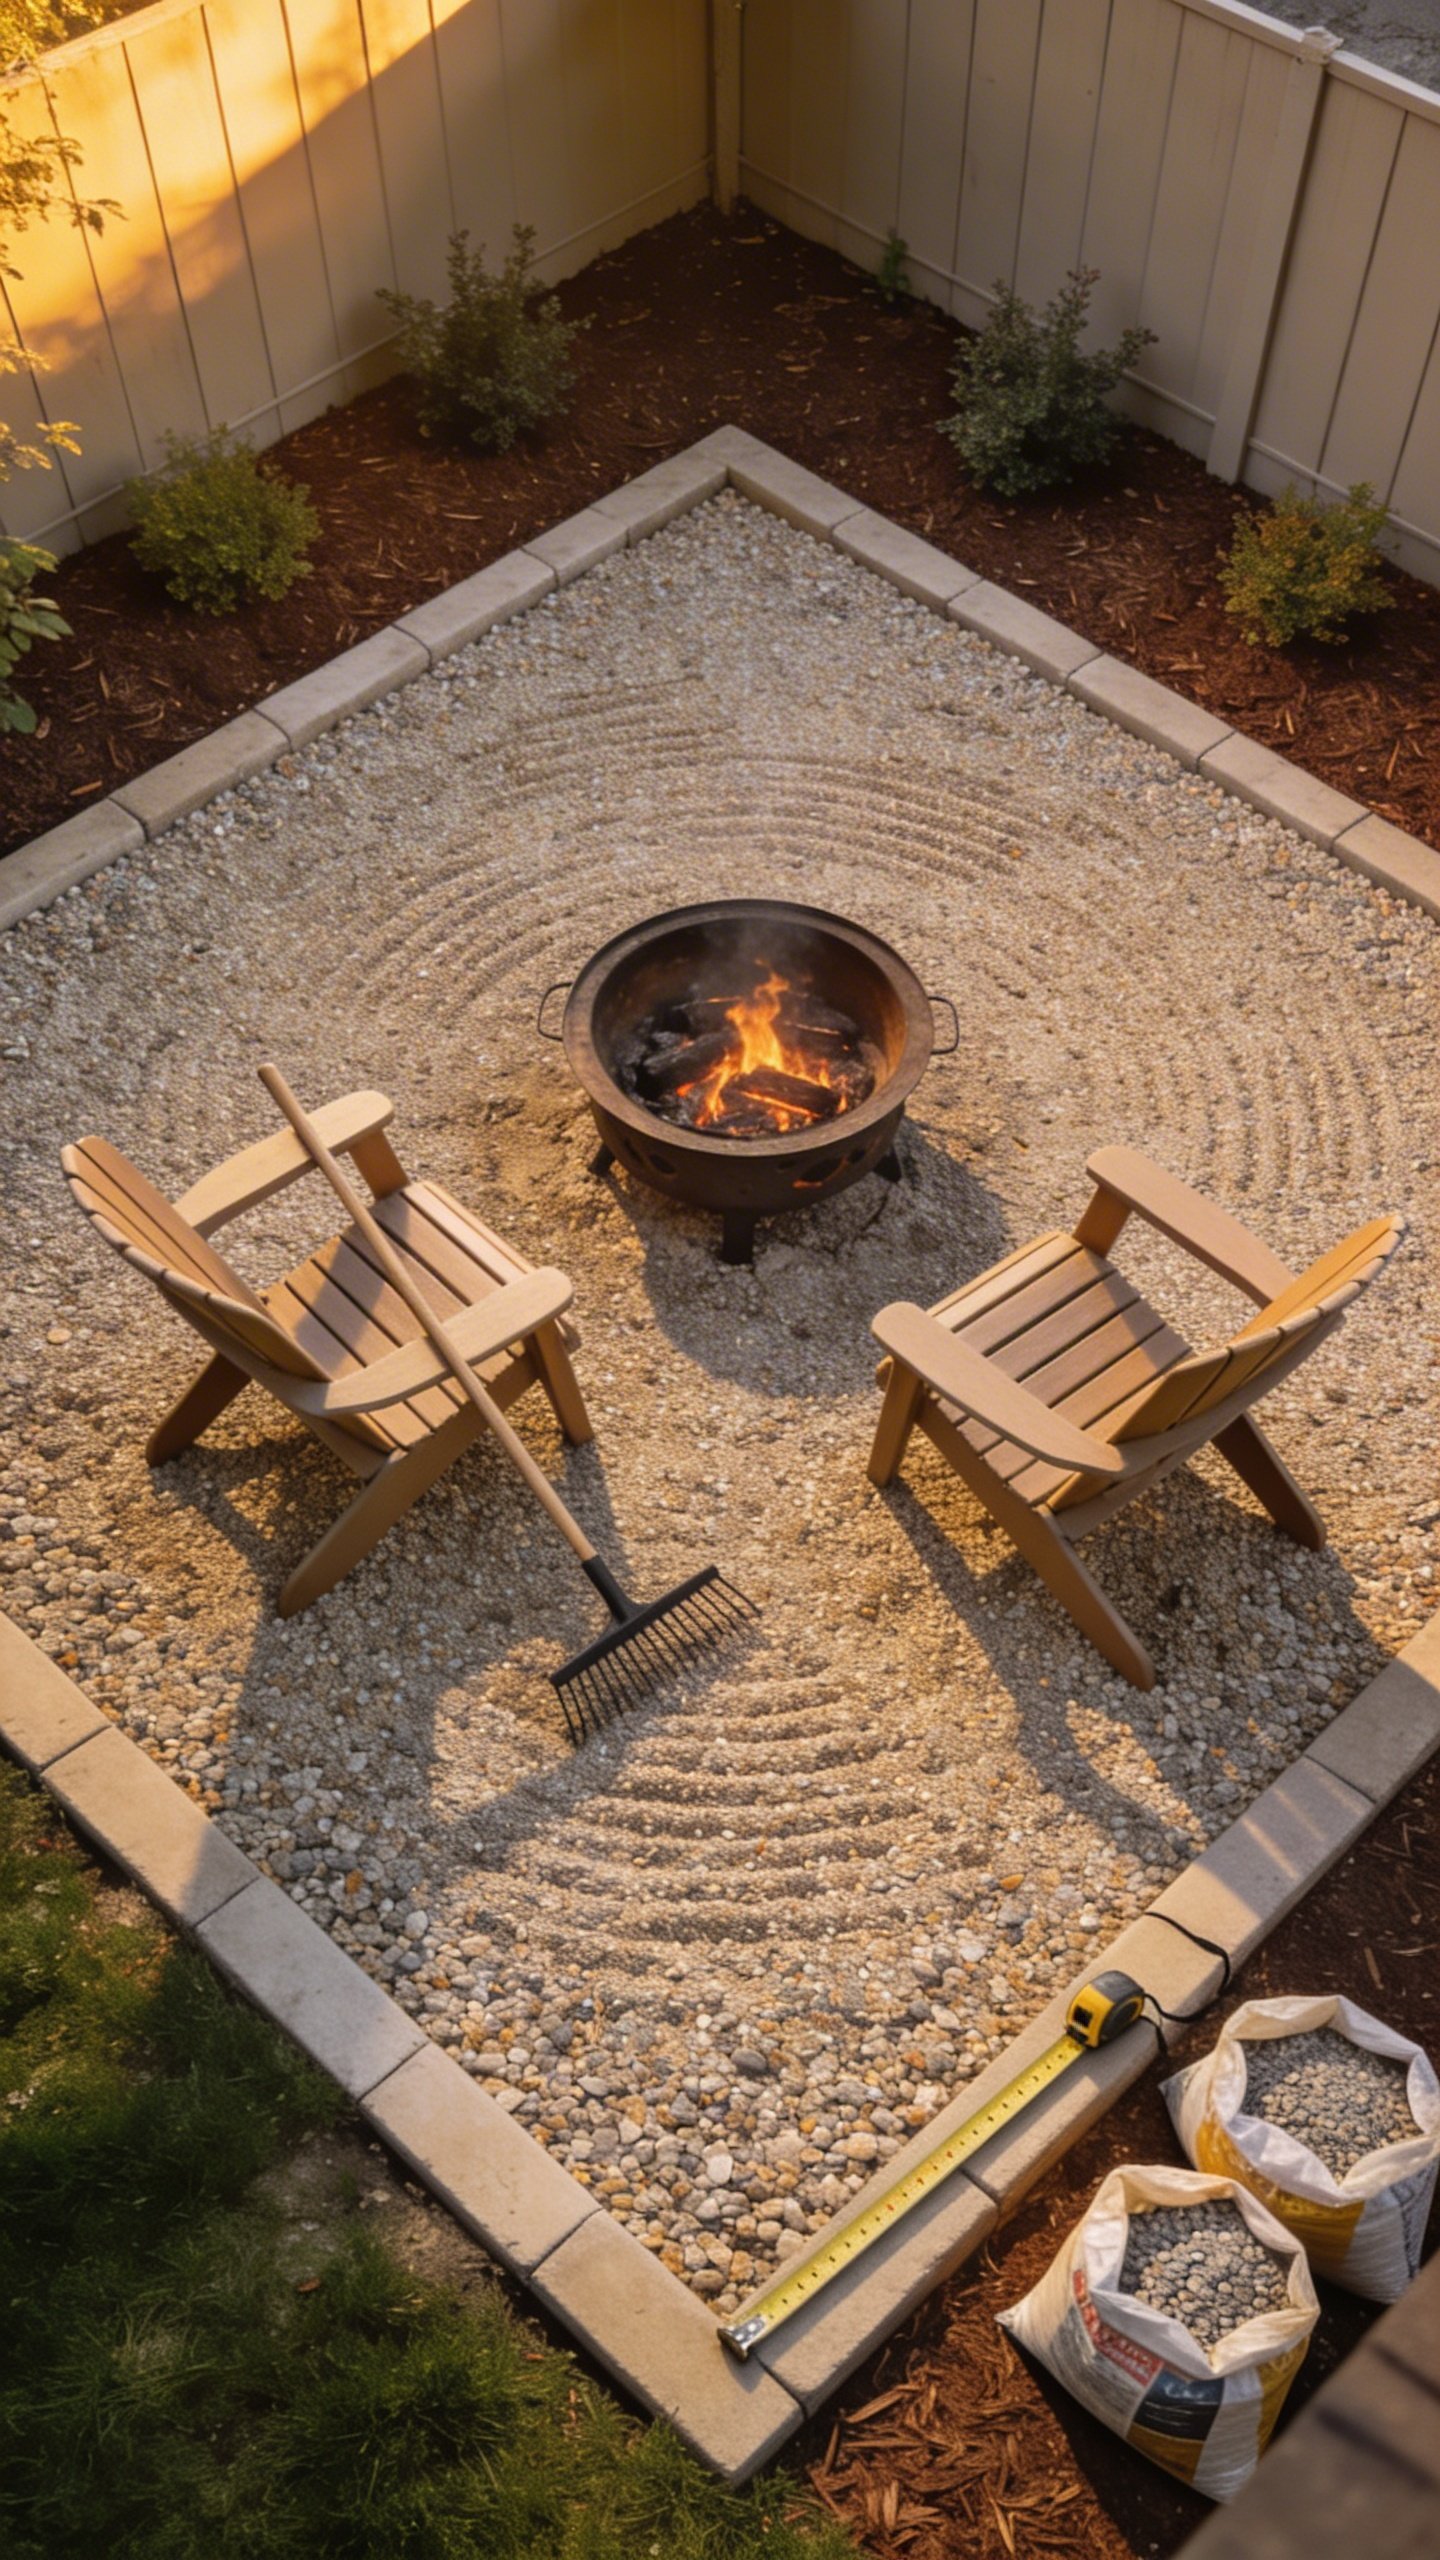
– Add two large stepping stones under chair legs to prevent sinking.
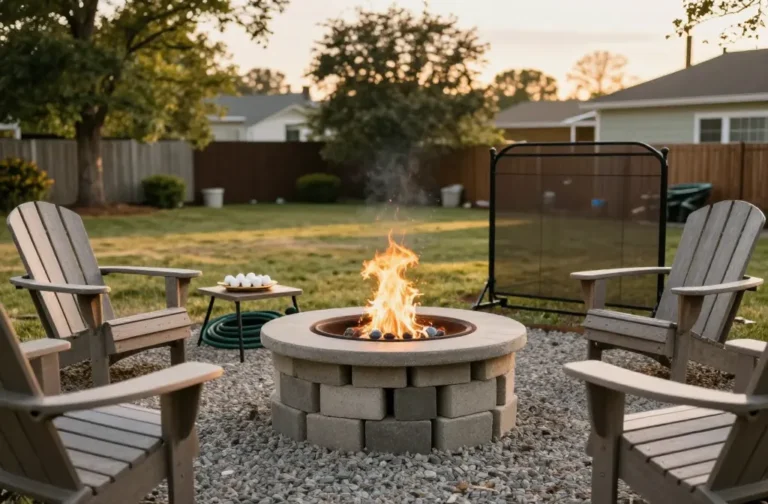
– Place a DIY fire-safe paver ring in the center (check local rules first).
– String lights + thrifted side table = instant patio lounge.
– Toss down an outdoor rug rated for gravel (yes, they exist) if you want bare feet comfort.
Maintenance: Five Minutes Here, Five Minutes There
– Rake it smooth occasionally. It’s oddly satisfying, like IRL ASMR.
– Top up with 3–4 bags yearly if needed—$15–$20 maintenance, tops.
– Pull any brave weeds that sneak through. Vinegar spray helps, but don’t soak nearby plants.
– After heavy storms, rake edges back into place. That’s your cardio for the week.
Common Mistakes You Can Totally Avoid
– Going too thin: Less than 2″ = chair legs sink, you get cranky.
– No fabric: Weeds win. You rage-quit. Use the fabric.
– Flat against the house: Always slope away. Water is sneaky.
– Skipping compaction: You’ll end up with gravel soup. Tamp it like you mean it.
Realistic Budget Example (6′ x 8′ Patio)
– 24 bags pea gravel (0.5 cu ft): $72
– Landscape fabric: $12
– Pins/stakes/twine: $8
– Misc. (tax, extra bag): $8
Total: About $100. Scavenge edging for free, or add $15–$25 if you find a bargain.
FAQ
How do I keep the gravel from spreading into the yard?
Edging helps the most—bricks, cheap plastic edging, or even a pressure-treated board. Without edging, plan to rake the boundary line every few weeks. It’s quick and keeps the shape crisp.
What type of gravel feels best underfoot?
Pea gravel wins for barefoot comfort. If you hate the “rolling marbles” feel, mix in 20–30% crushed fines. You’ll get better lock-up without losing that soft vibe.
Can I put furniture on it without sinking?
Yes—if you use 2–3″ depth and compact well. For heavy tables or skinny chair legs, add small pavers under the feet. It looks intentional and saves your sanity.
Do I need a permit?
Usually no, since it’s a temporary surface. But FYI, check HOA or local rules if you live in a place that loves forms and fines. Also verify fire pit rules before lighting anything.
Will weeds take over?
Not if you use landscape fabric and keep an eye out. A couple of hand-pulls a month or a light vinegar spritz keeps things tidy. If you see a patch popping up, add a sprinkle of fresh gravel.
What if my yard is super uneven?
You can still do it—just spend extra time on leveling and tamping. If you hit a deep dip, fill with soil or a thin layer of crushed fines first. Good prep solves 90% of problems, IMO.
Conclusion: Weekend Project, Year-Round Hangout
You don’t need a contractor or a fat budget to create a legit outdoor hangout. With a few tools, some sweat, and 2–3 inches of the right gravel, you’ll build a patio that looks sharp and handles weather like a champ. Keep it small, keep it simple, and upgrade later. By Monday, you’ll have a spot for your coffee, your friends, and your victory photo.