How to Build an Outdoor Firepit for Under $100 Fast and Safe
You want crackling s’mores and cozy vibes without torching your bank account. Totally doable. With a few budget tricks and a weekend afternoon, you can build a safe, good-looking firepit for less than a fancy date night. I’ll show you exactly what to buy, how to assemble it, and the little upgrades that make it feel high-end on a shoestring.
Plan The Spot: Safety First, Vibes Second
Fire looks best when it’s not threatening your fence, swing set, or neighbor’s hedge. Pick a level area at least 10 feet from buildings and trees. Check local rules, because some places ban open fires or require a spark screen. IMO, pick a spot with natural wind protection so smoke doesn’t chase you like a needy cat.
Tired of snacking when you’re not even hungry? This reset helps you stop the loop and feel back in control.
A simple reset for moments when cravings take over. Easy to use, easy to repeat, and designed to help you feel satisfied instead of stuck.
- Clear a 5–6 ft radius of grass, mulch, and anything flammable.
- Call 811 if you plan to dig more than a few inches, FYI.
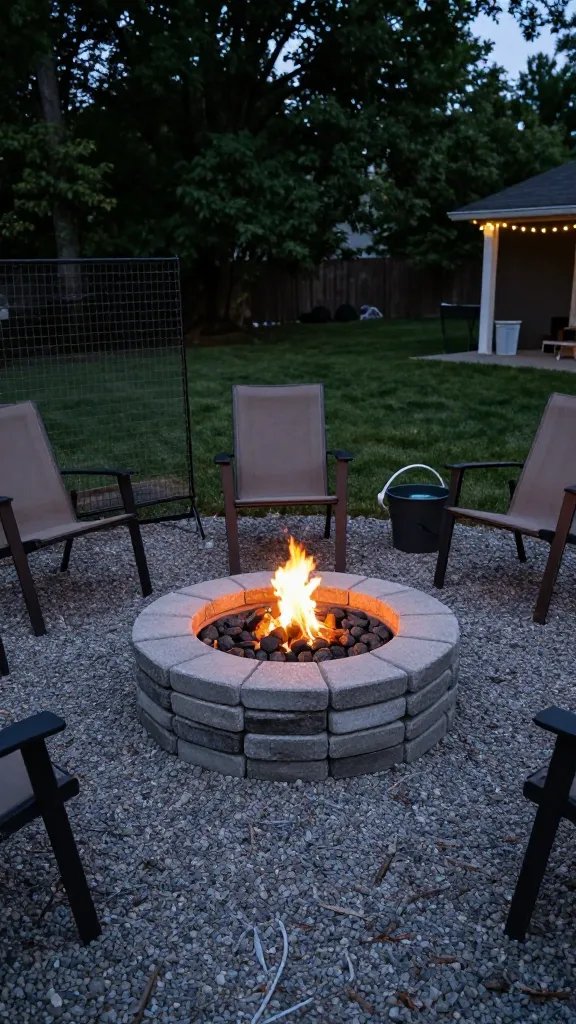
- Keep a hose or bucket of water nearby because, you know, fire.
Budget Blueprint: What To Buy (And What To Skip)
You don’t need fancy kits. You can build a durable pit with basic supplies from a home center or landscaping yard. Aim for simple, stackable, and heat-safe.
Core Materials (Typical Prices)
- Concrete retaining wall blocks (16–20 pieces): $1.80–$2.50 each
- Pea gravel (4–5 bags): $4–$5 per bag
- Sand or paver base (2 bags): $4–$5 per bag
- Metal fire ring insert (optional but great): $30–$45 if on sale
- High-heat mortar or construction adhesive (optional): $6–$10
Skip overpriced kits unless you find a deal. If you can snag a used metal ring from a salvage yard or marketplace, do it. If not, stack your blocks snugly and you’ll still get a solid pit.
Design The Pit: Size, Shape, And Layout
Round pits feel classic and friendly. A 36–40 inch inner diameter gives you plenty of heat without hogging the yard. Three courses (rows) of blocks hit the sweet spot for safety and looks.
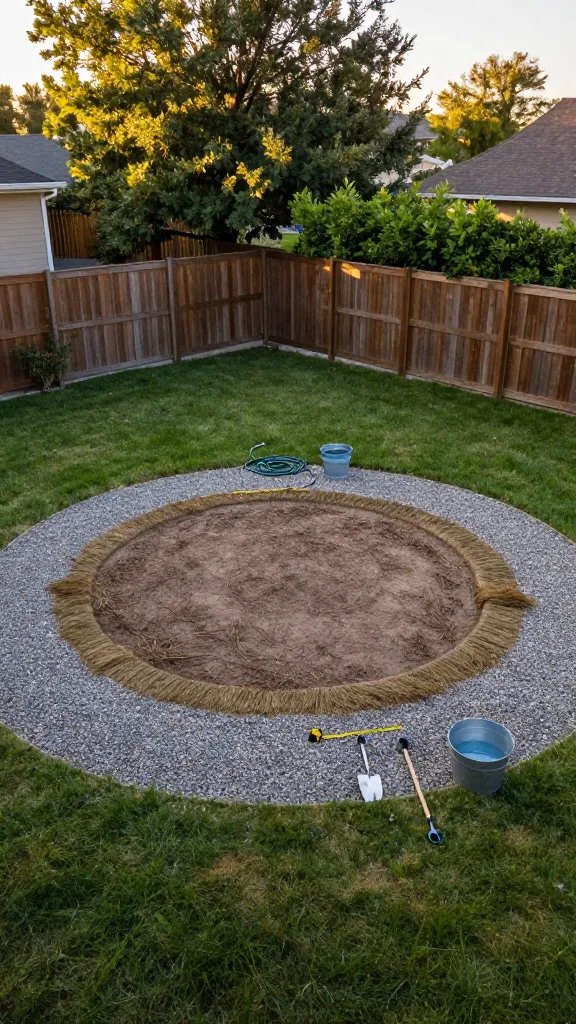
Quick Layout Method
- Mark the circle: Tie a string to a stake, measure half your desired diameter, and swing a circle with chalk or spray paint.
- Remove sod: Dig down 2–3 inches within the circle. Toss the sod or use it to patch bald lawn spots elsewhere.
- Make it level: Add 1–2 inches of paver base or sand. Tamp it flat with a hand tamper (or the bottom of a 4×4 if you’re improvising).
Build It: Step-By-Step Assembly
Time to stack. This is basically adult LEGO with more dust and fewer instructions.
Transform Your Home With 7,250+ Stunning Landscaping Designs—No Expensive Designers Needed!
- 🌿 Access 7,250+ stunning landscaping designs.
- 💰 Save thousands—no pro designer needed.
- 🏡 Plans for gardens, patios, walkways, and more.
- ✨ Simple, beginner-friendly DIY layouts.
- 🛠️ Customize any design to fit your yard.
Step 1: Base Layer
- Set the first ring of blocks on the leveled base. Butt the blocks tightly, tapping them level with a rubber mallet.
- Check the circle: Measure across multiple directions so you don’t end up with a weird oval. Unless you’re into that.
Step 2: Drain Layer
- Pour 1–2 inches of pea gravel inside the ring. This helps drainage and keeps the pit cleaner.
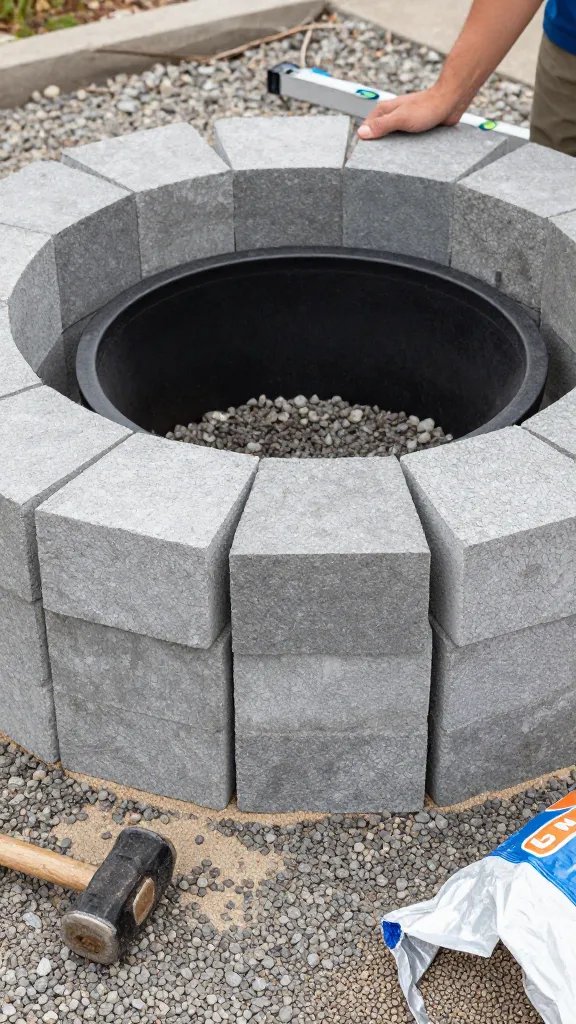
Step 3: Add Courses
- Stagger the seams: Place the second course so each block sits over two below. This locks everything in.
- Optional adhesive: Add a thin bead of high-heat mortar or construction adhesive between courses for extra stability. Not required, but nice if kids/dogs/rowdy friends visit.
- Build to 2–3 courses depending on your block height and preference.
Step 4: Metal Ring (Optional But Clutch)
- Set the ring inside before the last course. The ring protects the blocks from direct flame and helps your pit last longer.
- Adjust fit: Nudge blocks inward so the ring fits snugly without pinching.
Step 5: Finish The Perimeter
- Add a pea gravel border 1–2 feet around the outside. It looks clean and stops grass from charring.
- Check level again and tweak as needed. Then step back and admire your masterpiece.
Cost Breakdown: Keep It Under $100
- Blocks (18 @ $2.25): $40.50
- Pea Gravel (5 @ $4.50): $22.50
- Paver Base/Sand (2 @ $5): $10
- Optional Ring (deal @ $30–$35): $30–$35
- Optional Adhesive: $8
Total without ring: ~$73. Total with ring: ~$103–$116. Want to nail under $100 with a ring? Hunt sales, buy used, or trim a bag of gravel. FYI, materials vary by region and season, so watch for weekend promos.

Smart Upgrades That Still Save Money
- Spark Screen: Often $25–$35 on marketplace or end-of-season clearance. Helps with embers and keeps neighbors happy.
- Cooking Grate: A simple camp grate or old charcoal grill grate gives you an instant cowboy kitchen.
- Heat-Resistant Paint (for the ring): $7–$10 to keep the metal looking fresh.
- DIY Seating: Milk crates + scrap boards = benches that don’t bankrupt you.
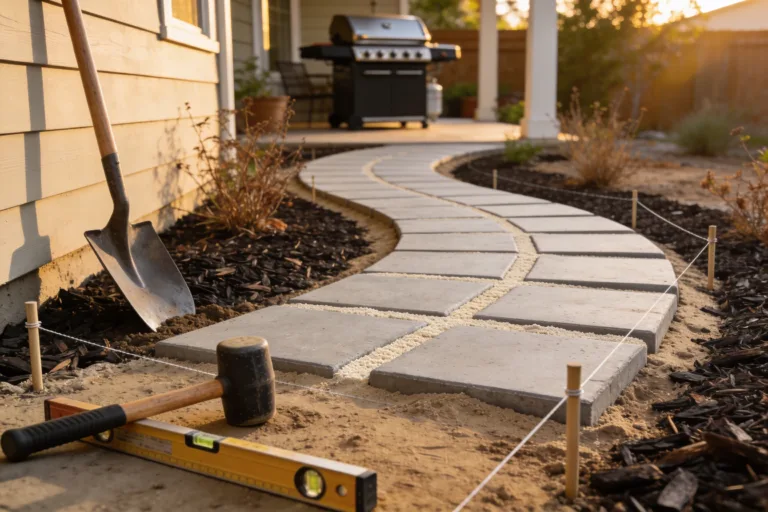
- Gravel Path: A couple extra bags create a clean walkway and minimize mud.
Use It Right: Wood, Lighting, And Safety
Good fire = good wood. Bad wood = smoke monster. Choose dry, seasoned hardwoods and keep kindling handy.
Fire-Building Basics
- Start with a small teepee of kindling and a couple of dry splits. Skip lighter fluid. Your eyebrows will thank you.
- Add wood gradually to keep airflow. Overloading smothers flames and makes smoke.
- Mind the wind: Rotate seating or pause the fire if gusts pick up.
Safety Non-Negotiables
- Keep a metal bucket for ash. Let ash cool 24–48 hours before disposal.
- Never leave it unattended. Yes, even for a “quick” kitchen run.
- Extinguish completely: Spread coals, add water, stir to a cold slurry, repeat.
Common Mistakes (And How To Dodge Them)
- Building on grass only: It scorches, shifts, and looks sad. Use base and gravel.
- Skipping level checks: A wonky pit screams DIY fail. Take two minutes with a level each course.
- Using regular bricks: Many standard bricks crack under heat. Stick to concrete retaining blocks or fire-rated brick.
- Too big too fast: Oversized pits eat wood and spit smoke. Keep it around 36–40 inches inside.
FAQ
Do I need a metal ring, or can I go without?
You can go without, and plenty of budget pits hold up fine. A ring extends the life of the blocks and looks cleaner, but it’s not mandatory. If you skip it, build two or three courses and keep flames centered.
Can I use random stones I found on my property?
Only if they’re dry, dense, and not river rocks. Moisture trapped inside can cause rocks to pop under heat. Concrete retaining blocks are safer and more predictable for beginners, IMO.
How do I keep smoke from blasting my guests?
Use seasoned hardwood, build smaller, hotter fires, and maintain airflow. Avoid fresh-cut or damp wood. If smoke shifts with wind, rotate seating or let the fire burn down a bit.
What’s the easiest way to clean the firepit?
Let the ash cool, scoop it into a metal bucket, and dispose per local rules. Shake out the pea gravel once a season and top it off if it settles. Wipe the ring with a rag and recoat with high-heat paint if rusty.
Can I place the firepit on a deck or patio?
Not recommended on wood decks without a proper raised, insulated setup. On concrete or pavers, use a heat shield and keep the pit a few feet from anything combustible. Always check manufacturer guidelines for spark screens and grates.
Will this survive winter?
Yes, if you built on a leveled base with drainage. Cover the pit between uses or pop a lid on the ring to keep water out. Freeze-thaw cycles hurt standing water more than anything else.
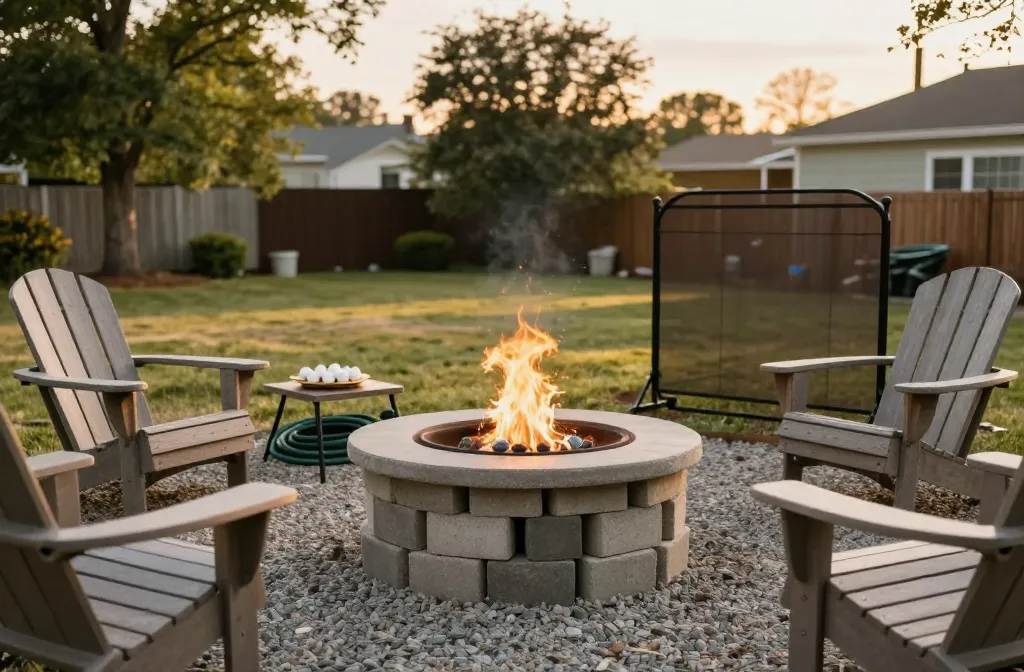
Conclusion: Your $100 Fire Hangout Starts Now
You don’t need a contractor or a trust fund to get that golden-hour glow. With a stack of blocks, a few bags of gravel, and a free afternoon, you can build a sturdy, safe, and good-looking firepit on a real budget. Grab some marshmallows, call a couple friends, and enjoy the kind of backyard upgrade that feels way pricier than it is—because you built it smart.