Genius How to Build a Diy Pergola for Under $200 Fast
You want backyard shade without dropping a paycheck? Same. A simple pergola can flip your patio from “meh” to “invite friends over ASAP” in a weekend. I’ll show you exactly how to build a sturdy, great-looking pergola for under $200—no fancy tools, no contractor, no drama. Ready to make your yard the hangout spot?
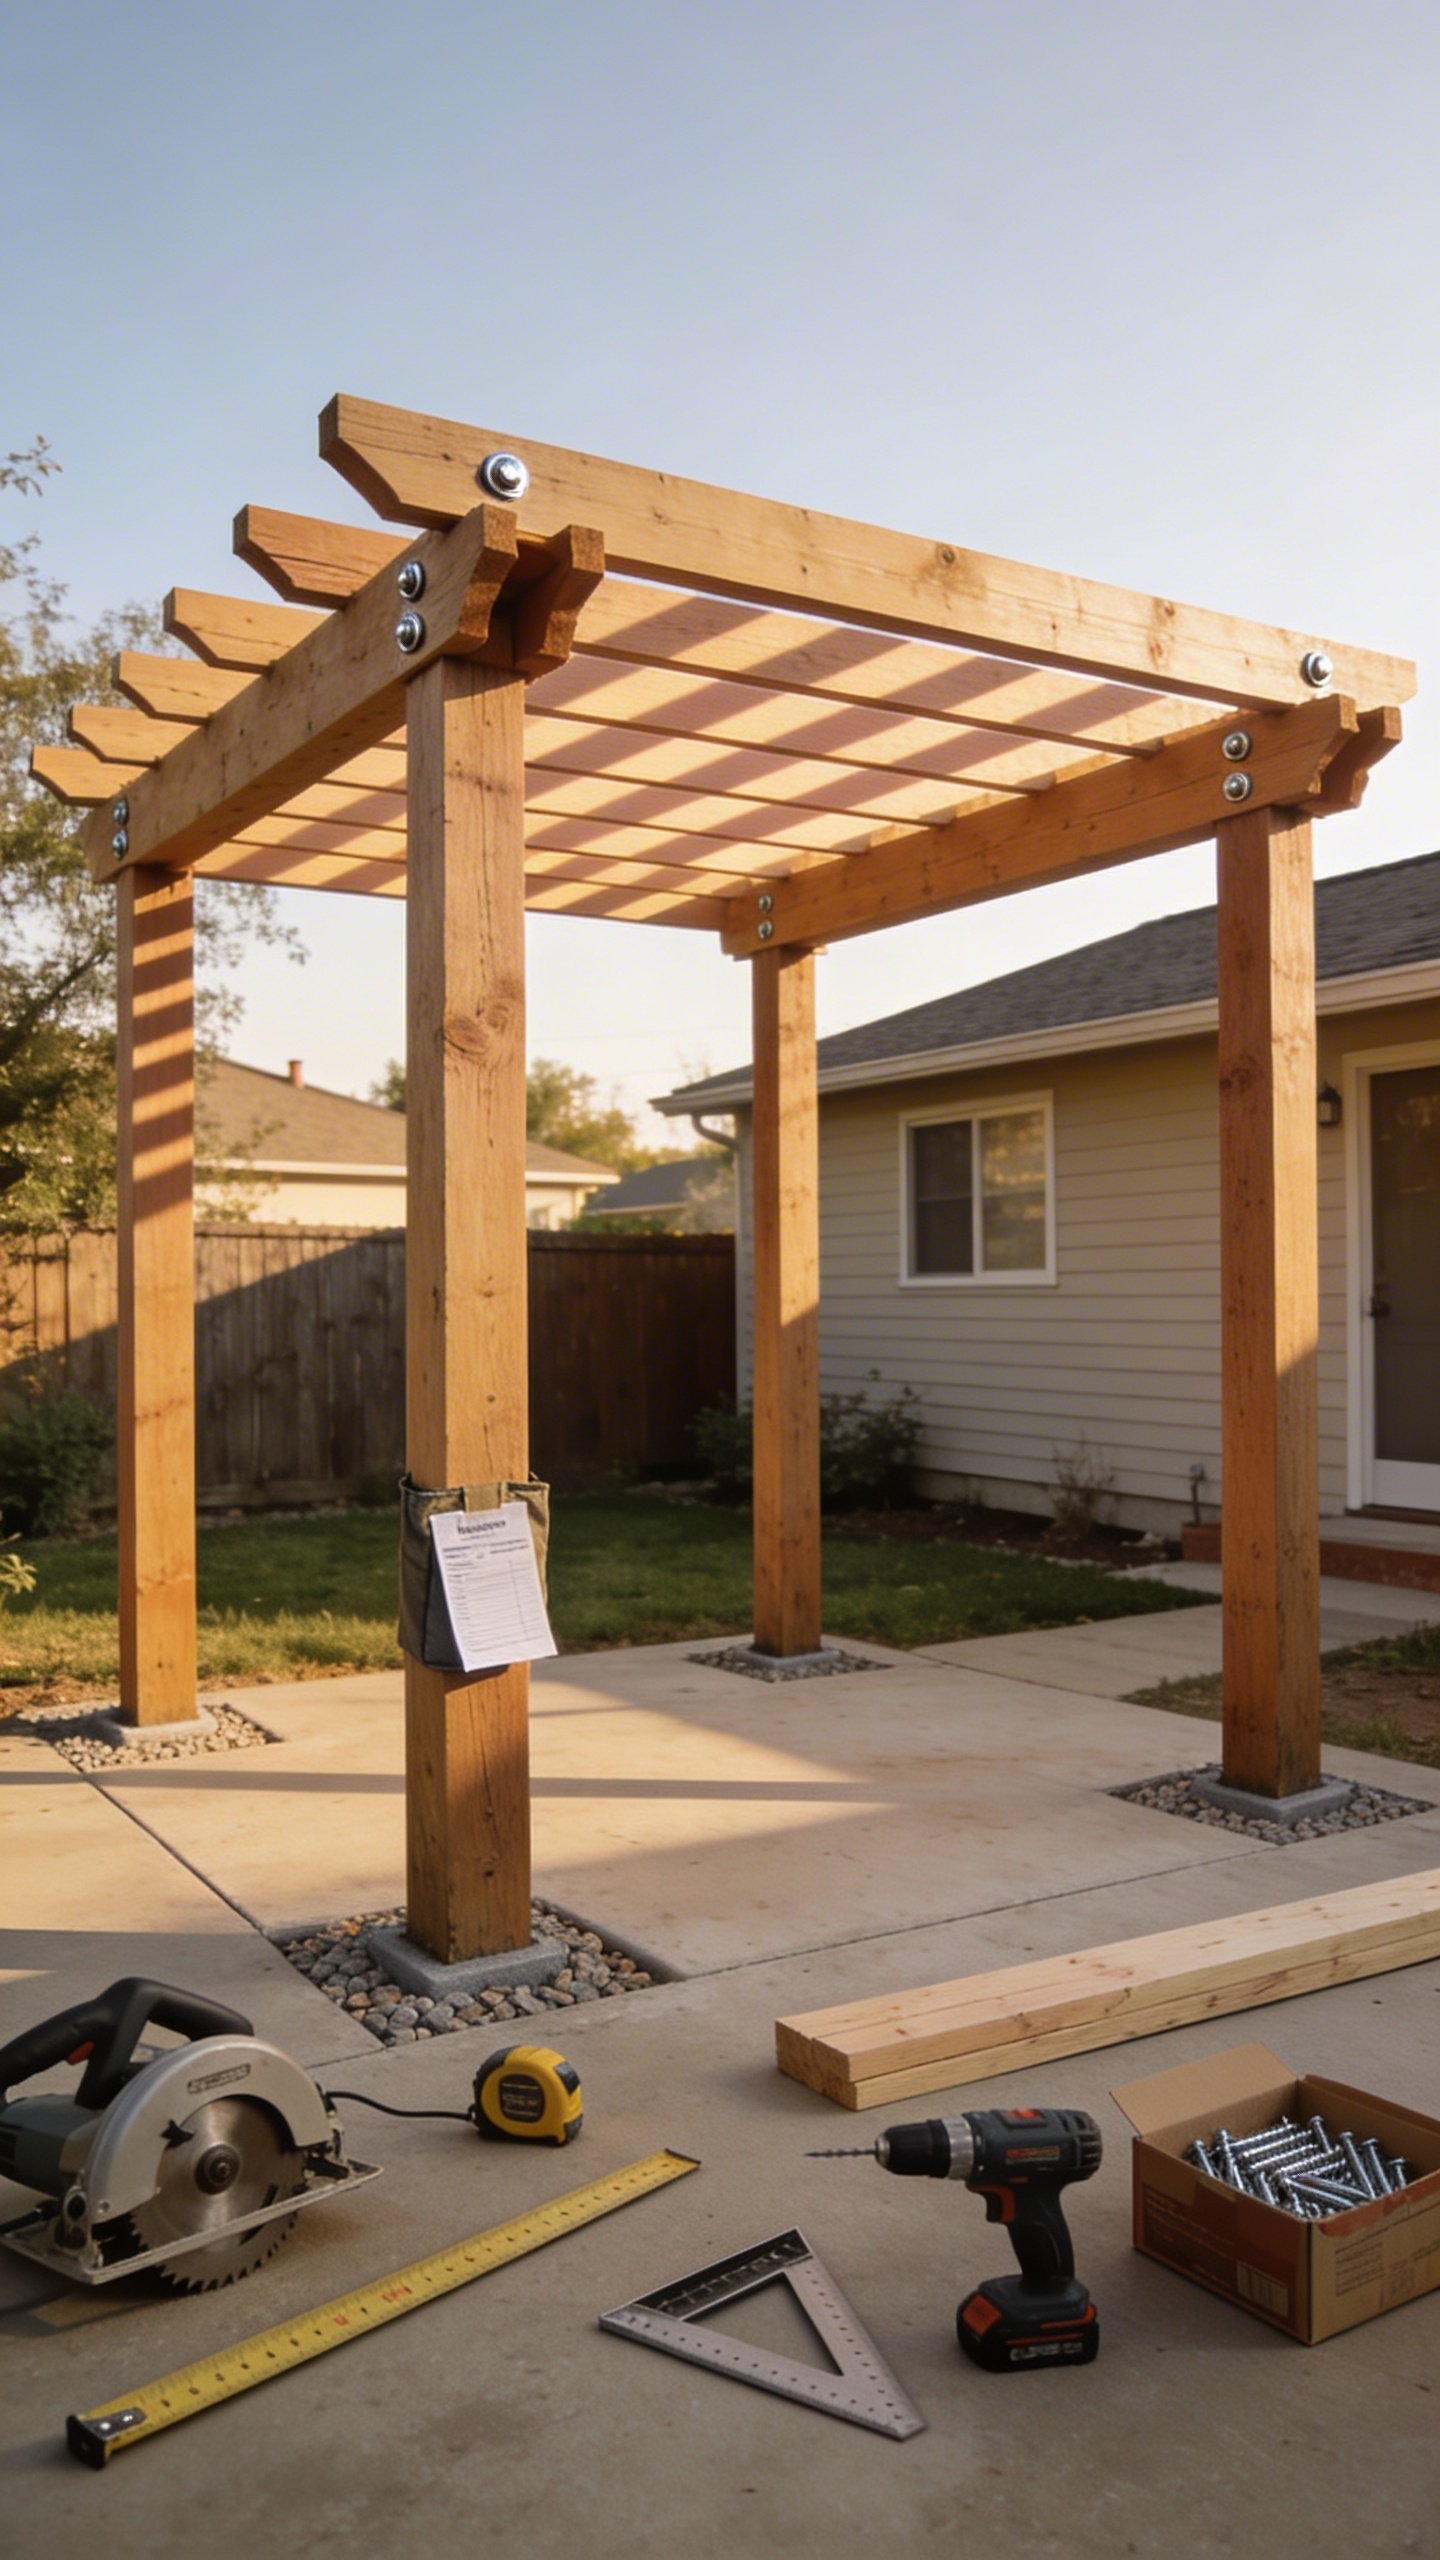
What You’re Building (And Why It’s Awesome)
A pergola is basically a frame with vertical posts and open rafters that creates shade and structure. It won’t fully block sun, but it softens it and adds instant style. You can scale this plan to fit your space, but the budget-friendly sweet spot is around 8×8 to 8×10 feet. Smaller footprint = fewer posts, fewer boards, lower cost. Simple math, simple win.
Tired of snacking when you’re not even hungry? This reset helps you stop the loop and feel back in control.
A simple reset for moments when cravings take over. Easy to use, easy to repeat, and designed to help you feel satisfied instead of stuck.
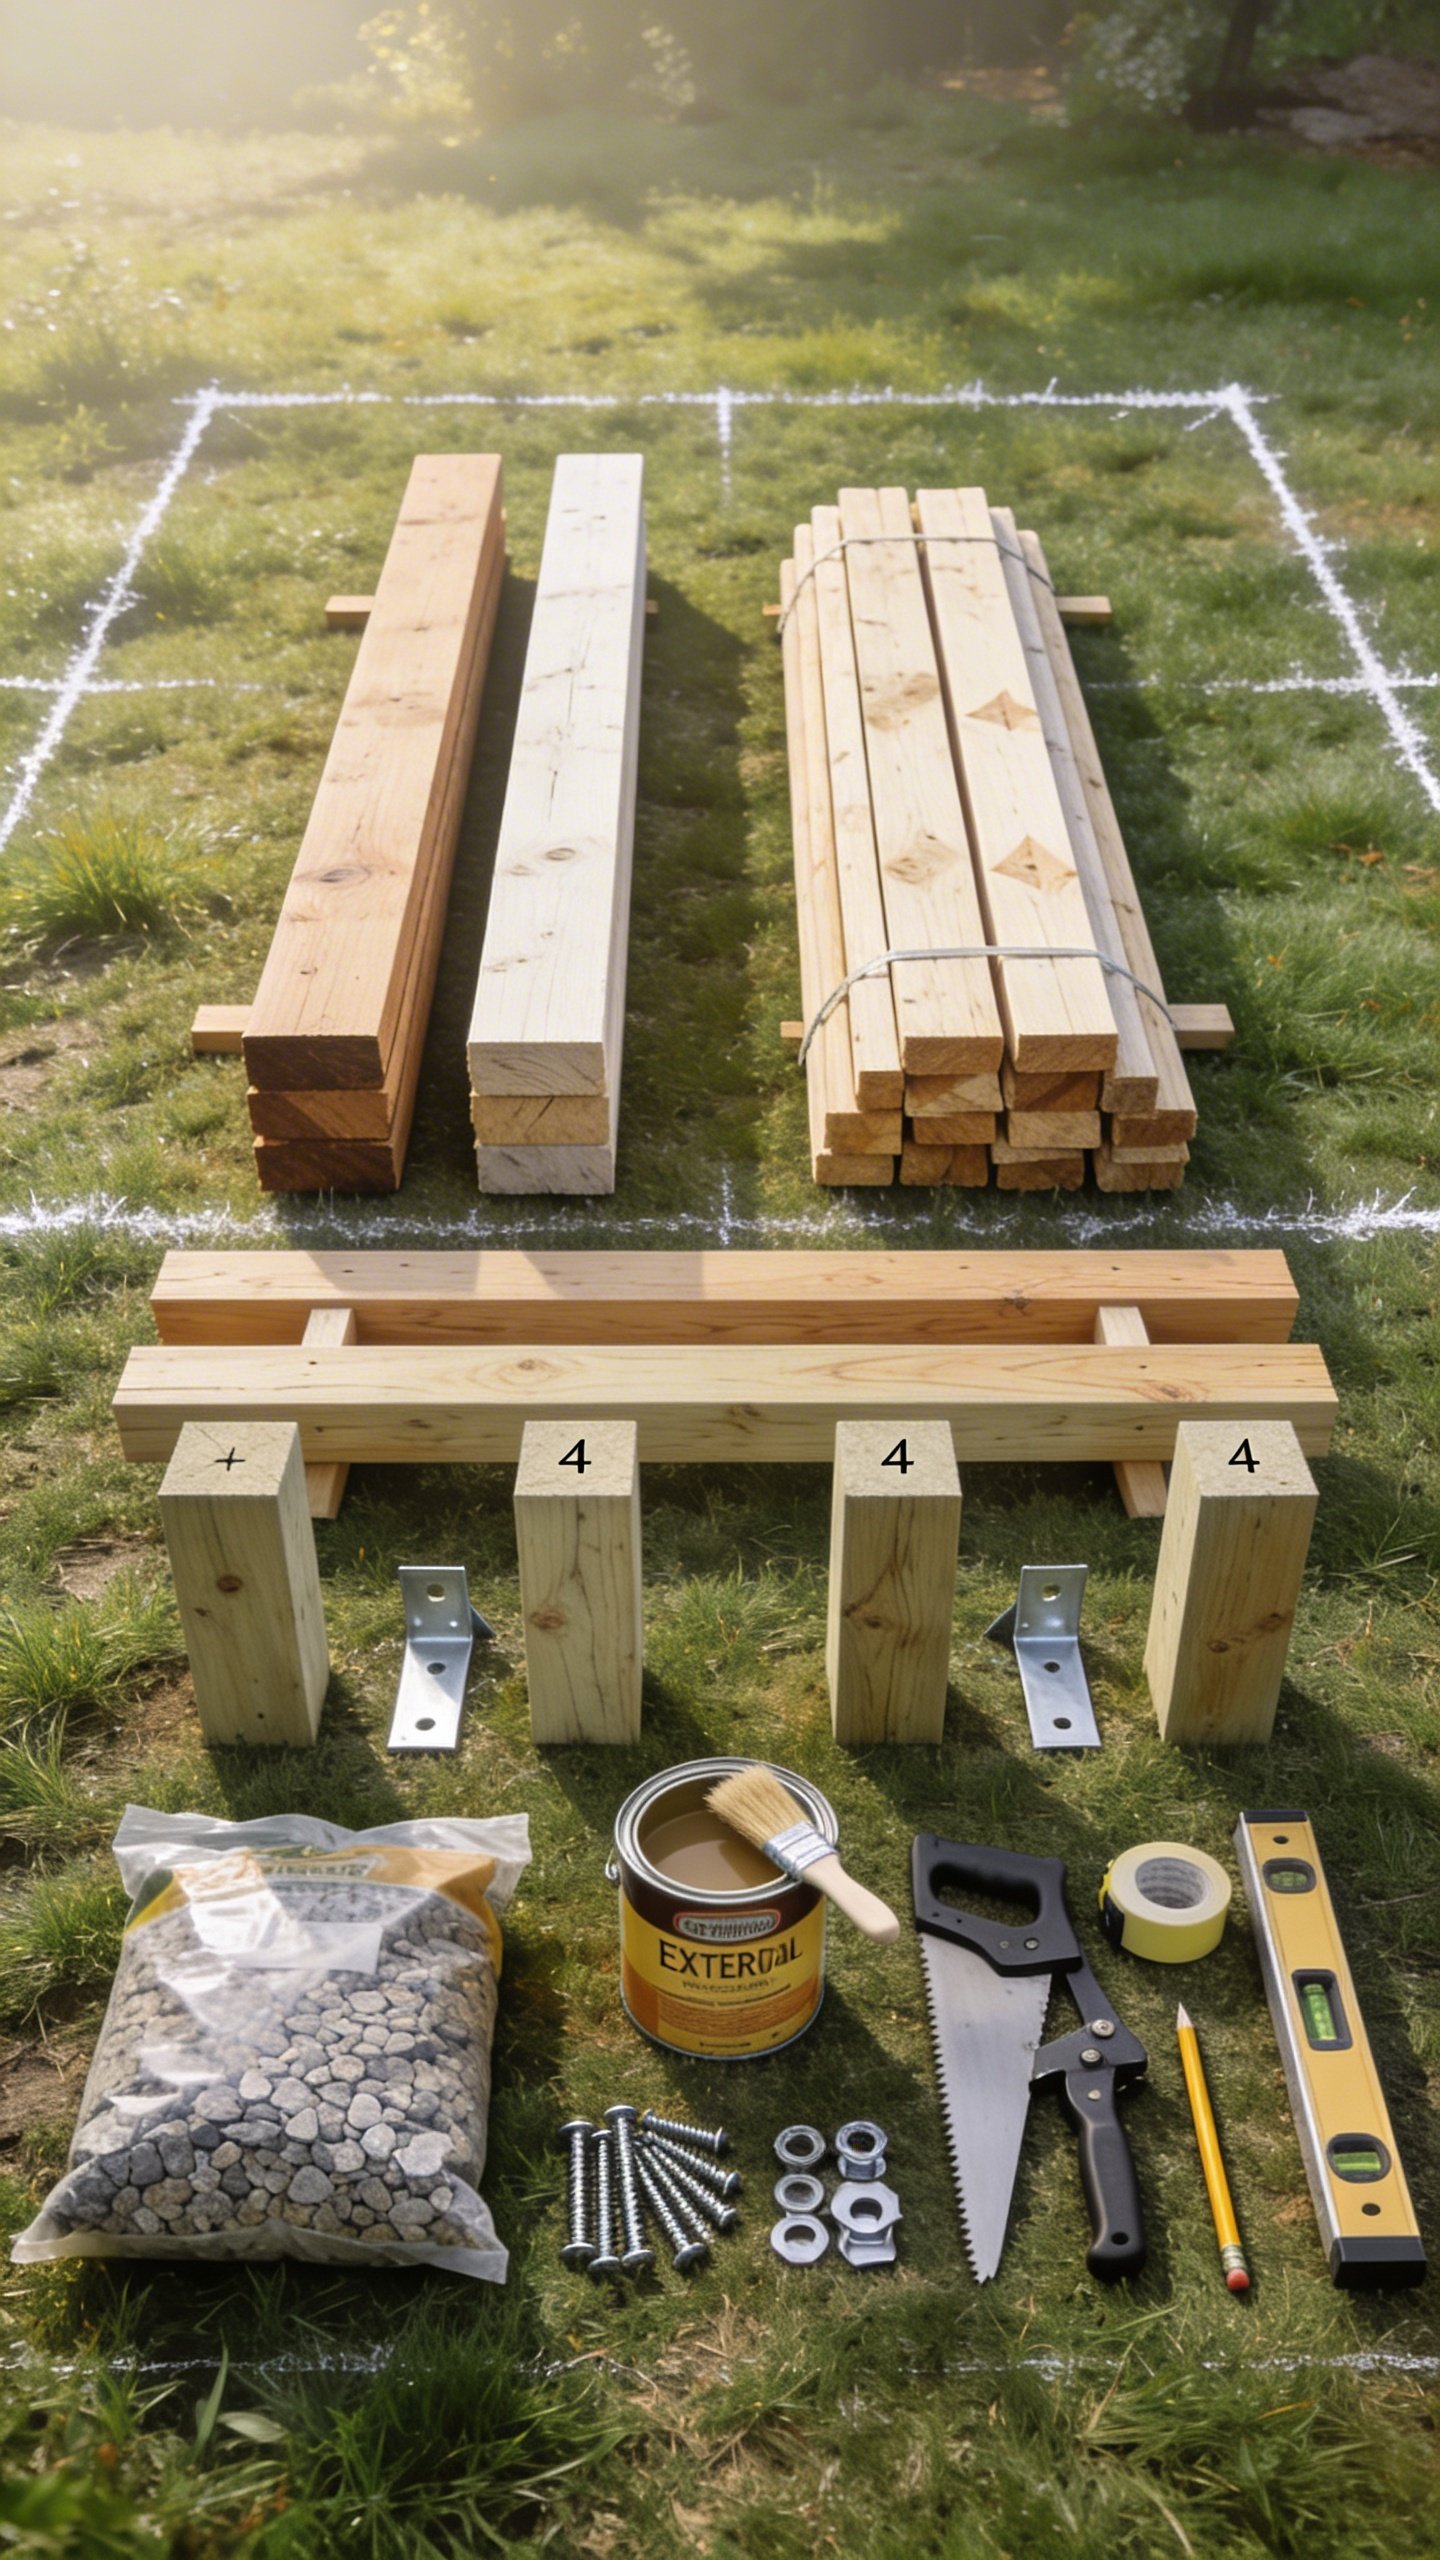
Budget Breakdown: Keep It Under $200
Prices vary by region, but here’s the ballpark. Stick with basic construction lumber and smart hardware swaps to stay on track. FYI: pressure-treated is ideal outdoors, but you can also seal regular pine if that’s cheaper in your area.
- Lumber: 4 posts (4x4x8′), 6 rafters (2x4x8′), 2 beams (2x6x10′) — $120-$150
- Hardware: Exterior screws, lag screws or carriage bolts, post bases (optional), metal angle brackets — $25-$40
- Finish: Exterior stain/sealant or paint — $15-$25
- String shade (optional): Jute rope or shade cloth — $10-$20
Pro tip: Watch for cull racks and miscuts at big-box stores. You can snag 50% off perfectly usable boards. Also, sign up for store texts—sometimes you get instant coupons. IMO, that’s free money.
Tools You’ll Actually Use
- Measuring tape, pencil, speed square
- Circular saw or handsaw (no judgment if you love elbow grease)
- Drill/driver with wood bits and a socket adapter for lag screws
- Level (2-foot minimum; 4-foot is better)
- Clamps (helpful but not mandatory)
- Safety gear: Glasses, hearing protection, gloves
Nice-to-have: A miter saw for clean cuts and a post-hole digger if you skip surface mounts.
Simple Design That Stays Under Budget
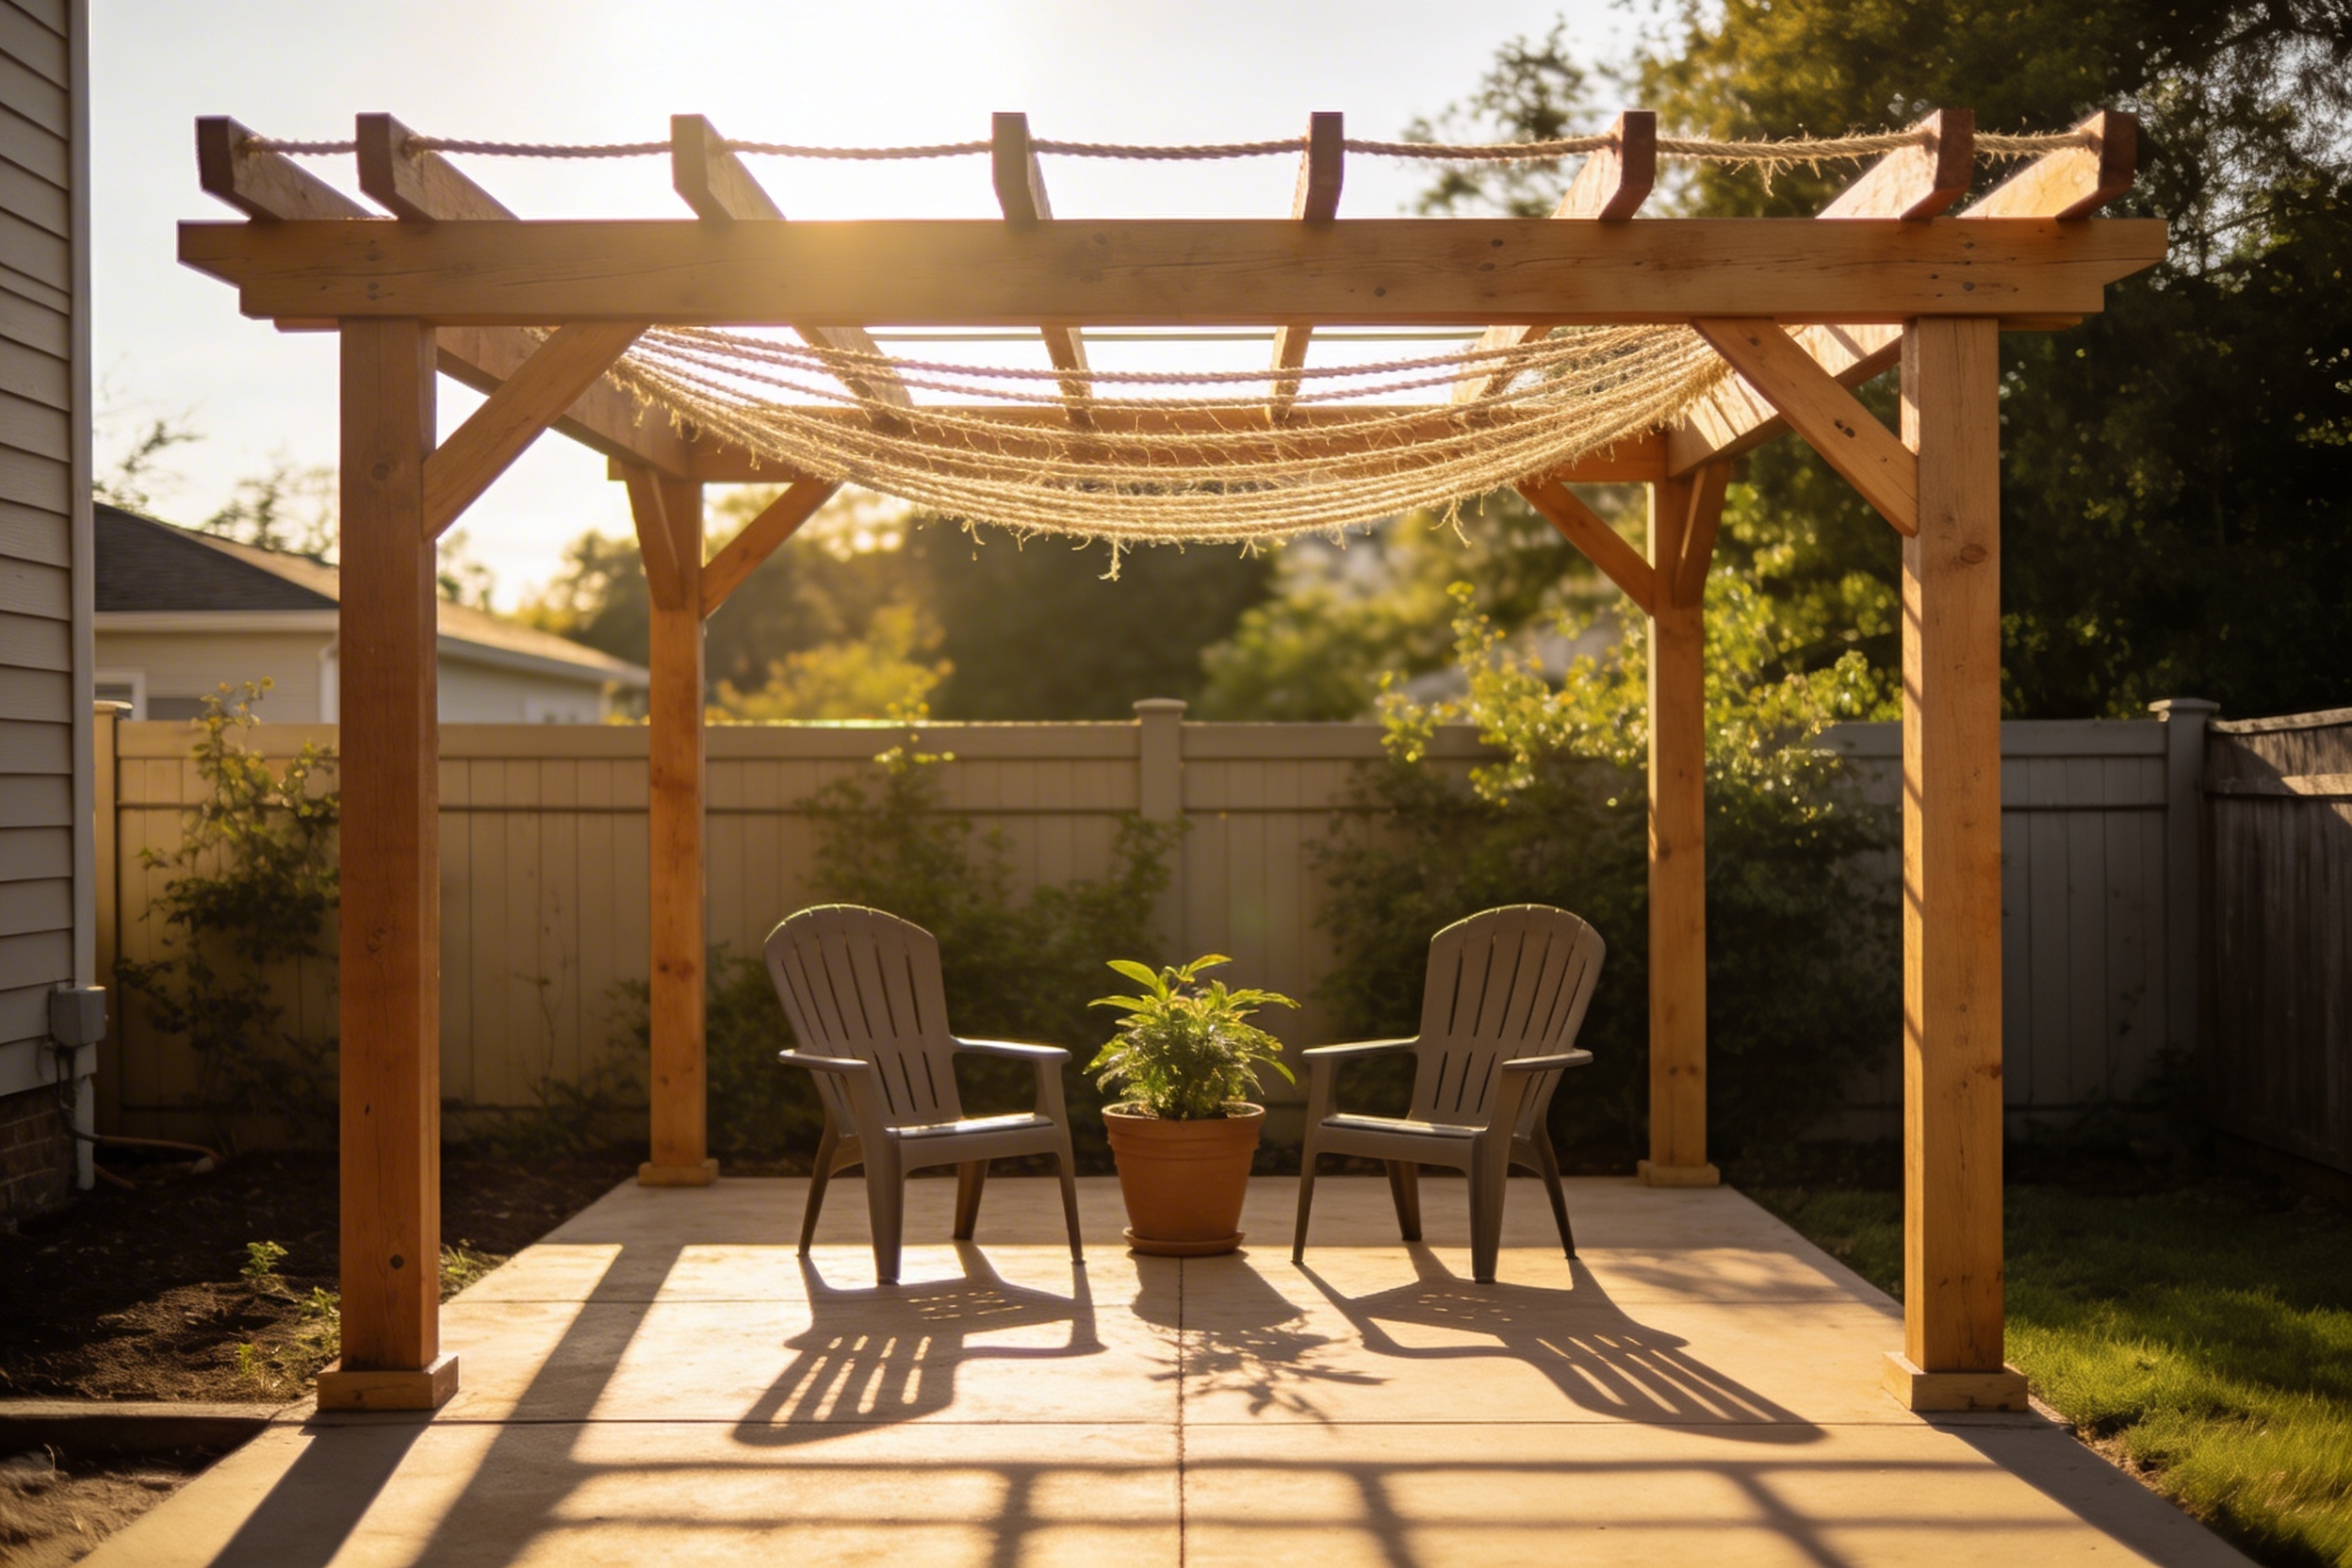
We’ll build a rectangle with four 4×4 posts, two 2×6 beams, and several 2×4 rafters on top. No fancy joinery. Just strong connections and clean lines. This design looks modern but doesn’t require a workshop full of tools.
Transform Your Home With 7,250+ Stunning Landscaping Designs—No Expensive Designers Needed!
- 🌿 Access 7,250+ stunning landscaping designs.
- 💰 Save thousands—no pro designer needed.
- 🏡 Plans for gardens, patios, walkways, and more.
- ✨ Simple, beginner-friendly DIY layouts.
- 🛠️ Customize any design to fit your yard.
Dimensions That Work
- Footprint: 8′ x 8′ or 8′ x 10′
- Post height: 7′ to bottom of beam (comfortable headroom)
- Rafter spacing: 12″-16″ on center for decent shade
Step-by-Step Build (Weekend Warrior Friendly)
1) Plan and Mark Your Layout
Pick a level-ish spot and mark a rectangle with stakes and string. Measure diagonals; when both diagonals match, your layout is square. Don’t eyeball it—future you will notice the wobble.
2) Set the Posts
- Option A: Surface-mount on concrete with post bases. Easiest and fast. Drill anchors, bolt bases, stand posts.
- Option B: In-ground with quick-set concrete. Dig 12″-18″ holes, set posts plumb, pour mix, brace until cured.
Money-saver: Surface-mount bases can push your budget. If you already have a concrete pad, great. If not, go in-ground and skip bases.
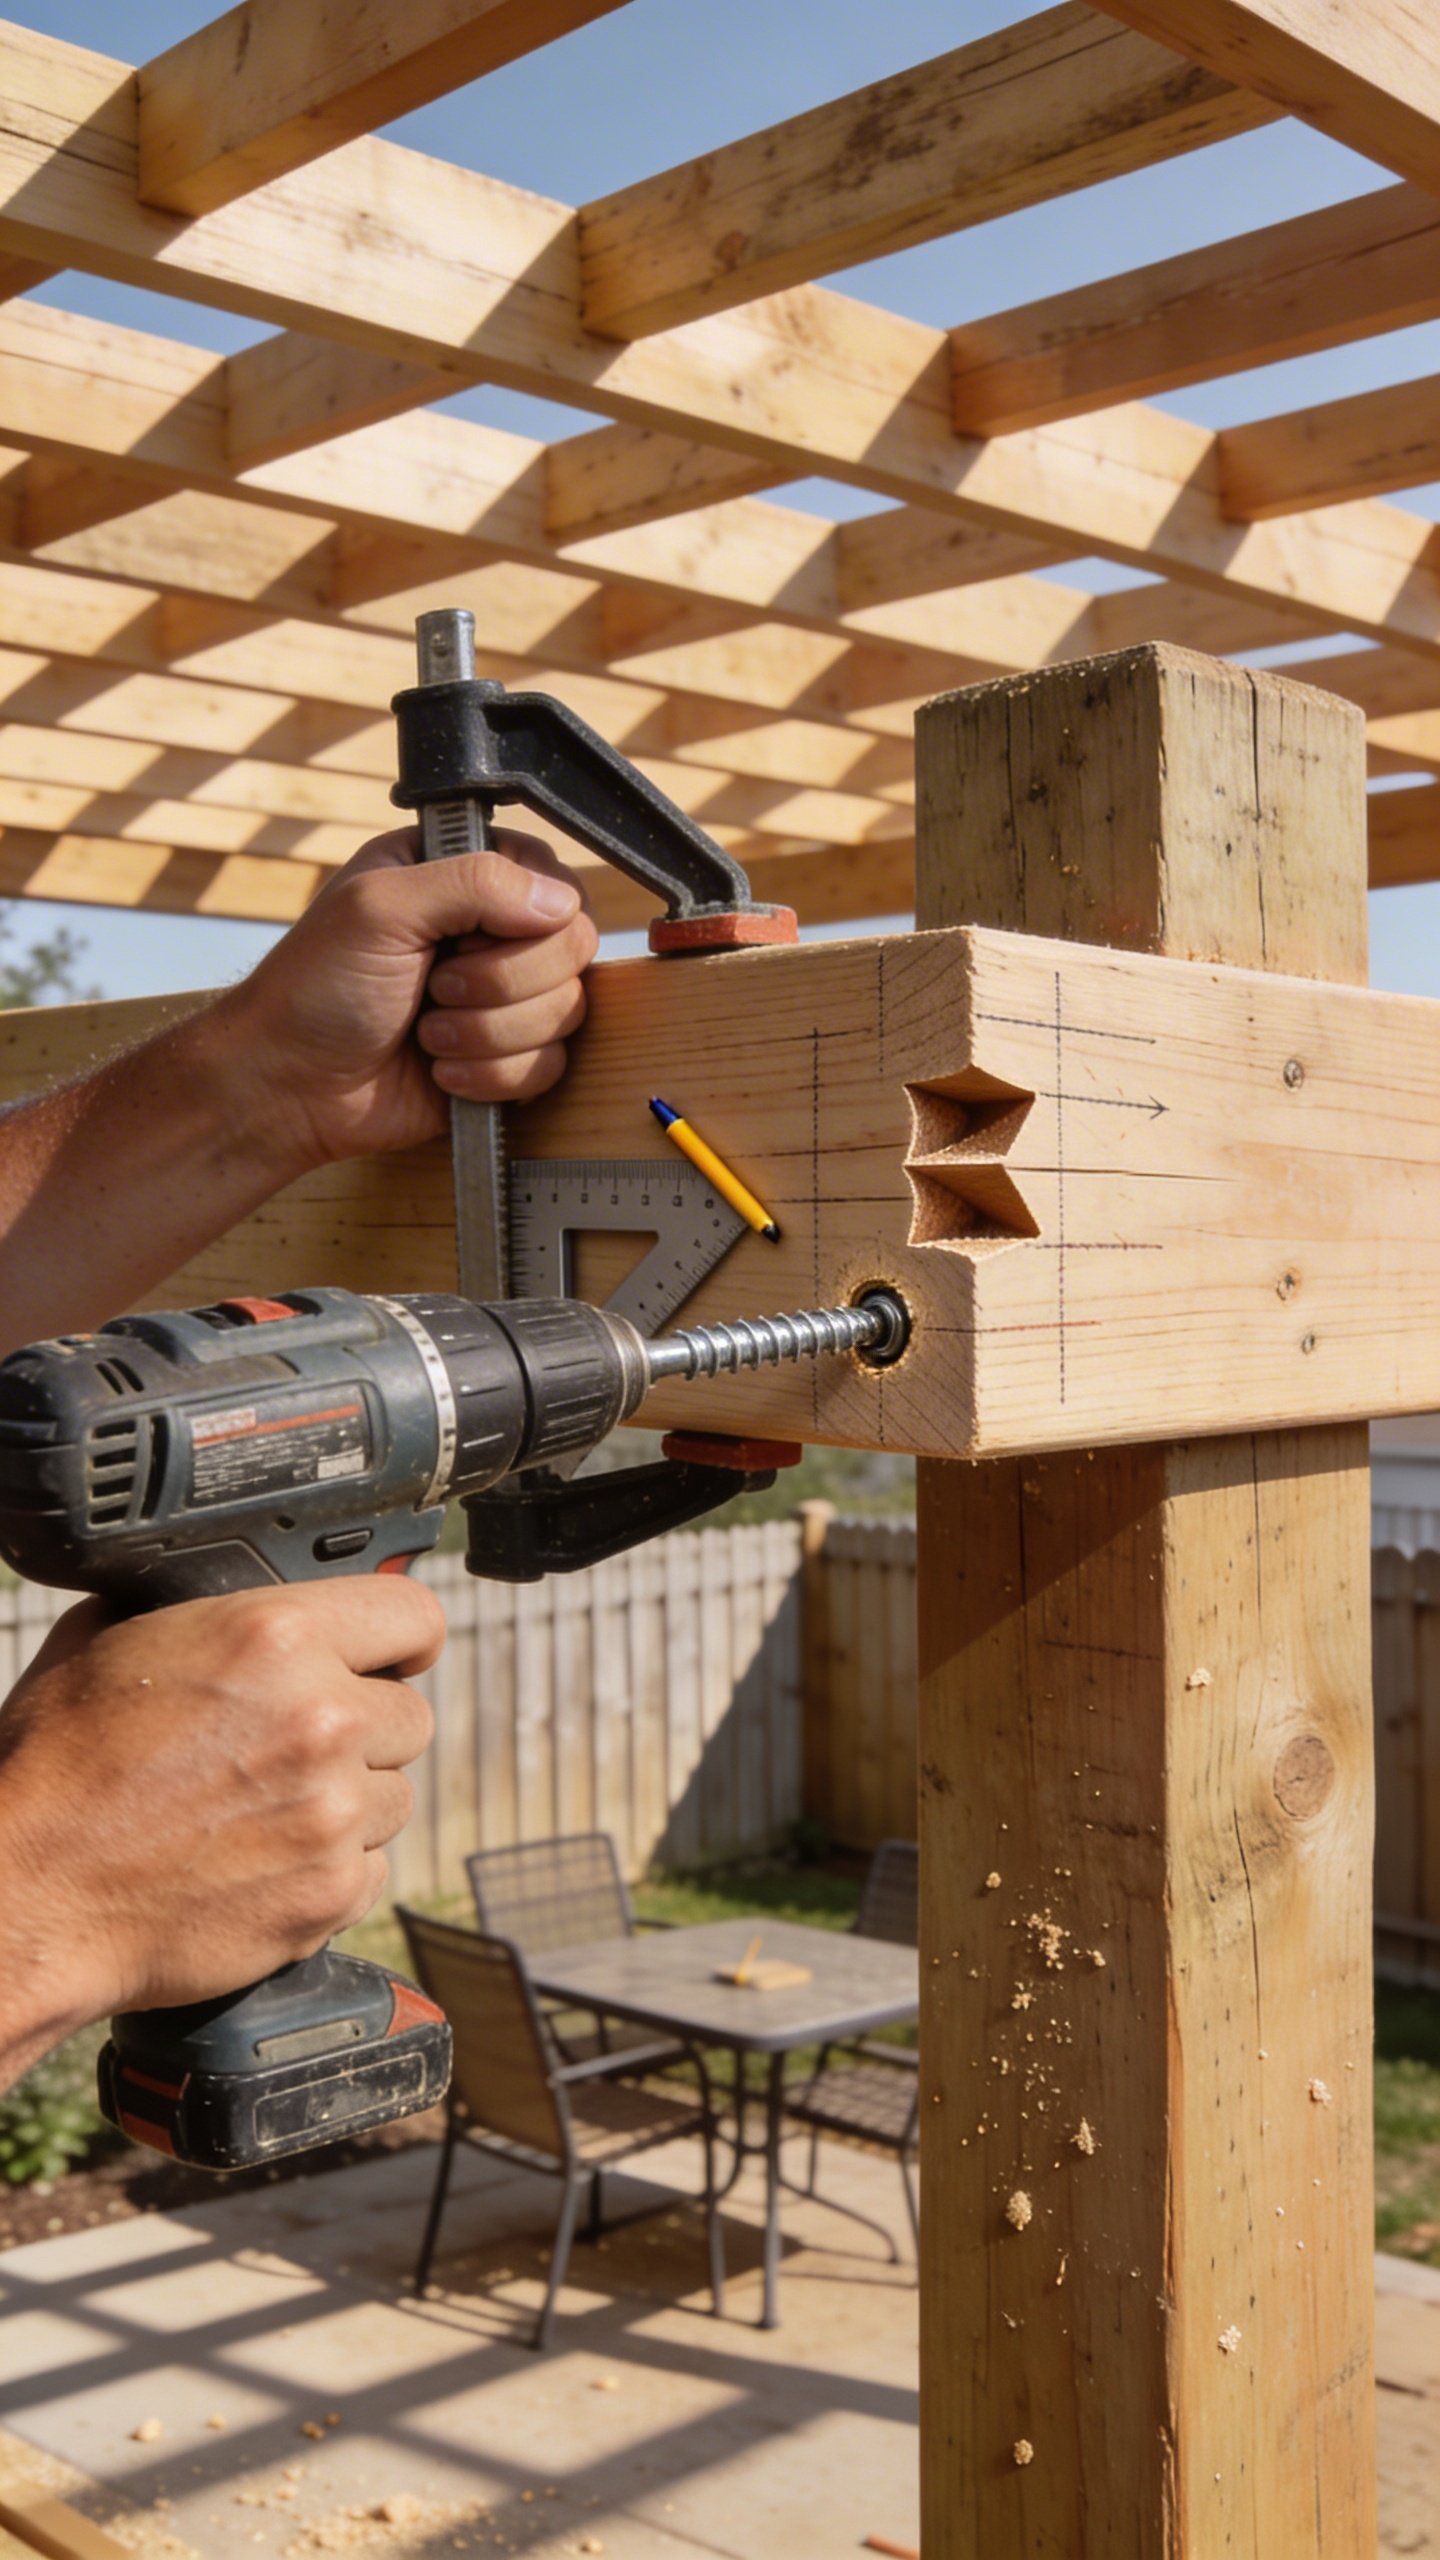
3) Cut and Install the Beams
Cut two 2×6 beams to length (span of structure). Clamp one beam to the outside faces of two posts at your desired height, level it, then secure with lag screws or carriage bolts. Repeat on the other side. Keep everything level—your rafters depend on it.
4) Cut and Attach Rafters
Cut your 2x4s to length so they overhang each side by 6″-10″ for a nice silhouette. Mark rafter spacing on the beams (12″-16″ OC). Drive two exterior screws per seat at each end. If you want extra strength, add small angle brackets under a few rafters. Overkill? Maybe. Satisfying? Absolutely.
5) Add Diagonal Bracing (Don’t Skip!)
Cut four short 2×4 braces at 45° and screw them from posts to beams. This kills sway and makes your pergola feel rock solid. Two screws into each end is usually enough; use construction screws for bite.
6) Sand, Stain, Celebrate
Break edges with 120-grit, then apply an exterior stain or sealant. Lighter stains keep a breezy vibe; darker tones look fancy for cheap. Let it dry, then call your friends and pretend this was effortless.

Style Upgrades That Don’t Break the Bank
Shade That Costs Pocket Change
- Jute rope weave: Wrap front-to-back in a basket pattern for partial shade and coastal vibes.
- Drop cloth canopy: Grommet the corners and tie it across rafters. Instant cabana energy.
- Climbing plants: Morning glory or jasmine will cover it fast and smell amazing.
Details That Look Custom
- Decorative rafter tails: Trace a curve on rafter ends and cut with a jigsaw for extra flair.
- Contrasting hardware: Black screws and brackets = designer look on a budget.
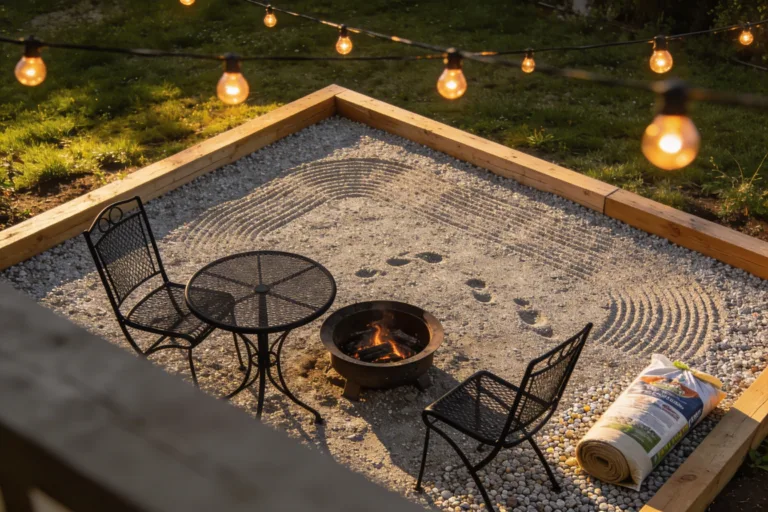
- String lights: Staple cable guides under rafters and run warm LEDs. Cozy unlocked.
Build Tips From Someone Who’s Made the Mistakes
- Buy straight lumber. Sight down each board. Bowed boards fight you the entire time. Hard pass.
- Pre-drill. Especially near ends to prevent splitting. It adds minutes and saves hours.
- Paint or stain before assembly. You’ll still do touch-ups, but you’ll save your back (and sanity).
- Mind your local rules. Some cities care where you stick posts. Quick permit check = no headaches.
- Don’t chase perfection. Wood moves. A tiny gap here and there? Normal. Give yourself grace.
Estimated Timeline
- Friday evening: Shop and pre-stain (optional)
- Saturday: Set posts, install beams
- Sunday: Add rafters, braces, finish details, seal
Reality check: If you’re brand new to tools, add a few extra hours. It’s still a solid weekend project, IMO.
FAQ
How do I keep this under $200 if lumber prices spike?
Scale down to 6×8, reduce rafter count slightly (keep them 16″ OC), and check cull racks. Swap 2×6 beams for straight 2x4s doubled up and laminated with exterior screws. You keep strength while cutting cost.
Do I need pressure-treated wood?
It lasts longer outdoors, yes. If you can’t swing the cost, use kiln-dried pine and hit it with two coats of quality exterior stain or paint. Re-seal annually in harsh climates. FYI, keep any non-treated wood off soil to avoid rot.
Will it stand up to wind?
Use diagonal bracing, secure posts properly (in-ground with concrete or sturdy surface mounts), and space rafters evenly. In very windy regions, add hurricane ties at rafter-to-beam connections. That tiny upgrade makes a big difference.
How tall should my pergola be?
Seven feet to the bottom of the beam feels comfy and doesn’t look squat. If you’re tall or plan to hang lights, bump it to 7’6″. Just keep proportions balanced—taller posts need slightly wider spans to avoid looking spindly.
Can I build it solo?
Yes, with clamps and patience. The only sketchy part is lifting beams. Prop them on temporary supports, clamp, then lag-screw them in. If a friend can spare 20 minutes, this step gets way easier (and safer), IMO.
How do I maintain it?
Give it a quick wash every spring and re-seal every 1-2 years. Tighten hardware once a season. If you notice wobble, add or re-tighten diagonal braces. It’s low-maintenance, not no-maintenance.
Conclusion: Your $200 Backyard Glow-Up
You don’t need a contractor—or a platinum card—to build a pergola that looks custom. With smart material choices, solid connections, and a few style tricks, you’ll end up with a sturdy hangout zone you’re proud of. Grab some lumber, cue your favorite playlist, and build a shady oasis this weekend. Drinks under your new pergola? That’s the victory lap.