How to Build a Diy Outdoor Dining Area for Under $200 That Wows
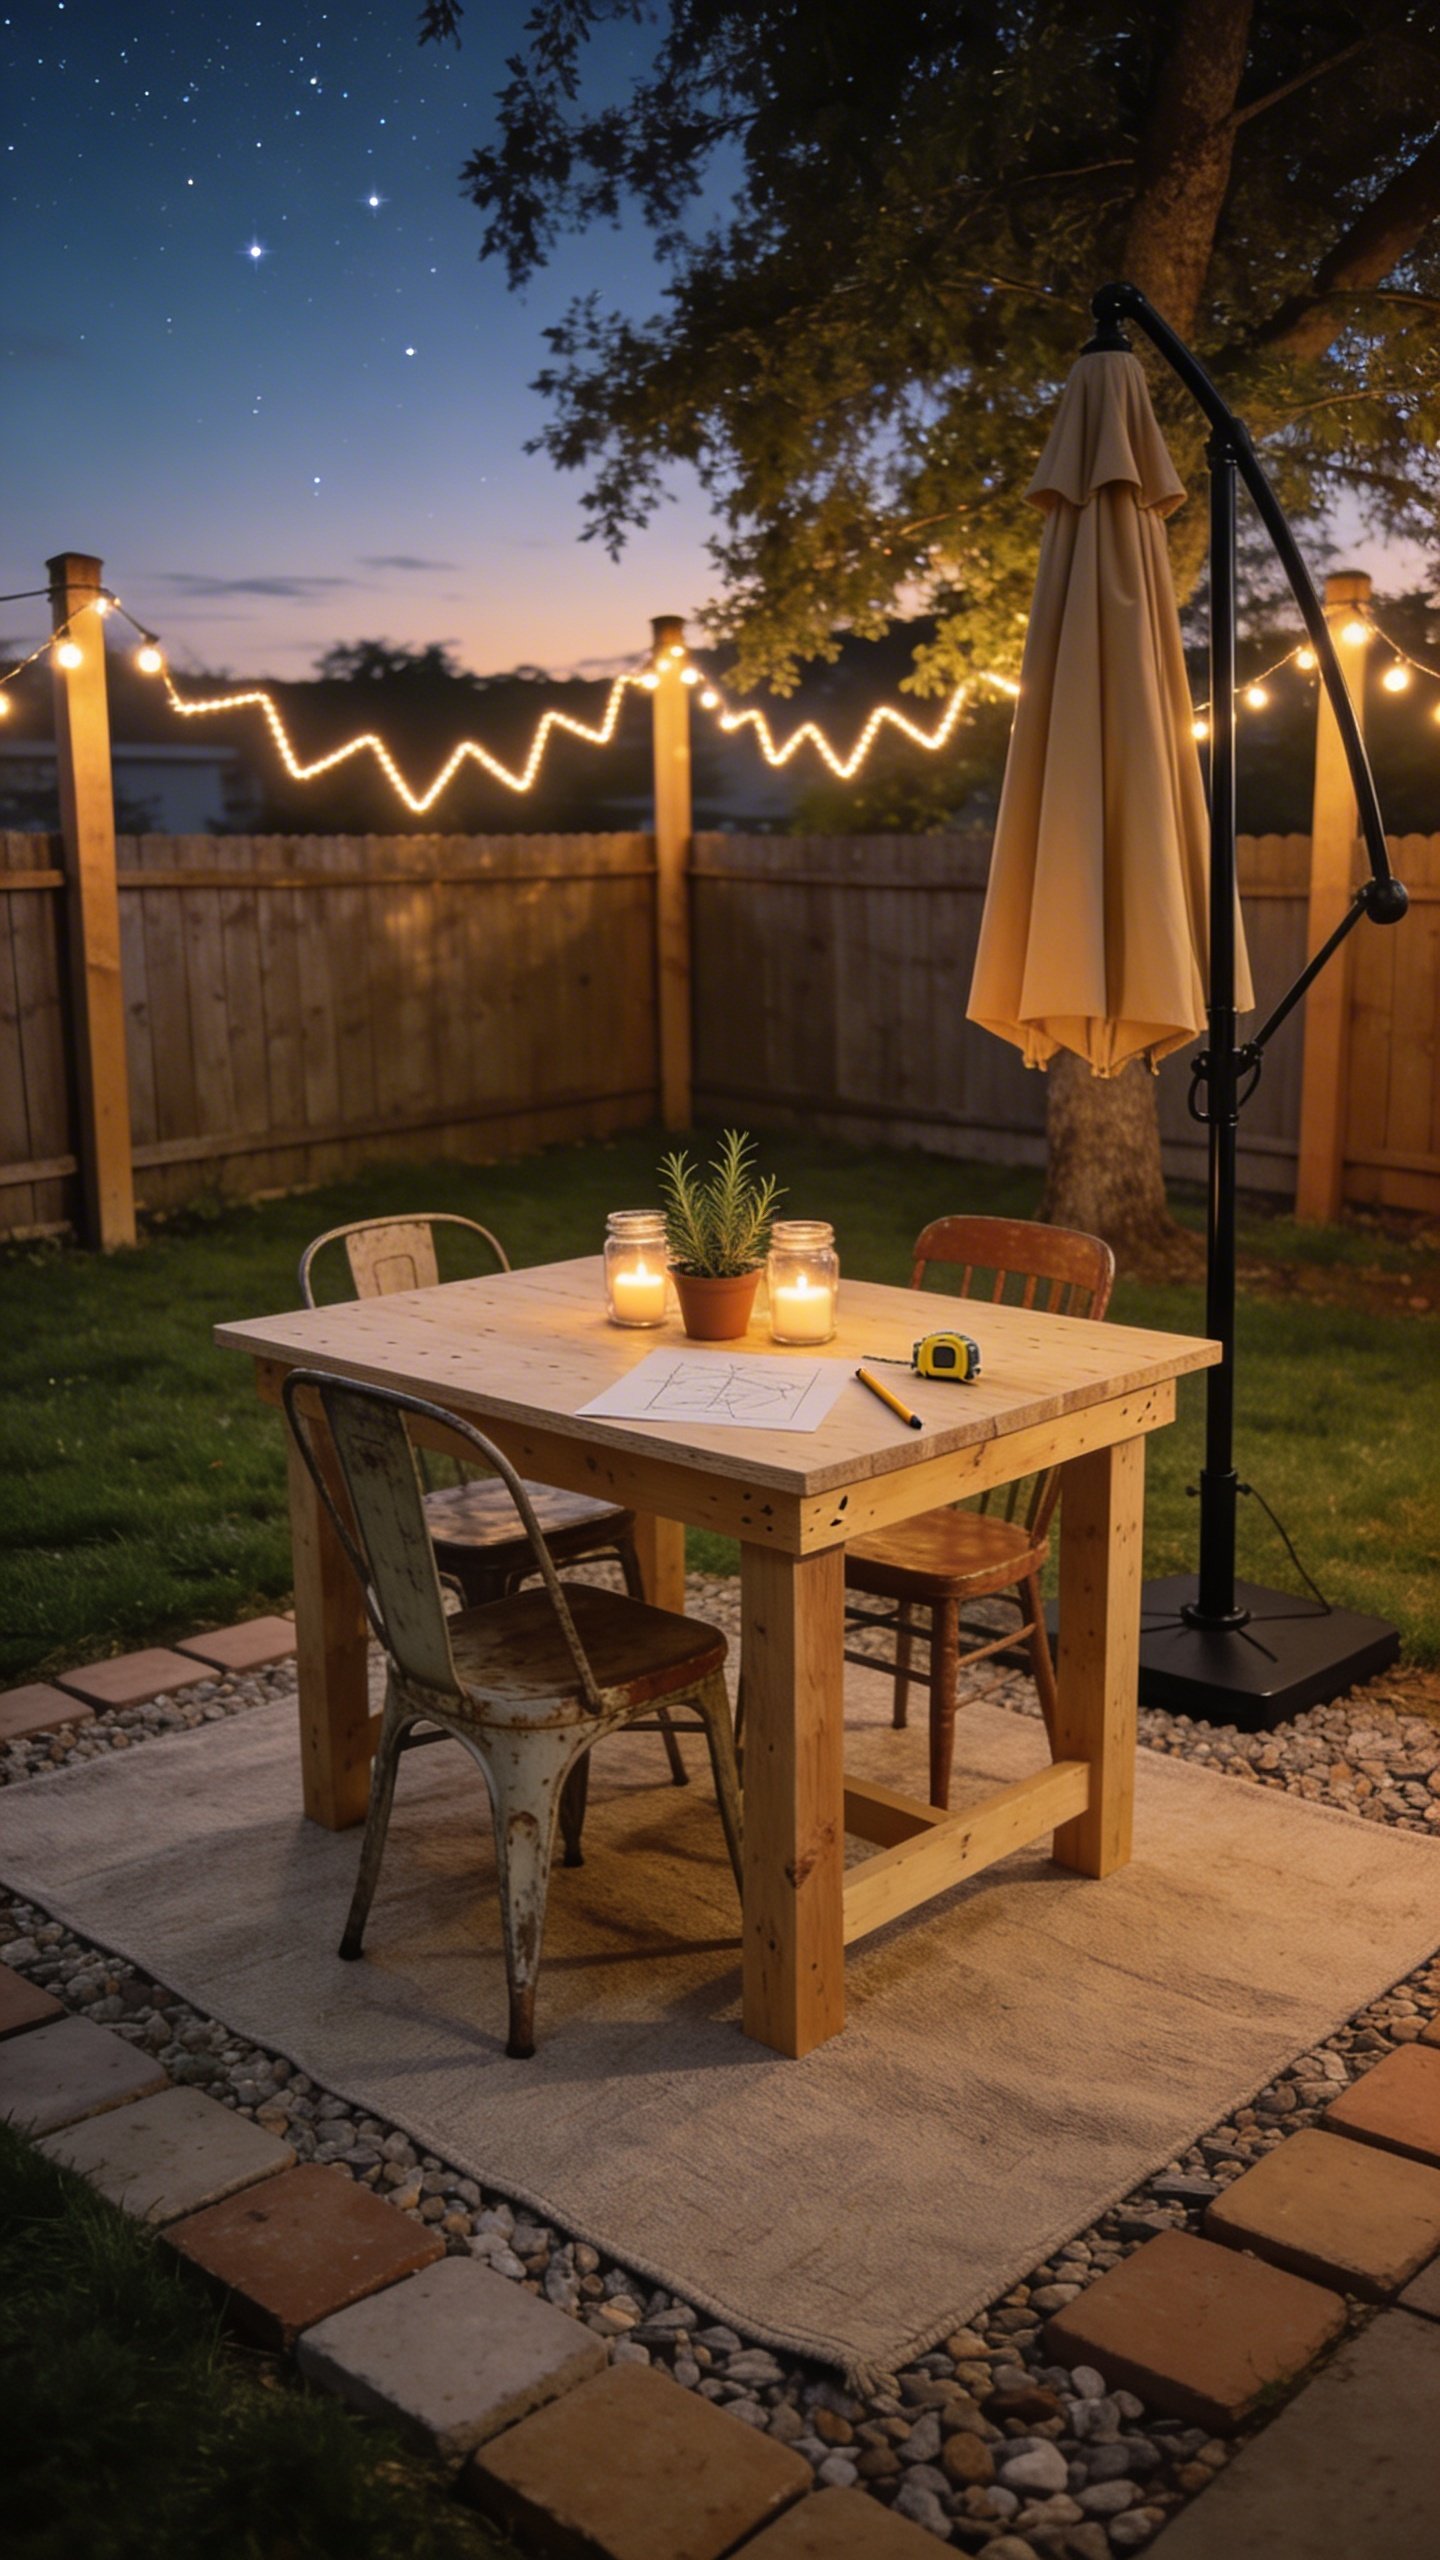
You want dinner under the stars without paying resort prices? Same. The trick: hack a sturdy setup with smart materials, simple tools, and a little sweat equity. I’ll walk you through exactly how to create a cozy, stylish outdoor dining zone for less than two Benjamins—no contractor, no drama. Ready to make your backyard the place friends won’t leave?
Plan The Space Like A Pro (Without Overthinking It)
You need a game plan before you buy a single 2×4. Start by eyeballing your yard or balcony and pick a flat-ish spot with decent airflow. Shade helps, but don’t panic—umbrellas exist.
Tired of snacking when you’re not even hungry? This reset helps you stop the loop and feel back in control.
A simple reset for moments when cravings take over. Easy to use, easy to repeat, and designed to help you feel satisfied instead of stuck.
- Pick a footprint: Aim for roughly 8×8 feet for a four-person setup. Smaller balcony? 6×6 works.
- Check sun and wind: Watch the area for 10–15 minutes. Where does the sun blast? Where does wind funnel?
- Measure your access path: Make sure your table and chairs fit through gates and doors. FYI, learned that the hard way.
- Set your vibe: Rustic, coastal, or minimal? Decide now so your purchases match.
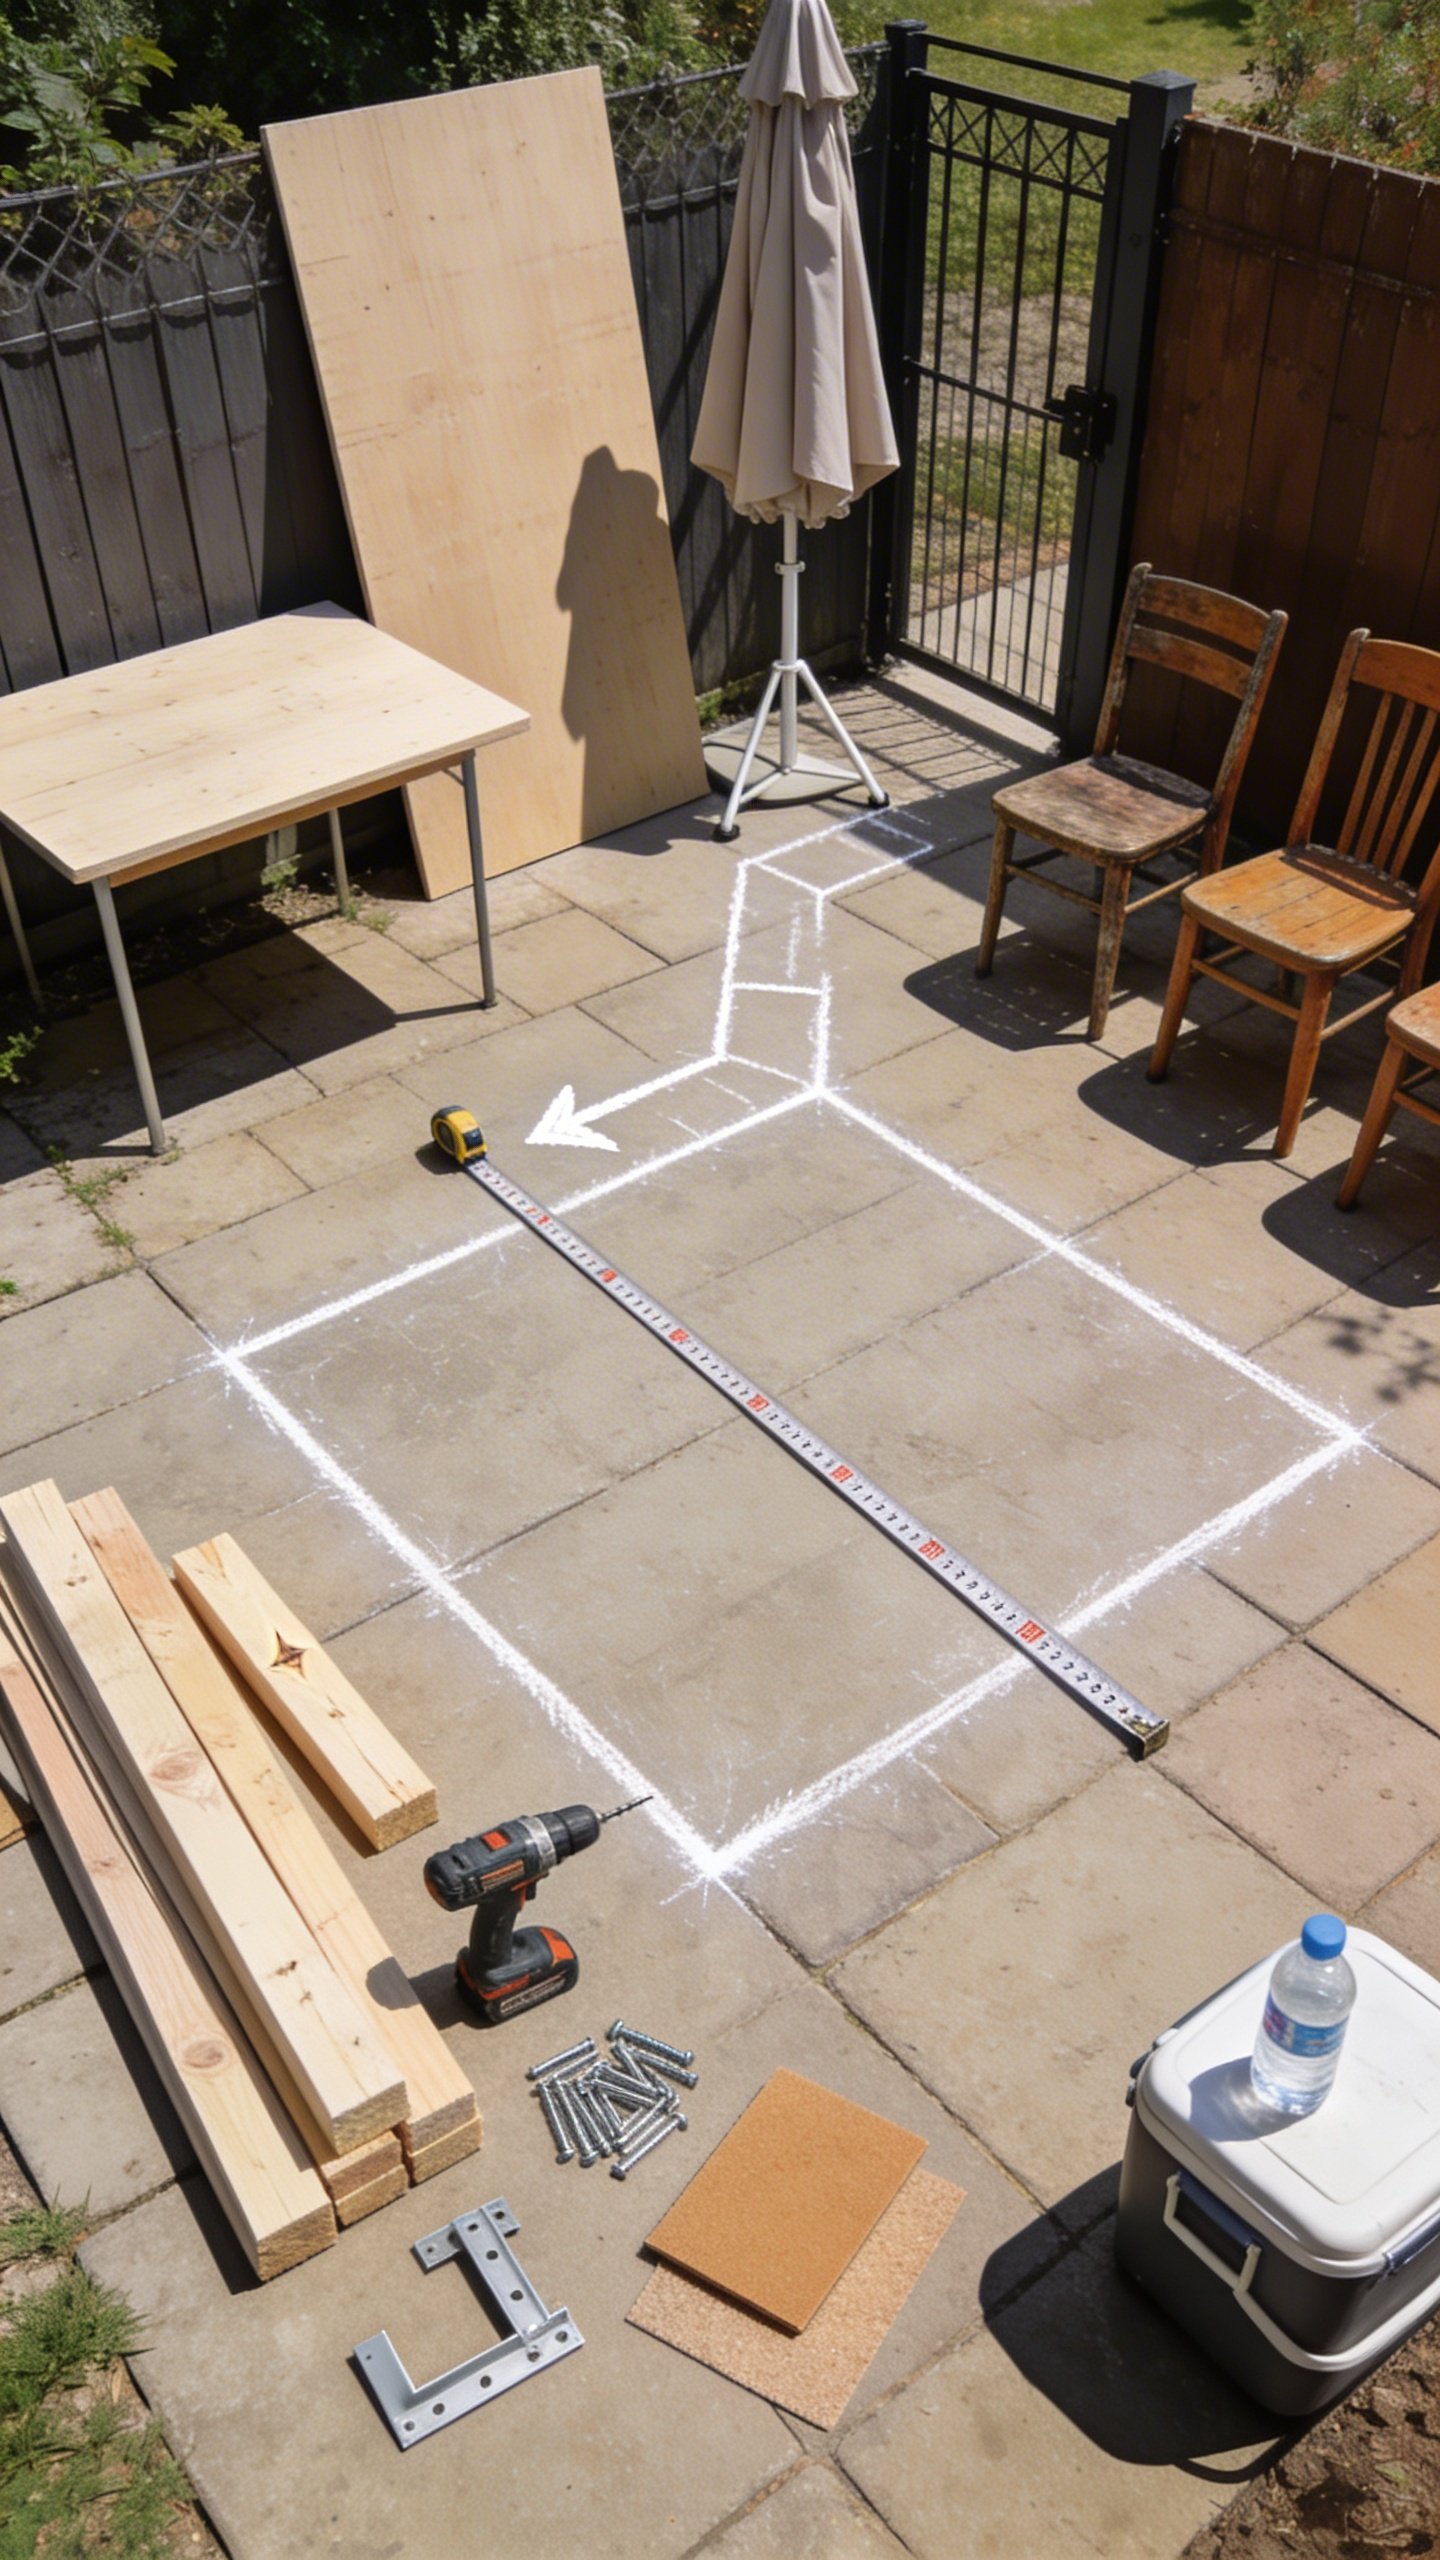
Quick Layout Test
Use cardboard, painter’s tape, or chalk to outline your table and chair footprint. Drop down a couple of lawn chairs to mimic spacing. Can people move comfortably? No elbow wars allowed.
Budget Breakdown: Stretch $200 Without Sacrificing Style
Let’s talk money, because we’re not made of it. Here’s a sample under-$200 spend that punches above its weight. Prices vary by region, but this keeps you honest.
- Tabletop: 3/4″ exterior plywood sheet (4×4 cut from a 4×8) – $35–$45
- Base: 2×4 studs (6–8 pieces) – $25–$35
- Seating: Two folding chairs or thrifted chairs – $30–$50 total
- Ground cover: Pea gravel or pavers off Facebook Marketplace – $20–$40
- Stain/Sealer: Exterior stain + brush – $20–$30
- Lighting: Solar string lights – $15–$25
- Extras: Planter or table runner DIY – $0–$10
Pro tip: Hunt for offcuts, cull lumber, and secondhand chairs. IMO, paint hides 90% of thrift-store sins.
Prep The Ground So Your Dinner Doesn’t Tilt
You don’t need a fancy deck. You just need a stable, low-maintenance base. Think “level-ish,” not laser-perfect.
Transform Your Home With 7,250+ Stunning Landscaping Designs—No Expensive Designers Needed!
- 🌿 Access 7,250+ stunning landscaping designs.
- 💰 Save thousands—no pro designer needed.
- 🏡 Plans for gardens, patios, walkways, and more.
- ✨ Simple, beginner-friendly DIY layouts.
- 🛠️ Customize any design to fit your yard.
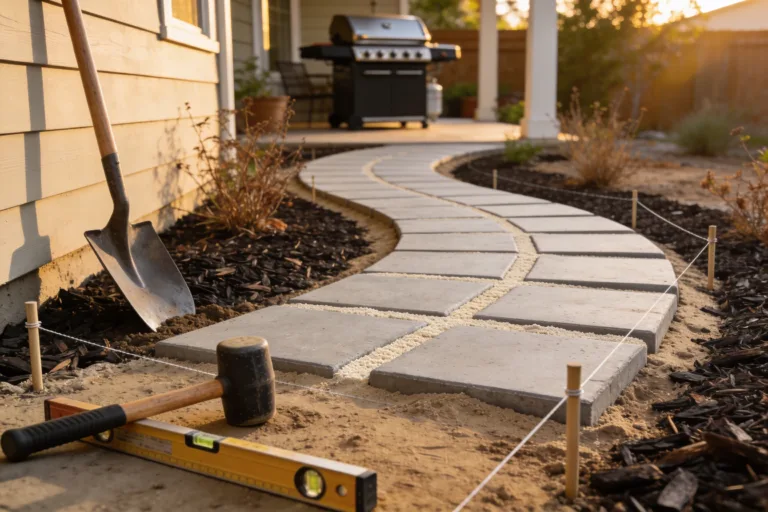
- Clear and flatten: Rake leaves and debris. Scrape high spots with a shovel. Tamp with a flat board.
- Weed barrier: Lay landscape fabric or a layer of cardboard. It slows weeds and keeps things tidy.
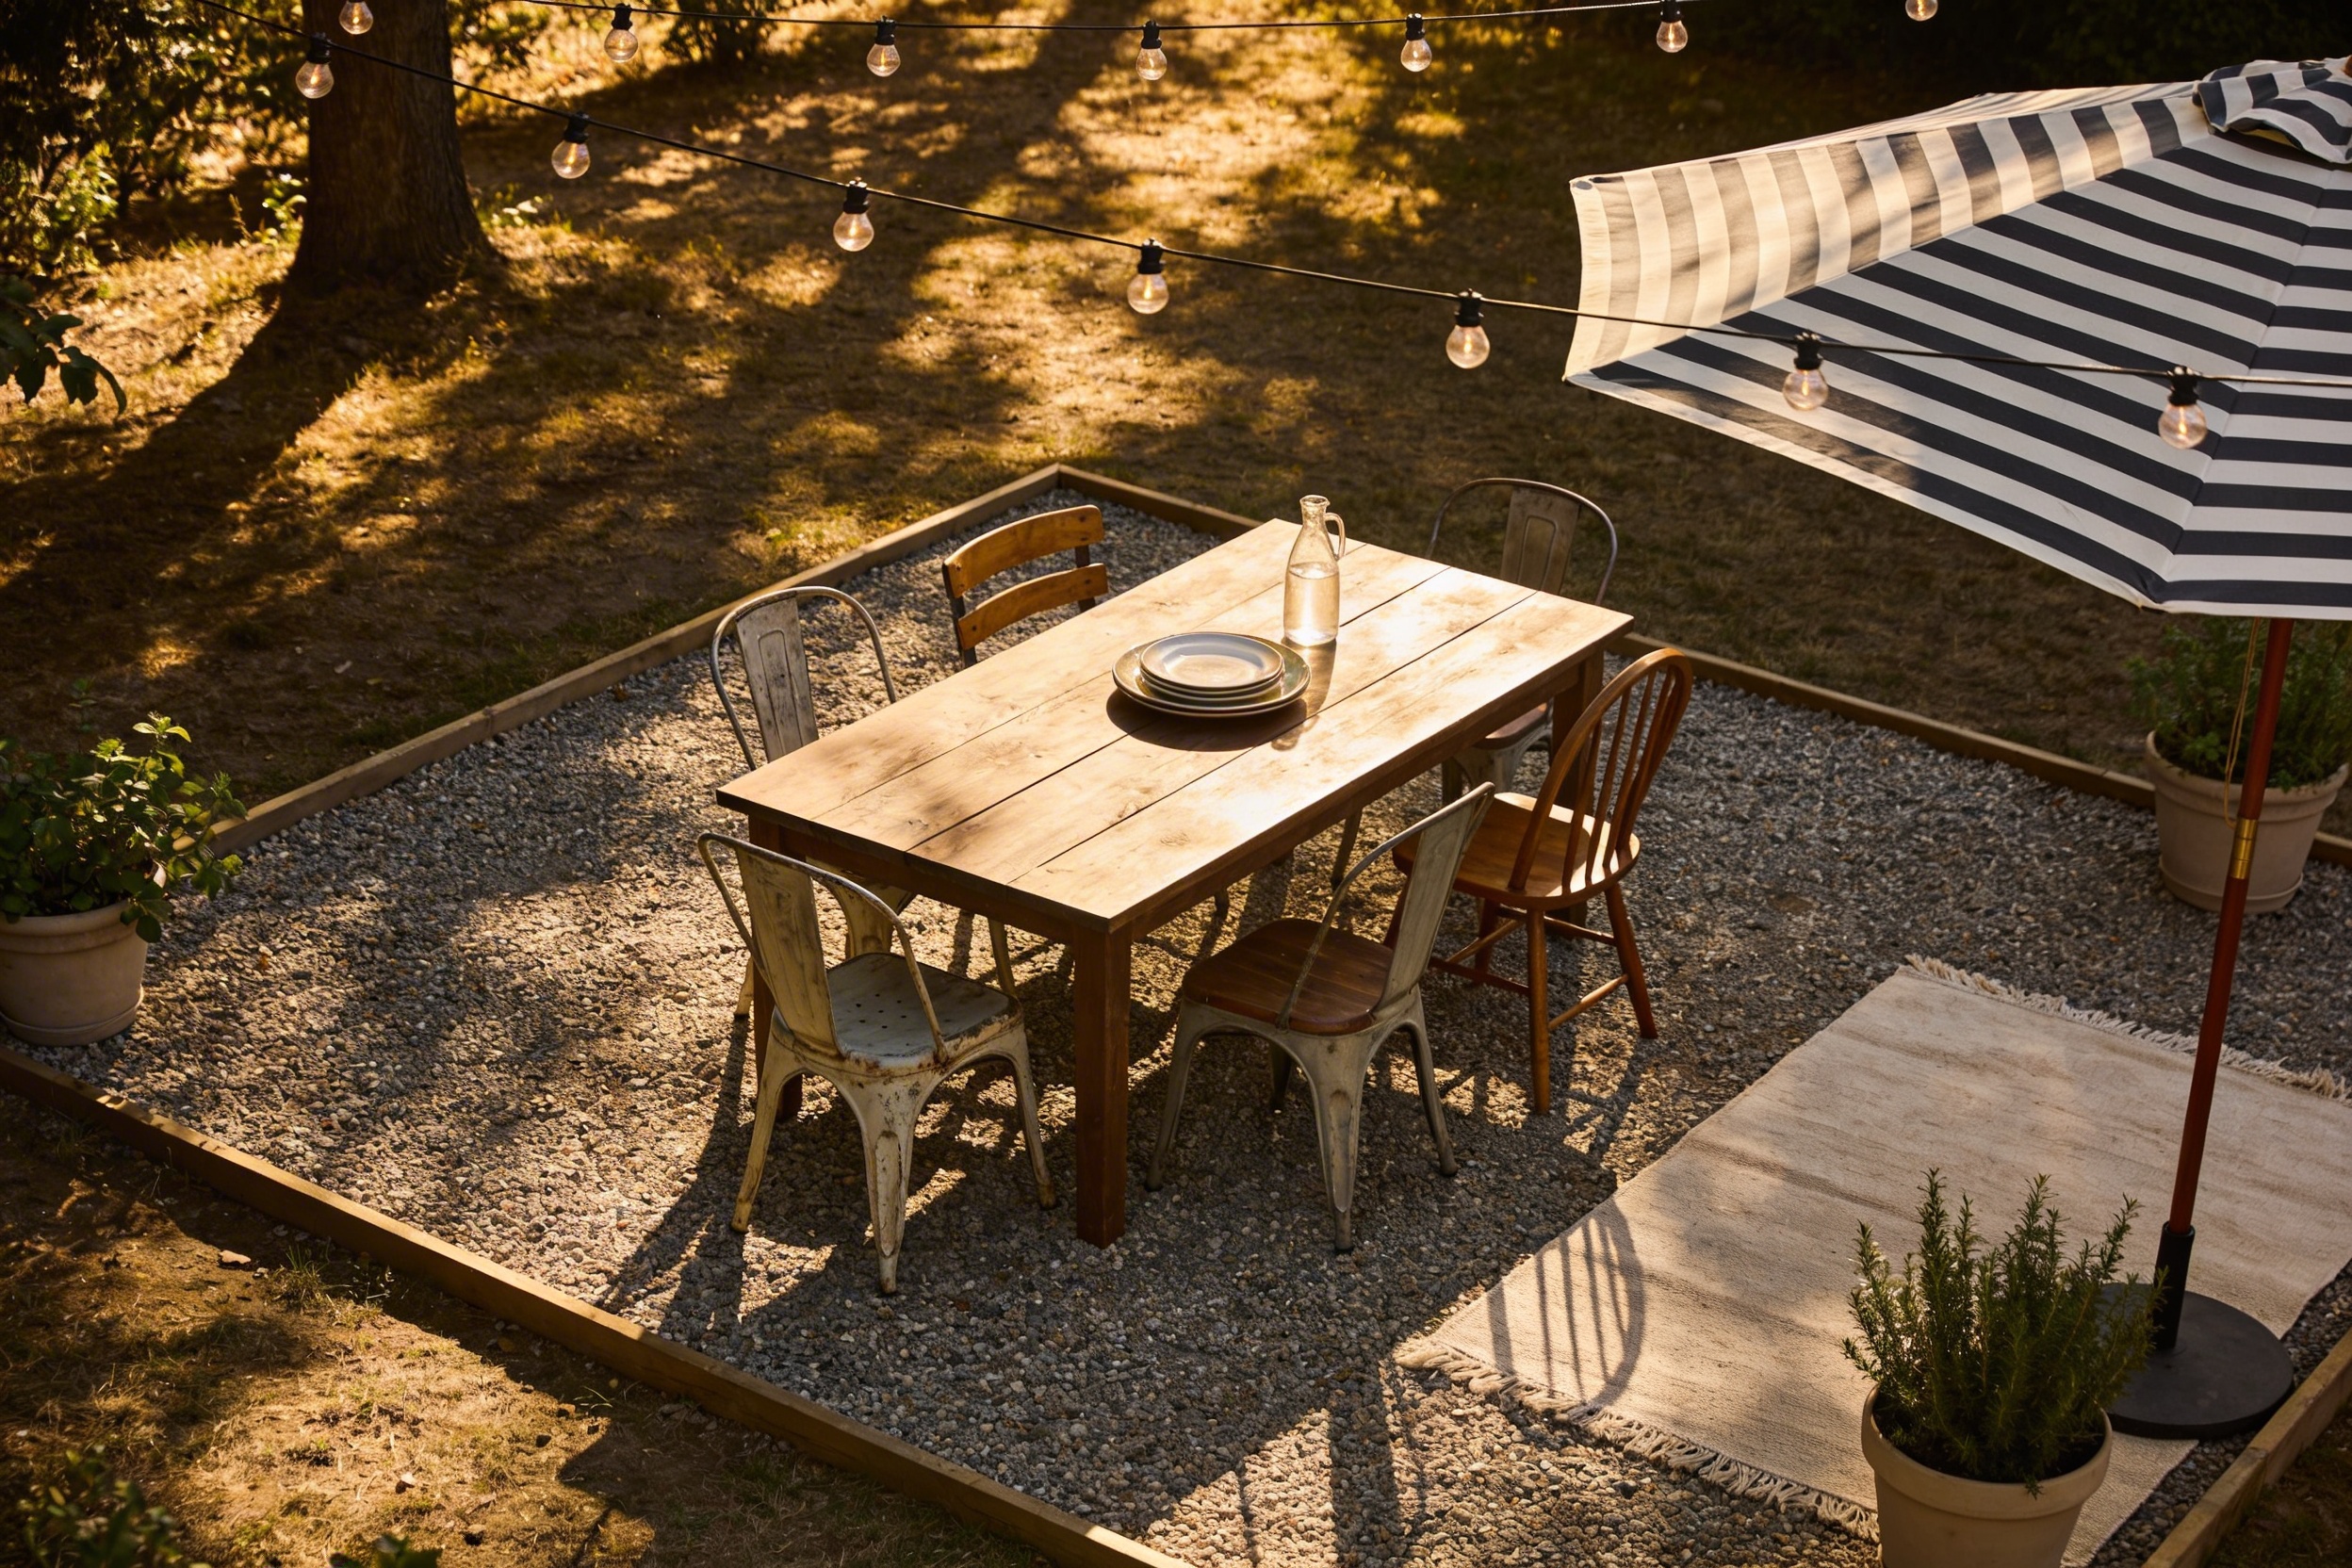
- Base layer: Spread 1–2 inches of pea gravel. Rake it level. No pea gravel? Use pavers under table/chair legs.
Micro-Upgrade: A Rug Without The Mold
Use an indoor/outdoor rug from a discount store or a plastic woven mat. It defines the space and hides imperfections. Just anchor corners with heavy planters if you’re in a breezy area.
Build A Solid, Simple Table (Beginner-Friendly)

We’re going for a square or small rectangle that fits four people. This design uses minimal cuts and basic tools.
Materials & Tools
- Materials: 4×4 plywood top (3/4″ exterior grade), 2x4s for legs and apron, 2.5″ exterior screws, wood glue, exterior stain or paint, polyurethane or spar urethane
- Tools: Drill/driver, measuring tape, saw (hand saw or circular), sandpaper, brush or rag
Cut List (For a 36″x36″ Table)
- Top: 36″x36″ plywood (get it cut at the store)
- Apron: 2x4s cut to two 33″ and two 29″ (to inset legs and support top)
- Legs: Four 2x4s at 28″ (gives ~30″ table height with top)
- Optional braces: Two 2x4s at 24″ for an X-brace between legs
Assembly Steps
- Build the apron: Create a rectangle with the 2x4s. Pre-drill and screw corners. Keep it square using a speed square or by measuring diagonals equally.
- Add legs: Screw legs to the inside corners of the apron. Check for wobble and correct by loosening and re-setting before tightening.
- Attach top: Center the apron under the plywood, then screw from below into the top. No screws through the top = cleaner look.
- Stabilize: Add the optional X-brace between opposite legs if you want ultra-solid vibes.
- Sand & seal: Round over sharp edges with sandpaper. Stain or paint, then seal with 2–3 coats of exterior polyurethane or spar urethane.
Tip: Elevate the table on scrap blocks while finishing so you don’t glue it to your driveway. Ask me why I’m reminding you.
Find or Hack Seating That Doesn’t Wobble
Chairs eat budget fast, so get crafty. You need four seats, but you don’t need four identical chairs (eclectic is in).
- Thrift store pairings: Sand and spray-paint mismatched chairs in one color for instant cohesion.
- DIY bench: Use two 2x4s and a 1×12 or plywood strip to make a 36–48″ bench. Seal like the table.
- Folding chairs: Cheap, compact, and fine once you toss a cushion on them.
Comfort Upgrade On A Dime
Use outdoor-safe foam or even yoga mats cut to size, wrapped with water-resistant fabric or retired shower curtains. Yes, really. They wipe clean and cost almost nothing.

Layer The Atmosphere: Lighting, Greenery, And Little Luxes
This is where the magic happens—and where guests ask how much you spent. Smile and say, “Less than your last brunch.”
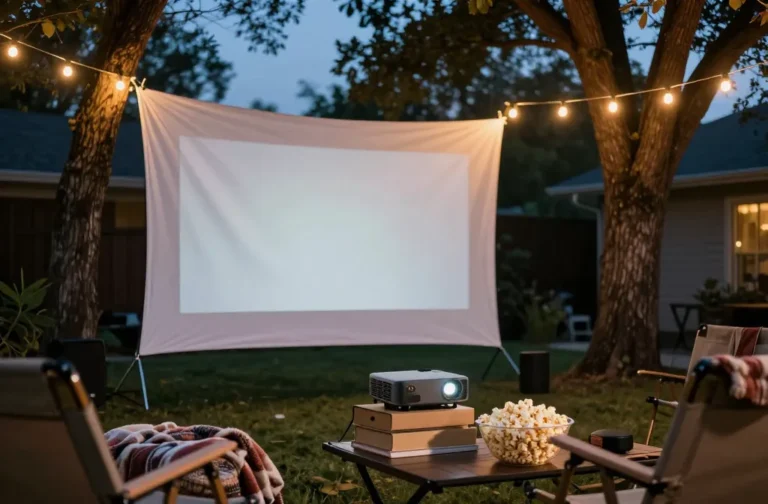
- Lighting: Drape solar string lights between two fence posts or trees. No outlet, no problem.
- Centerpiece: Fill a thrifted bowl with succulents or herbs. Or line small jars with LED tea lights.
- Textiles: A runner made from leftover drop cloth looks chic after a quick hem. Stencil stripes if you’re feeling artsy.
- Bug control: Citronella candles help, but a small box fan pointed across the table knocks mosquitoes off their game.
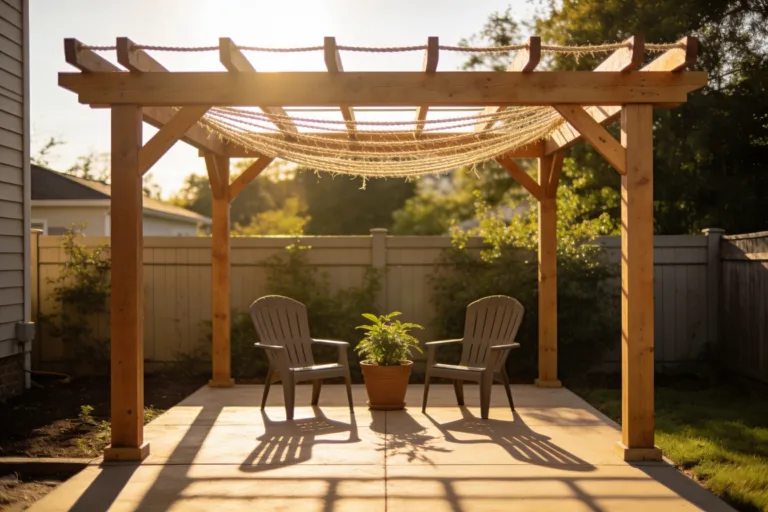
Shade On The Cheap
Can’t afford a fancy pergola? Plant two shepherd’s hooks behind the table and hang a taut canvas drop cloth with grommets. Instant shade sail look, coffee money price.
Smart Maintenance So It Lasts More Than One Season
Take 20 minutes each month and you’ll keep the setup party-ready.
- Wipe-down: Mild soap and water on table and chairs. Avoid harsh cleaners that strip sealer.
- Re-seal schedule: One light coat of exterior poly or oil every spring. Takes less time than scrolling reels.
- Cover or tilt: Tilt chairs against the table before rain so water runs off.
- Winter plan: If you get snow, move seating inside and tarp the table, or stand it upright to shed water.
Sample One-Day Build Timeline
Yes, you can do this in a single Saturday with coffee and a playlist.
- 8:00–9:00 AM: Shop for lumber, stain, and lights.
- 9:30–11:00 AM: Prep the ground and spread pea gravel.
- 11:00–1:00 PM: Cut and assemble the table base and top.
- 1:00–2:00 PM: Sand and apply first coat of stain or paint.
- 2:00–4:00 PM: Second coat + seal. Assemble chairs/bench.
- 4:00–5:00 PM: Hang lights, style the table, victory snack.
FYI: Dry times vary. If weather’s humid, do thinner coats and let them flash off longer.
FAQs
Can I really keep this under $200 without it looking cheap?
Absolutely. Spend on the tabletop and sealer because those define durability and finish. Save on seating and decor by thrifting and painting to match. Consistent color and clean lines make everything look intentional, IMO.
What if I don’t own power tools?
Most home centers will cut plywood and 2x4s for a small fee. You can assemble with a cheap drill/driver or even a screwdriver if you enjoy forearm workouts. Borrow or rent tools if you can—you’ll finish faster and cleaner.
How do I protect wood from rain and sun?
Use exterior-grade stain or paint followed by spar urethane. Re-coat lightly each spring. Keep feet off wet grass by placing scrap pavers under legs—less wicking, less rot.
Will pea gravel get messy?
It stays put if you contain it. Add a simple border (bricks, pressure-treated offcuts, or rubber edging) and rake it smooth occasionally. If you hate gravel, go with paver pads under each leg and an outdoor rug for coverage.
How many people can this setup seat?
A 36″x36″ table seats four comfortably. Bump to 40–48″ if you regularly host six, but watch the budget and weight. Add a bench on one side to squeeze in extra plates when your cousin “drops by.”
Can I make it kid-proof?
Round the edges, use darker stain, and seal like your life depends on it. Choose heavier chairs or a bench so mini-humans don’t tip things over during pasta-fueled chaos.
Conclusion: Your Budget Backyard Bistro Awaits
You don’t need a contractor or a trust fund to eat outside in style. With a smart plan, a sturdy DIY table, thrifty seating, and a few well-placed lights, you’ll create an outdoor dining area that’s cozy, durable, and totally you—all for under $200. So cue the playlist, light the solar strings, and plate something delicious. Your patio just became the best restaurant in town.