How to Make a Diy Outdoor Bar for Less Than $100 Fast
Want a backyard bar without the painful price tag? You can build a legit, sturdy outdoor bar for under $100 with a Saturday afternoon, basic tools, and a little swagger. We’ll keep it simple, stylish, and super functional—no fancy carpentry degree required. Ready to turn your patio into the neighborhood happy hour HQ?
What You’re Building (And Why It’s Awesome)
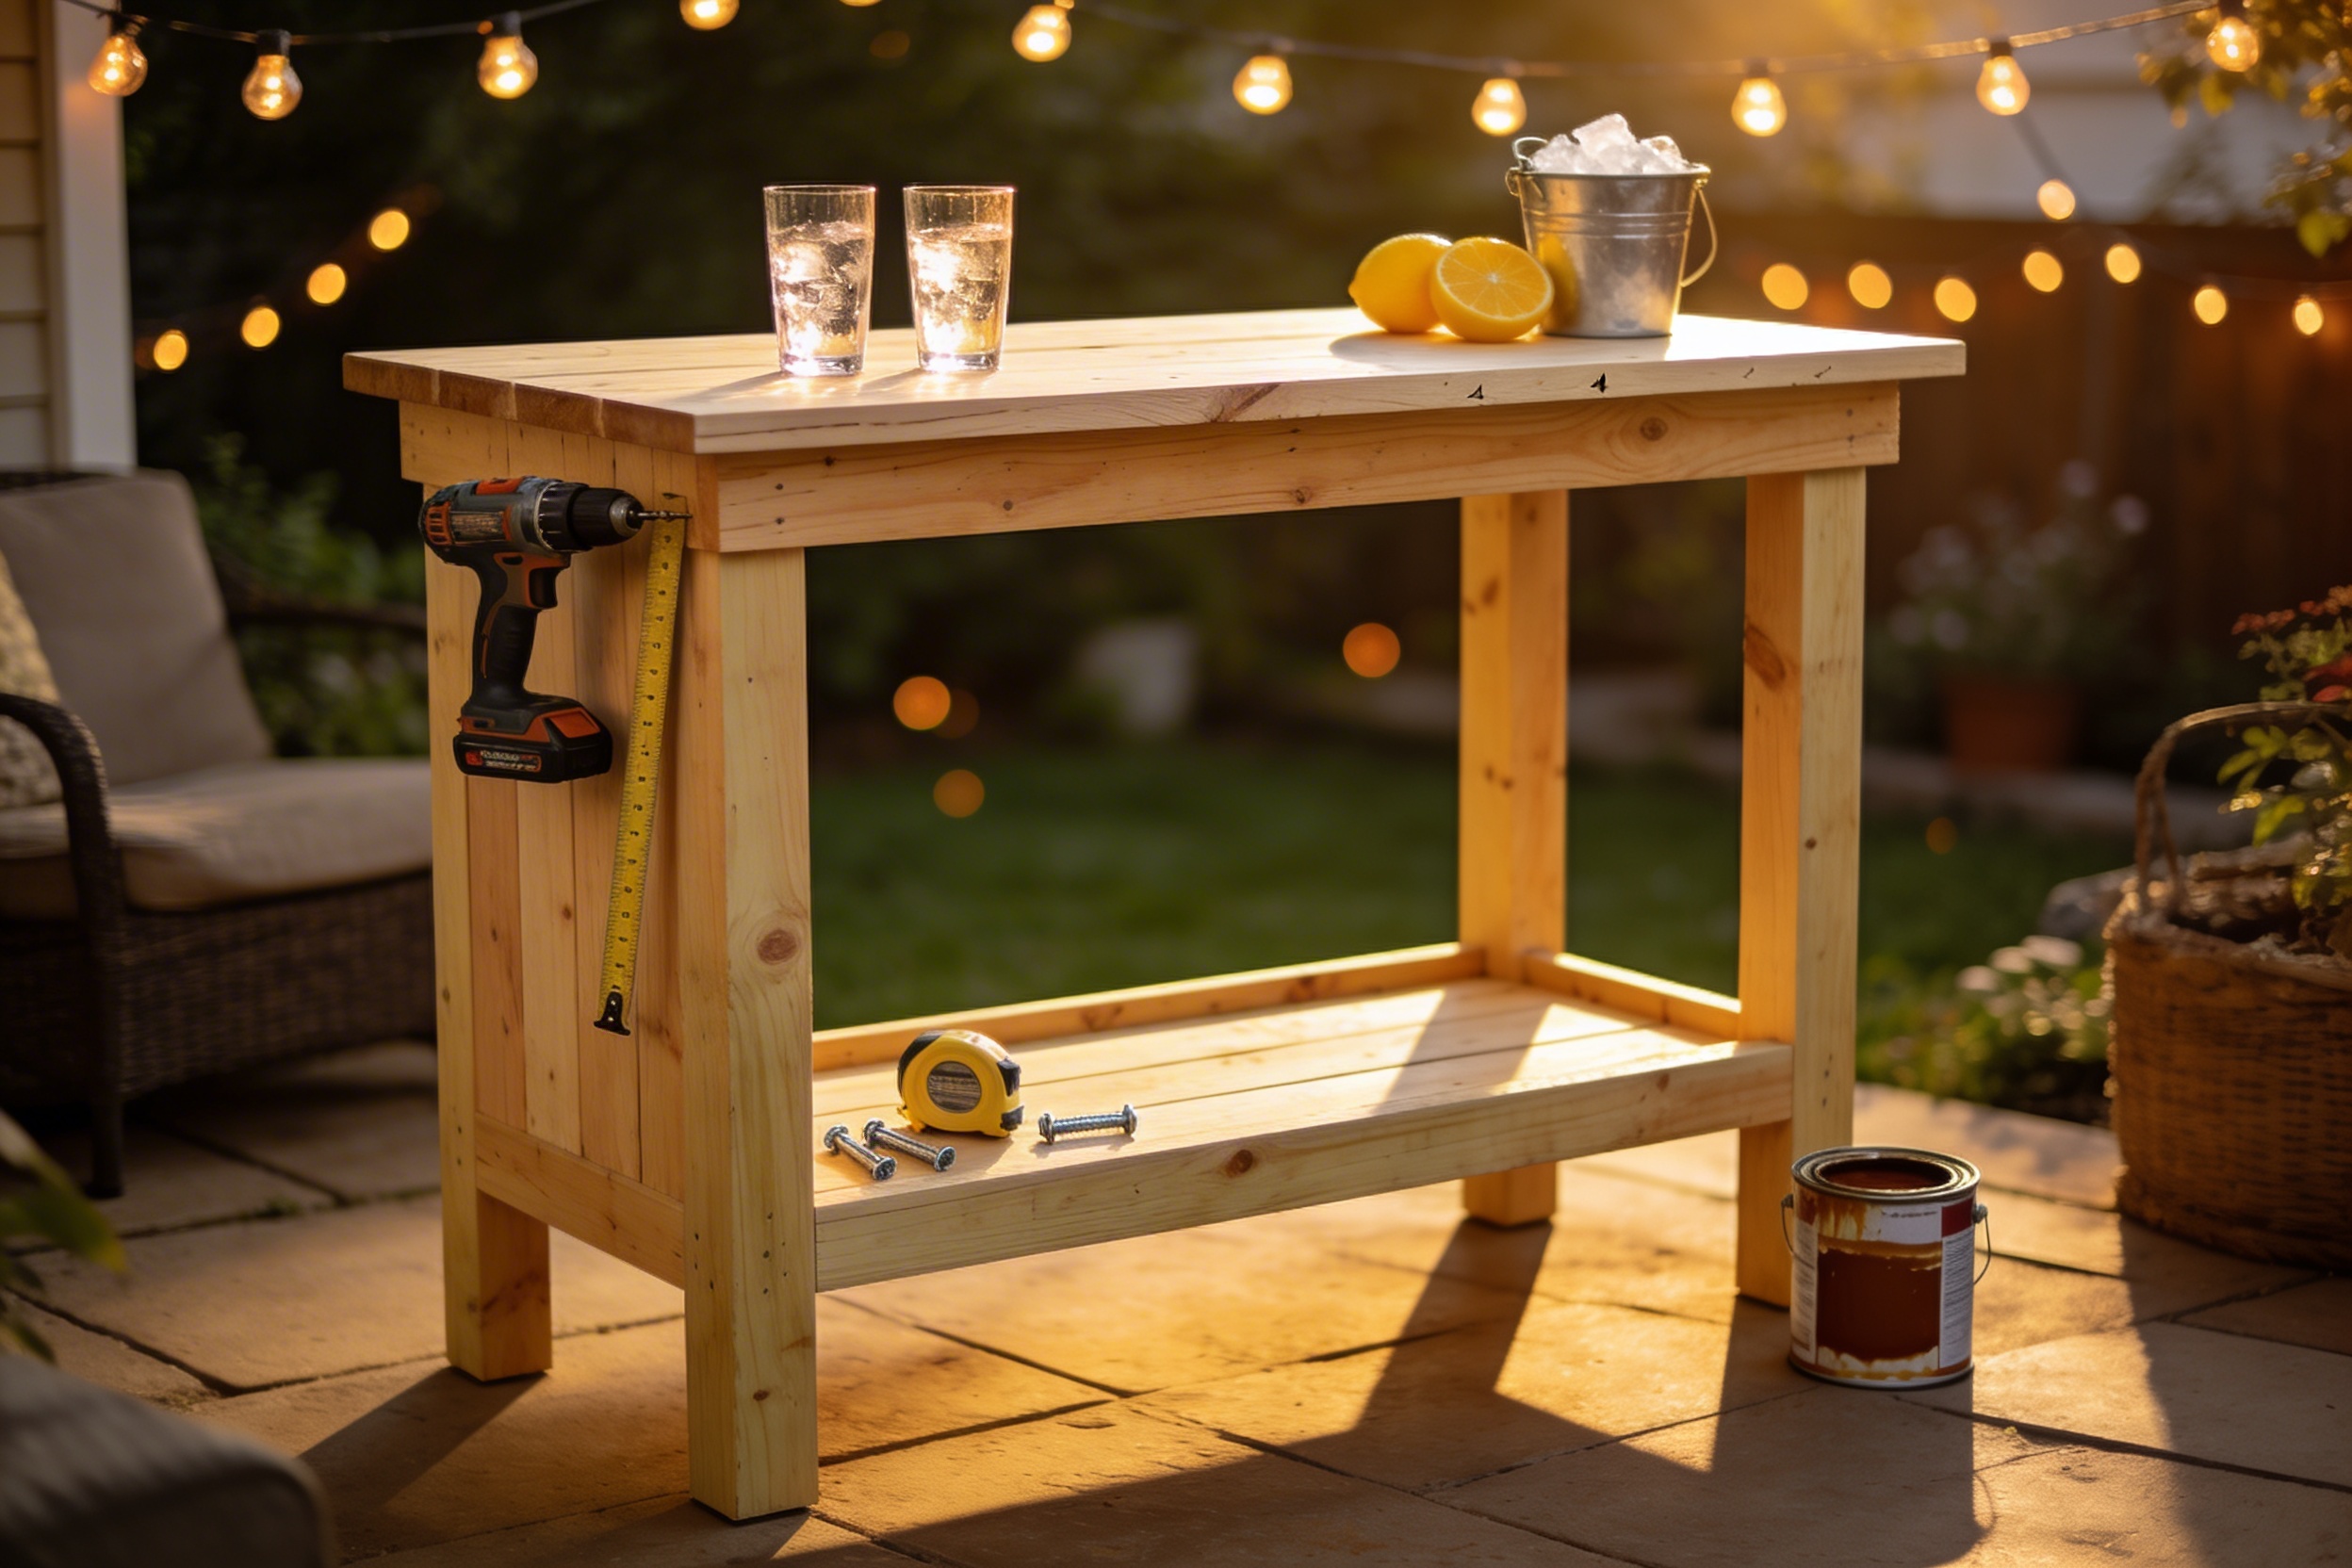
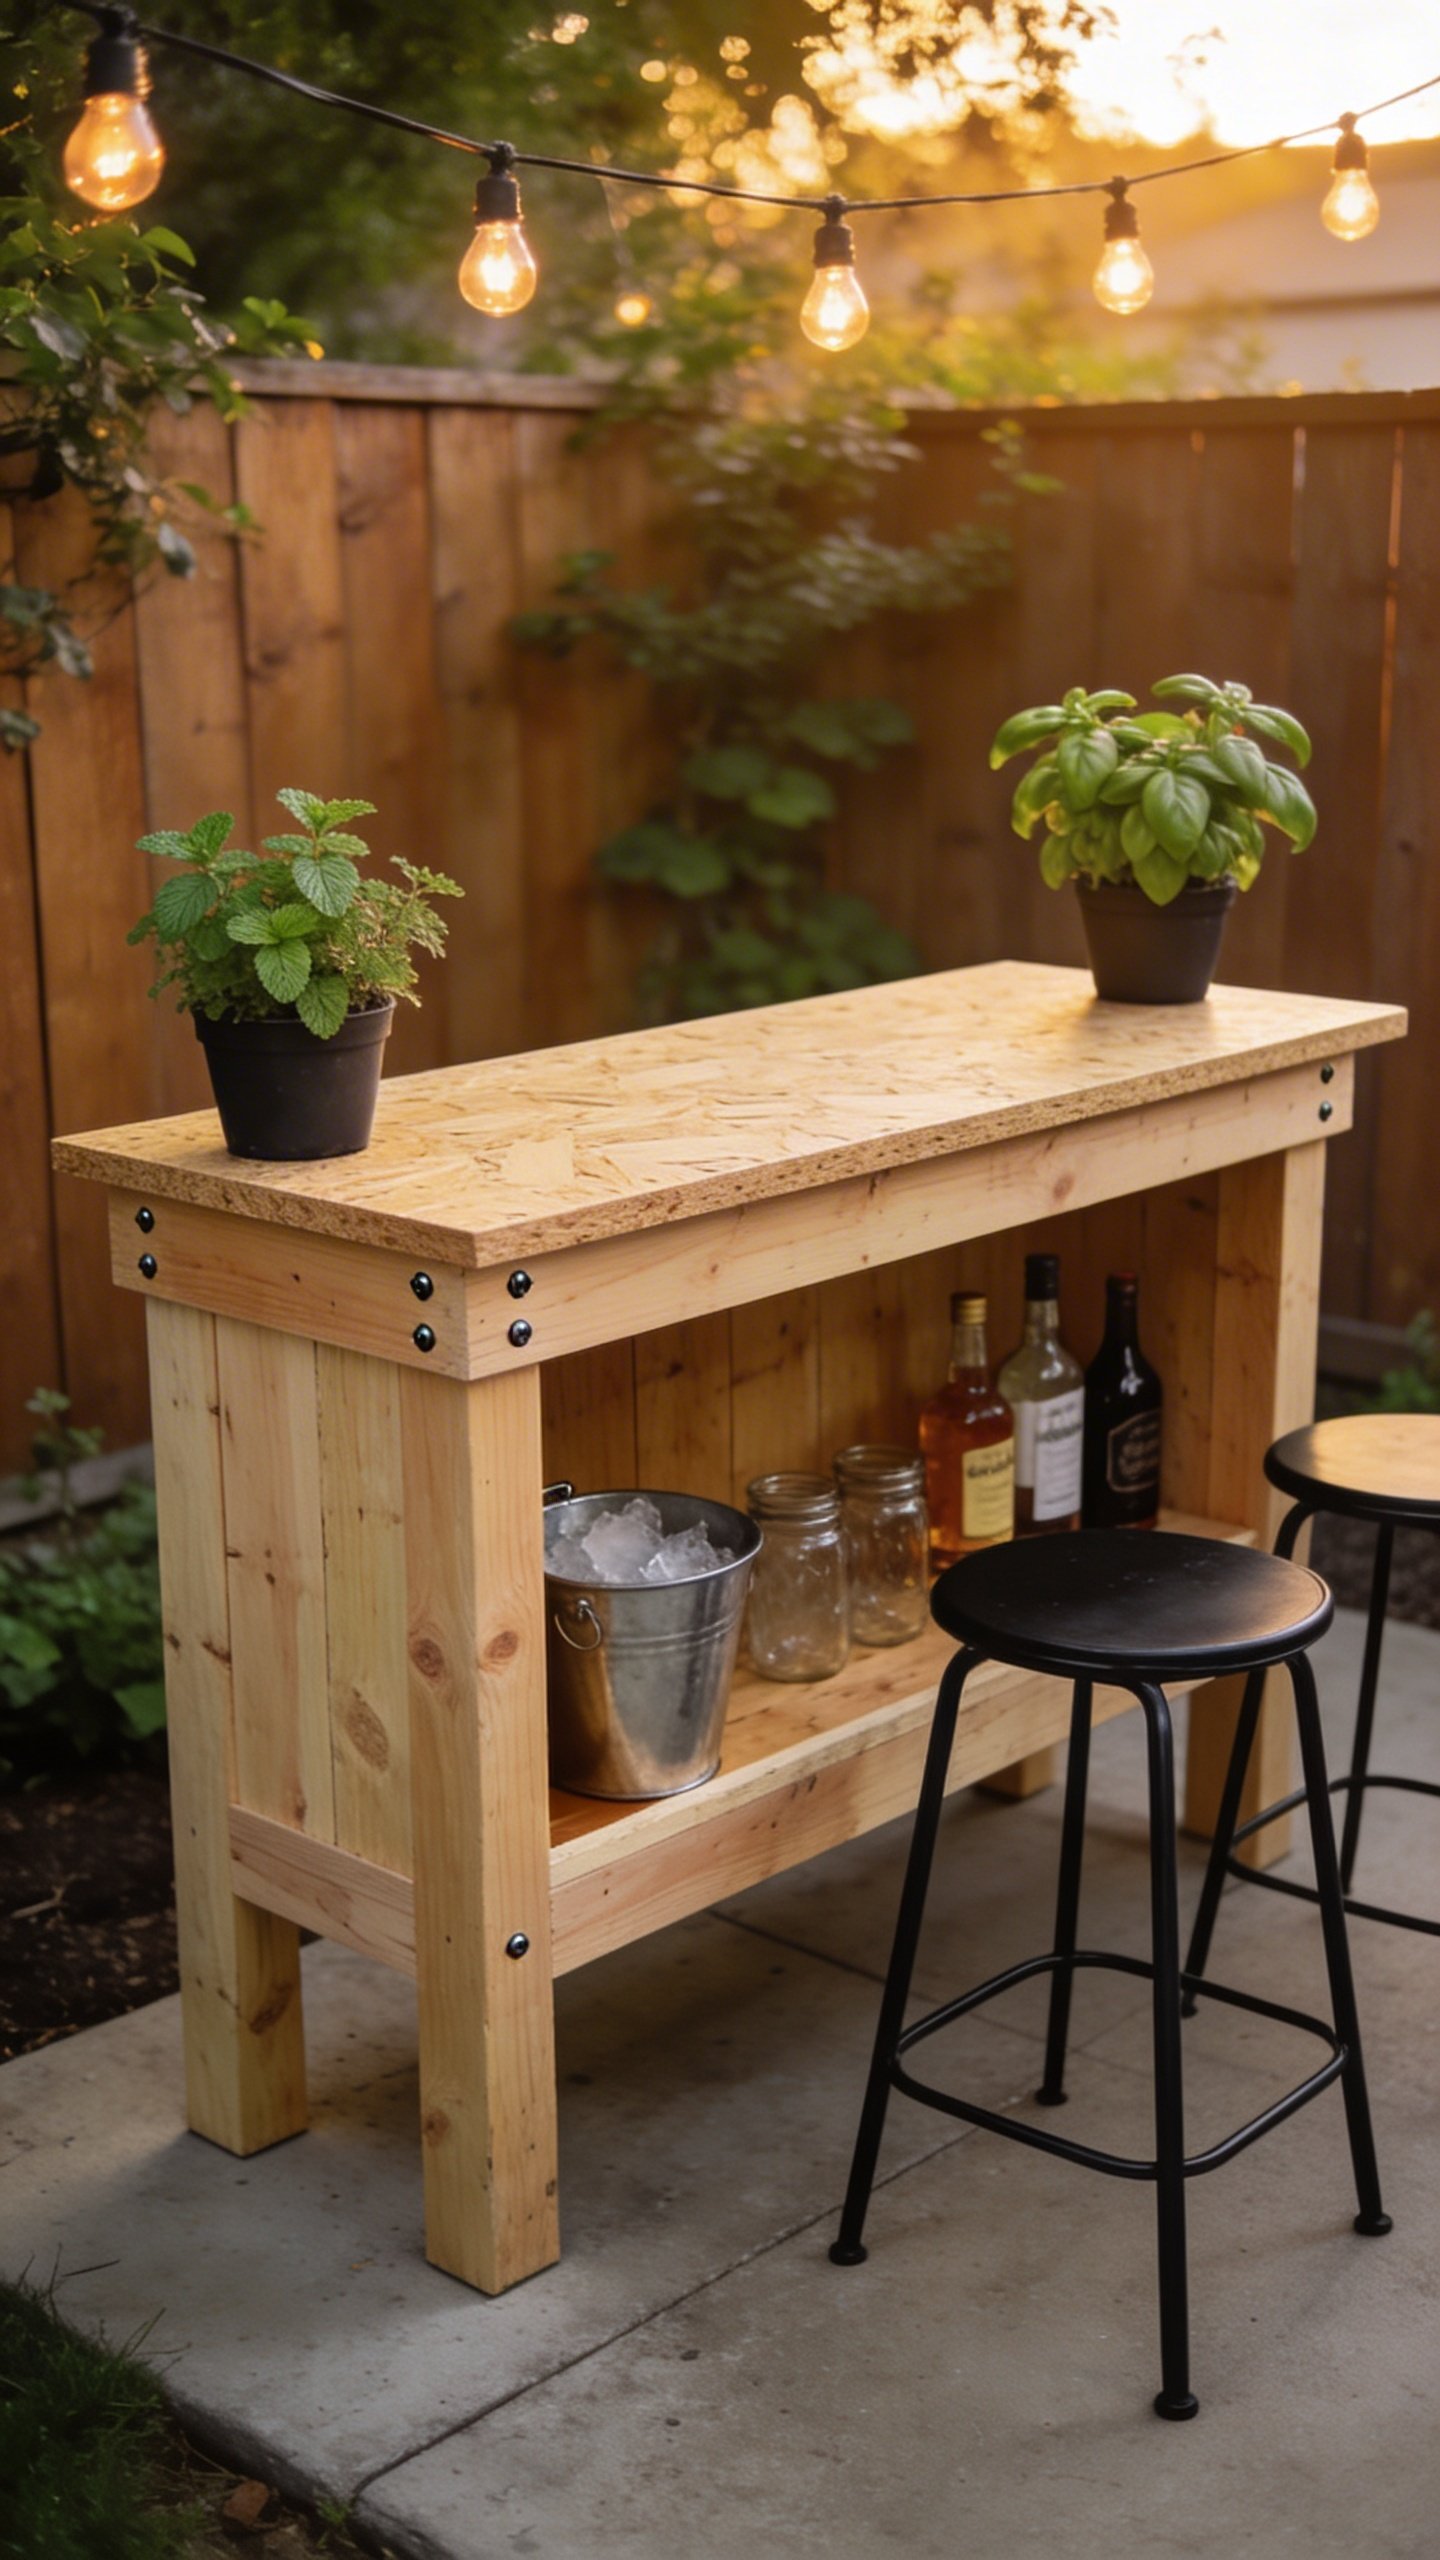
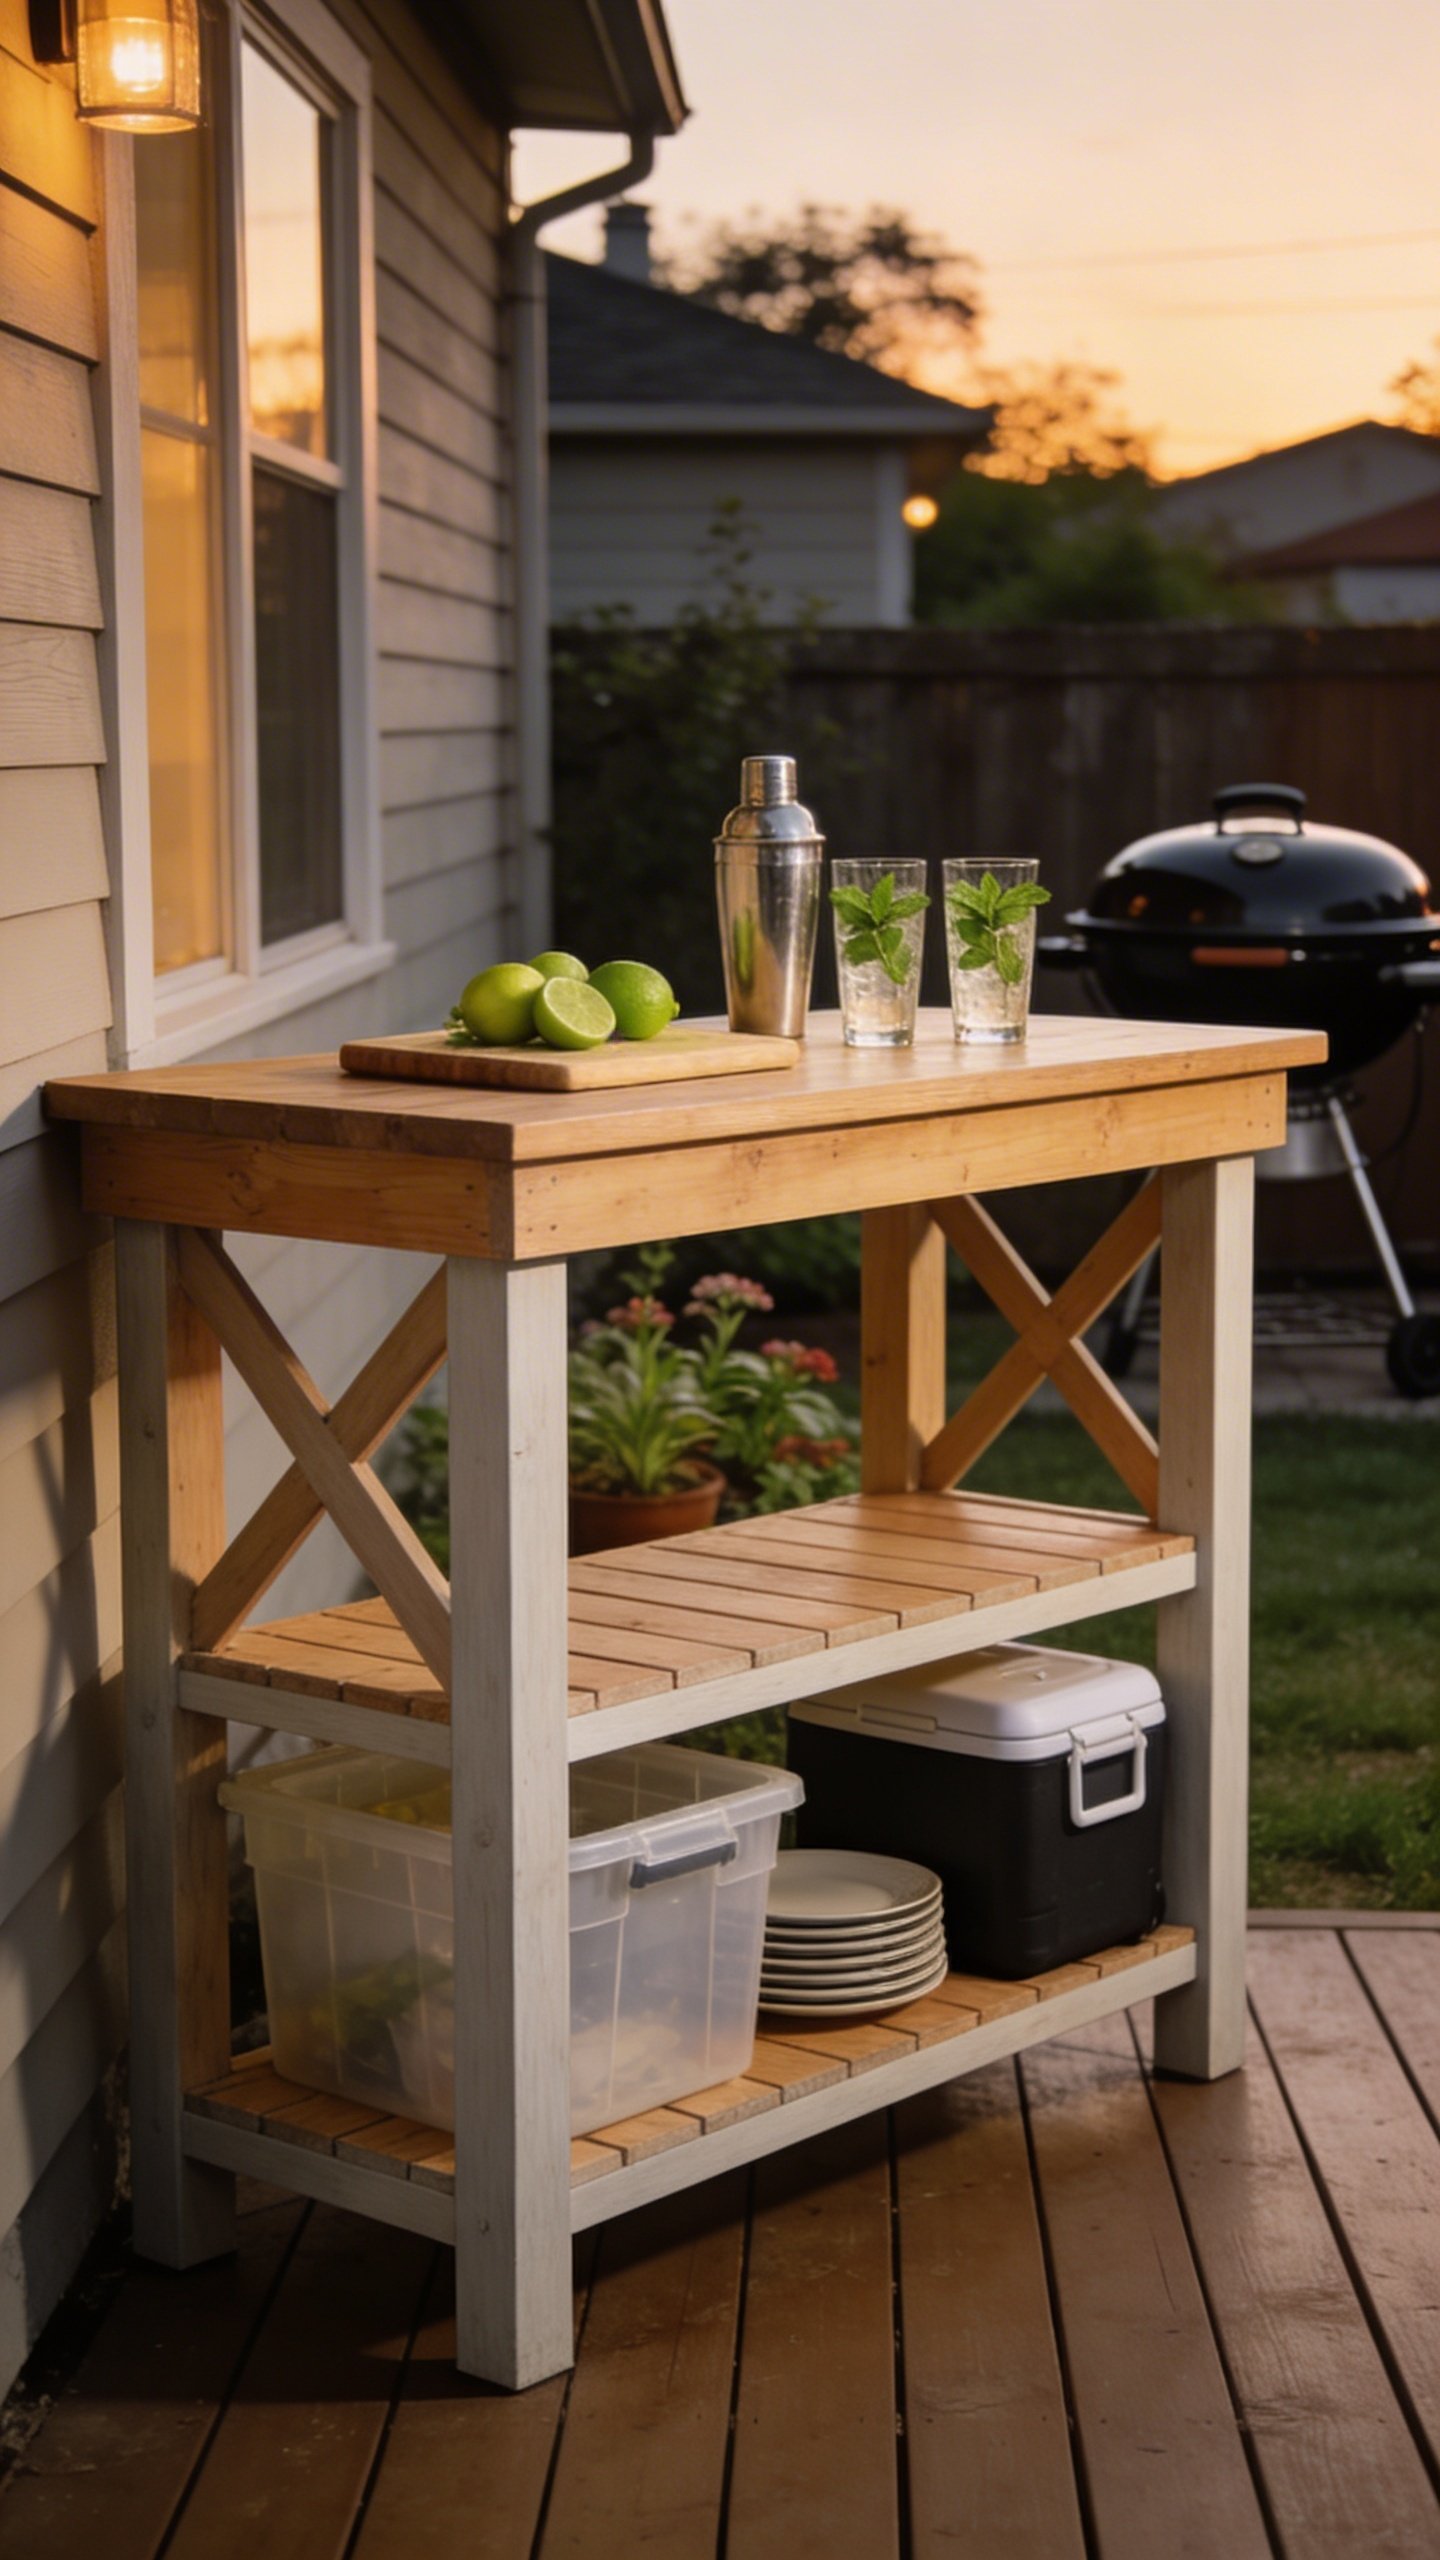
You’ll make a compact freestanding bar that’s about 4 feet long and 18–24 inches deep—perfect for mixing drinks, serving snacks, and stashing supplies. Think solid work surface, storage shelf underneath, and enough stability to survive your most enthusiastic mojito muddling. You’ll use off-the-shelf materials, minimal cuts, and basic screws. Simple, strong, cheap. What’s not to love?
Tired of snacking when you’re not even hungry? This reset helps you stop the loop and feel back in control.
A simple reset for moments when cravings take over. Easy to use, easy to repeat, and designed to help you feel satisfied instead of stuck.
Budget Breakdown: Keep It Under $100
You can absolutely build this on a shoestring. Prices vary by region, but here’s a realistic target list. Pro tip: check clearance lumber, “cull bins,” and Facebook Marketplace for deals.
- Two 2x4x8 boards for legs and framing: $10–$12 total
- One 2x3x8 (or another 2×4) for extra bracing: $4–$6
- Two 1x6x8 boards for the shelf surface: $14–$18
- One 3/4″ plywood panel for the top (2′ x 4′ project panel): $25–$35
- Exterior screws (1 lb box): $6–$8
- Exterior wood glue (optional but helpful): $4–$6
- Exterior stain or paint (sample pot or quart): $8–$15
- Sandpaper sheets: $3–$5
Aim for the lower-cost options and you’ll land around $80–$95. FYI, if you score a free pallet for the shelf or top, you’ll shave even more off the total.
Tools You Actually Need
Keep it minimal. If you can borrow tools, do it.
- Circular saw or handsaw (straight cuts only)
- Drill/driver + drill bits + screwdriver bit
- Measuring tape, pencil, speed square
- Sander or sanding block
- Clamps (nice to have, not essential)
Cut List (No Brain-Melting Math)
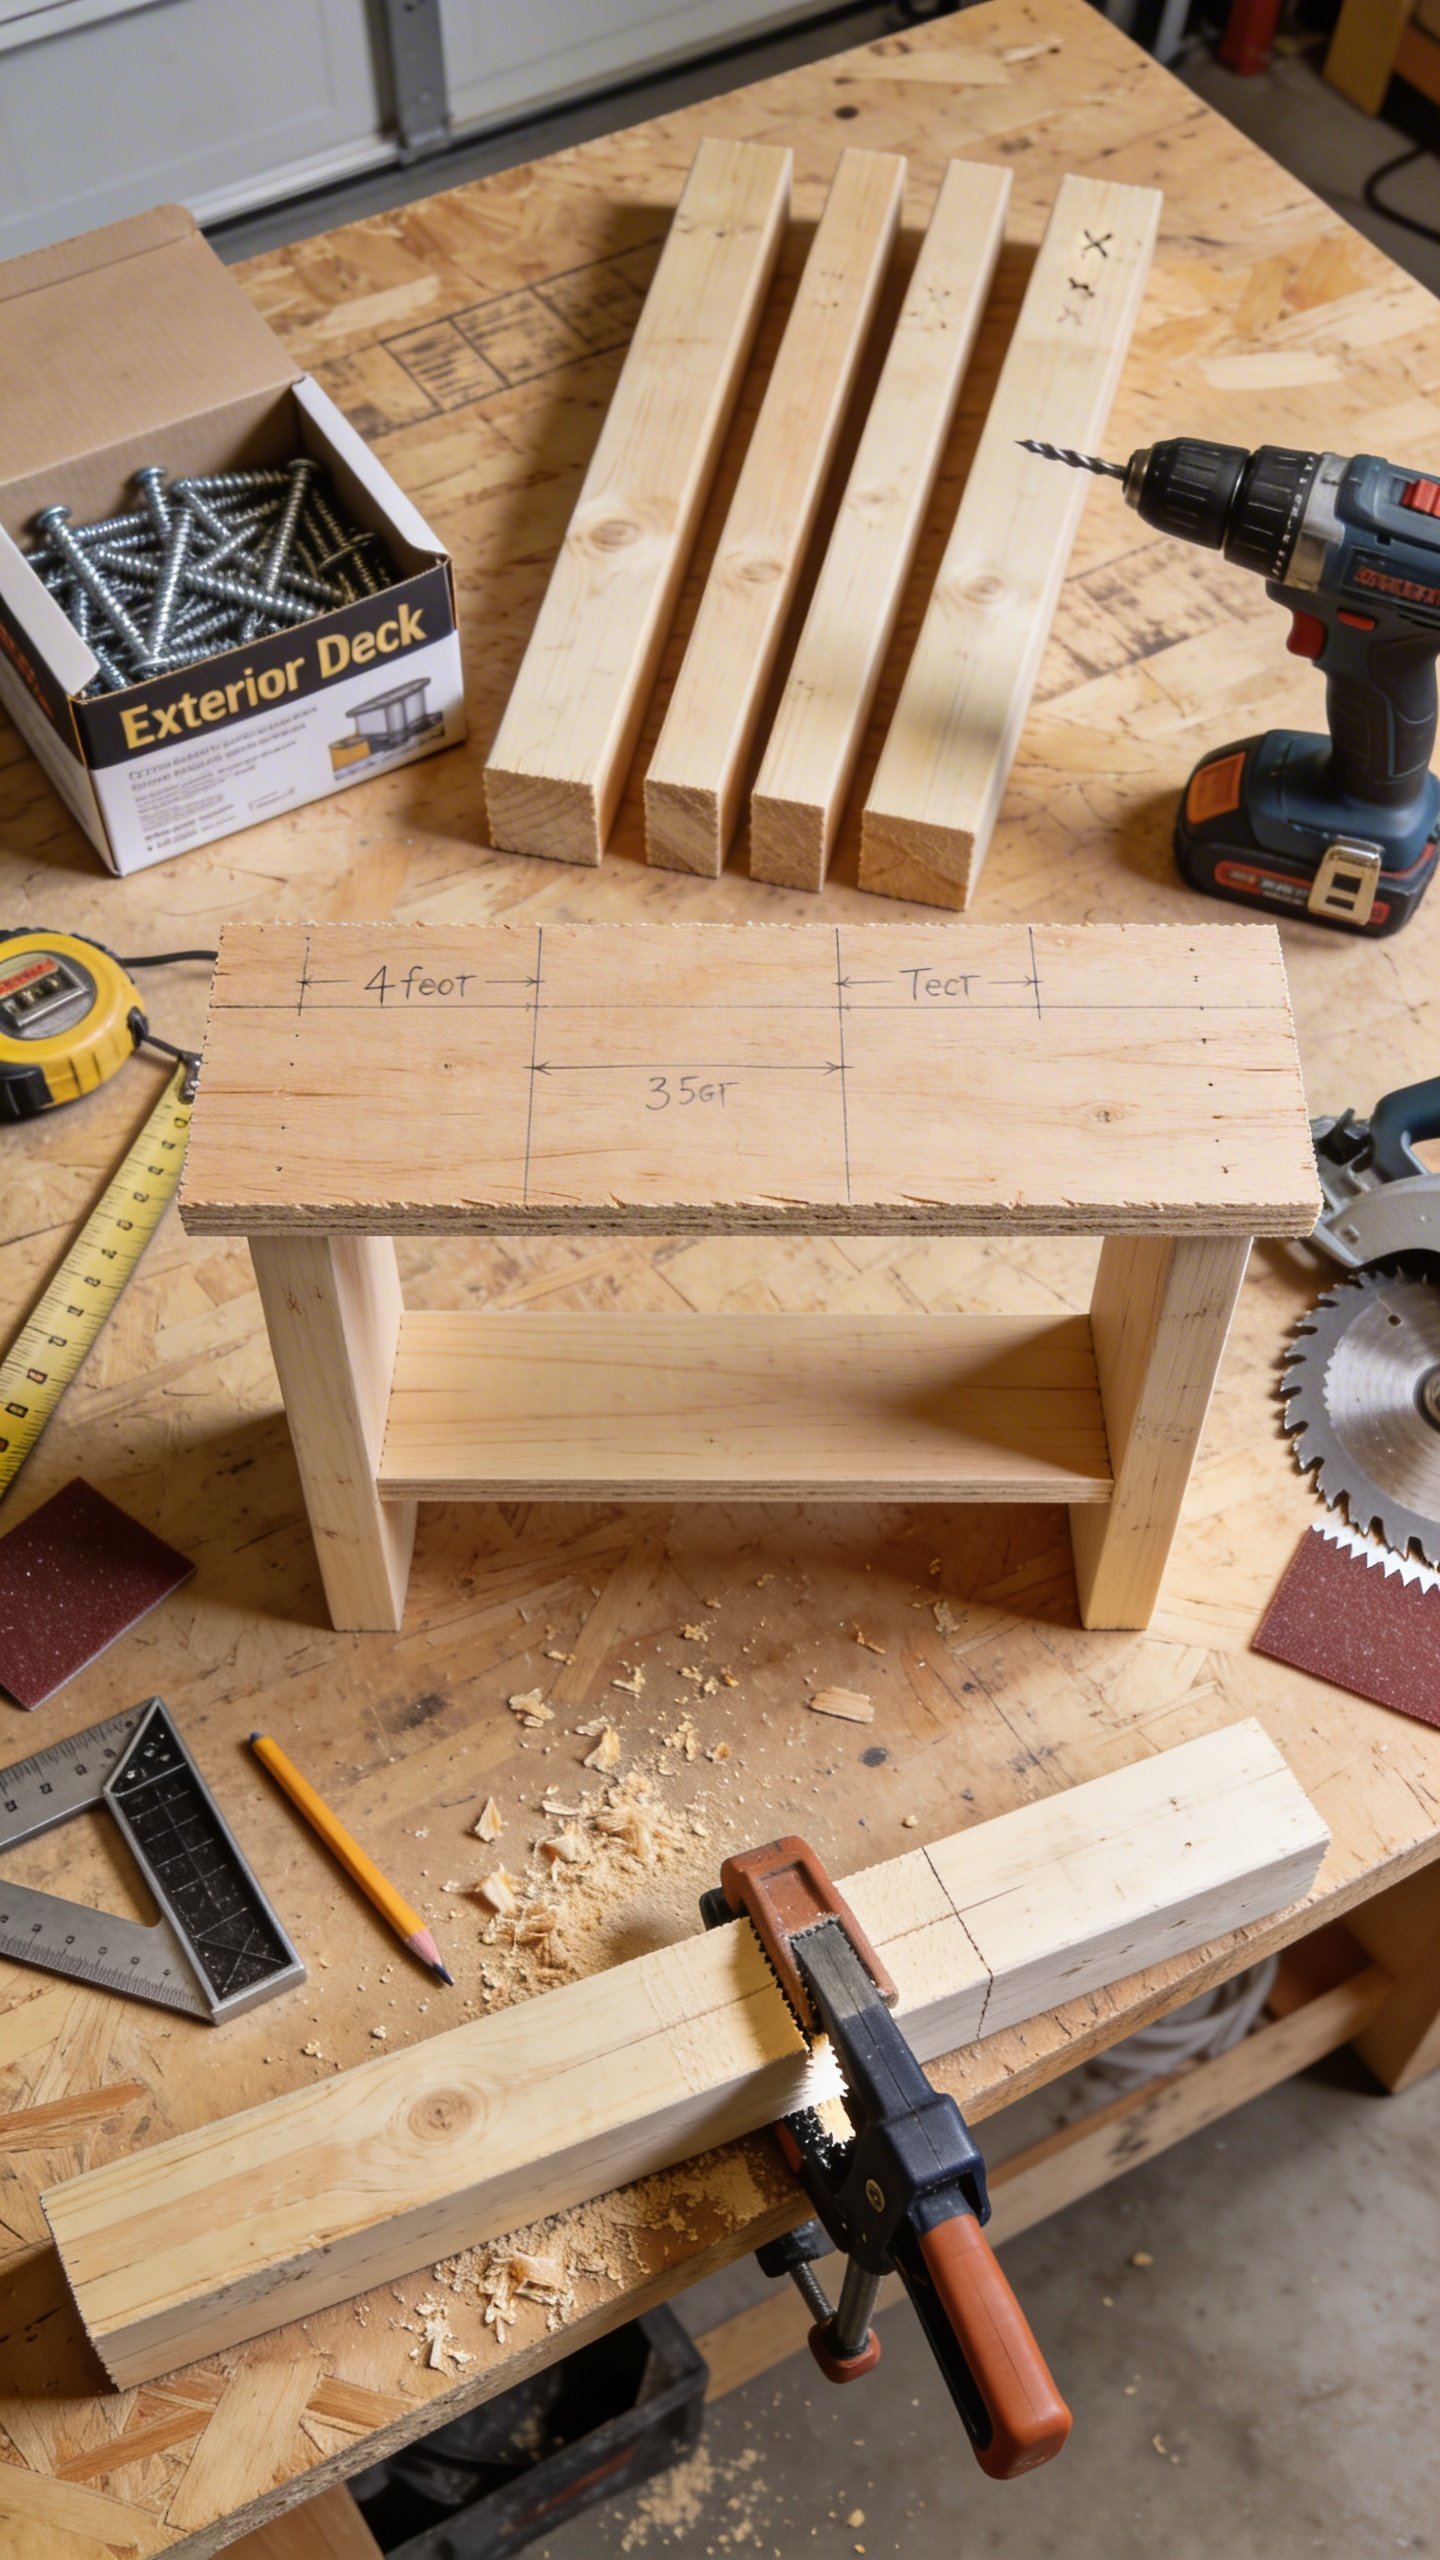
Dimensions assume a 24″ deep x 48″ wide top and a ~39″ bar height (standard counter height is ~36″, bar height feels better outside IMO).
Transform Your Home With 7,250+ Stunning Landscaping Designs—No Expensive Designers Needed!
- 🌿 Access 7,250+ stunning landscaping designs.
- 💰 Save thousands—no pro designer needed.
- 🏡 Plans for gardens, patios, walkways, and more.
- ✨ Simple, beginner-friendly DIY layouts.
- 🛠️ Customize any design to fit your yard.
- Legs: Four pieces of 2×4 at 39″ each
- Long aprons (front/back): Two pieces of 2×4 at 45″
- Short aprons (sides): Two pieces of 2×4 at 21″
- Shelf supports: Two pieces of 2×3 (or 2×4) at 45″
- Lower side rails: Two pieces of 2×3 (or 2×4) at 21″
- Shelf boards: Cut 1x6s to fit ~45″ length (likely two boards side-by-side)
- Top: 24″ x 48″ plywood project panel (no cut if you buy that size)
Fast Build: Step-By-Step
Short, sweet, sturdy. Let’s roll.
1) Build Two Leg Frames
– Lay two 39″ legs on the floor, 21″ apart.
– Attach one 21″ side apron flush with the top using exterior screws and glue.
– Attach a lower side rail about 8–10″ off the ground for the shelf support.
– Repeat for the other side.
You now have two “U” shapes that will become the sides of your bar.
2) Connect With Front and Back Aprons
– Stand the two leg frames upright.
– Screw the 45″ long aprons between the tops of the frames (front and back).
– Keep everything square by measuring diagonals—make them equal.
You’ve got a sturdy rectangle. Nice.
3) Add Shelf Supports
– Attach the 45″ shelf supports between the lower side rails (front and back).
– These hold your bottom shelf boards.
– Keep them level so bottles don’t slide into the abyss.
4) Drop In the Shelf
– Cut two 1×6 boards to 45″.
– Lay them across the shelf supports with a small gap between for drainage.
– Screw them down.
If you want more coverage, add a third strip or rip scrap plywood to size.
5) Attach the Top
– Center the 24″ x 48″ plywood on the frame with a 1.5″ overhang on all sides.
– Pre-drill and screw down every 8–10″.
– For extra polish, round over the corners with sandpaper so no one snags a sleeve (or an elbow).
6) Sand, Seal, Celebrate
– Sand all edges and surfaces to smooth.
– Stain or paint with exterior-rated finish. Two light coats beat one gloopy coat every time.
– Let it cure, then test it with a cold drink. Because science.

Make It Look Boutique (On A Budget)
You want affordable, not cheap. Small upgrades deliver big vibes.
- Wrap the front with fence pickets (about $2–$3 each) for a slatted, tiki-adjacent face.
- Add a foot rail with a dowel or conduit pipe across the front legs.
- Tile the top with peel-and-stick backsplash tiles if you want instant “wow.”
- Use cabinet pulls on the sides as towel hooks and bottle opener mounts.
- String lights under the overhang for that golden-hour glow.
Color Combos That Always Slap
– Charcoal + Natural Cedar: Modern and chill.
– White + Navy: Coastal without trying too hard.
– Black + Copper Accents: Classy, moody, Instagram-ready.
Smart Storage And Bar-Ready Add-Ons
Let’s turn this into an actual drink station, not just a cute table.
- Crate drawers: Slide wood crates onto the shelf for napkins, shakers, and snacks.
- Magnetic strip: Mount under the top for bottle openers and bar tools.
- Ice bin hack: Cut a hole in the top for a stainless mixing bowl—instant drop-in cooler.
- Cutting board insert: Keep a small board near the edge for citrus and garnishes.
- Wheels: Two locking casters on one side turn it into a roll-away bar. Just keep the overall height in mind.
Weatherproofing So It Actually Lasts
Outdoor bars live hard lives. Protect yours so it doesn’t cry at the first rainstorm.
- Seal all edges, especially the plywood top. That’s where swelling starts.
- Use exterior screws so you don’t get rusty streaks down your nice paint.
- Elevate the legs with furniture feet or rubber pads to keep them off wet patios.
- Cover it when not in use. A grill cover works if you size it right.
Want Ultra-Durable?
If budget allows later, swap the plywood top for deck boards or a leftover composite deck offcut. You’ll add weight and weather resistance without redoing the whole build, IMO a great upgrade down the line.
Party-Ready Setup Tips
Let’s make hosting easy so you spend time with friends, not stuck behind the bar like a stressed-out barista.
- Zone it: Left side mixers, center workspace, right side glassware.
- Pre-batch a signature cocktail in a drink dispenser. People serve themselves. You relax.
- Keep a trash can or mini bin tucked under the bar for limes and napkins.
- Use non-breakable cups for outdoors. Your patio thanks you.
- Menu card: A small chalkboard sign helps guests pick fast and stops the “what do you have?” loop.
FAQ
Can I build this without power tools?
Yes. You can cut with a handsaw and drive screws with a manual screwdriver, but you’ll sweat more than your drink. Borrowing a circular saw and drill speeds this up massively. Even a jigsaw can handle the cuts if that’s what you’ve got.
What if my budget is closer to $60?
Go smaller: a 36″ x 18″ top uses less lumber. Skip paint and just use a clear exterior sealer. Scavenge pallets or reclaimed fence boards for the shelf or top. You can also find screws and stain in “oops” or clearance sections—gold mine, FYI.
Will plywood survive outside?
If you choose exterior-grade plywood and seal every edge, it’ll hold up well. Add a cover and keep standing water off it, and you’ll get seasons of use. For maximum durability, upgrade to deck boards later.
How do I keep it from wobbling?
Square your frame during assembly and drive screws into fresh pilot holes. Add a diagonal brace across the back if you want rock-solid stability. Level the legs with pads or shims if your patio slopes.
Can I stain and paint on the same project?
Totally. Stain the top for a rich wood look and paint the base for contrast. Just let the stain cure fully before applying a clear topcoat, and use exterior-rated products across the board.
How tall should my bar be?
Around 39–42″ feels great for standing and perching on bar stools. If you mostly sit, aim for 36″ counter height. Adjust the leg length and keep everything else the same—easy win.
Conclusion
You don’t need a designer budget to throw backyard parties with style. With a few boards, a project panel, and some screws, you’ll build a sturdy, good-looking outdoor bar for under $100—then dress it up with storage, lights, and a killer paint job. Mix a test drink, invite a friend, and enjoy the smug satisfaction of saving hundreds. Cheers to doing it yourself—and doing it right.