The Secret to How to Diy a Gravel Patio That Looks Like a Pro Installed It
You want a relaxing backyard hangout that doesn’t wreck your budget or your weekend sanity. A gravel patio nails that sweet spot: fast, affordable, and seriously good-looking. You’ll skip the curing time, dodge complicated tools, and still end up with a space that screams “custom.” Ready to build something you’ll brag about at every BBQ? Let’s do this.
Plan The Patio Like A Pro (Because You Kinda Are)
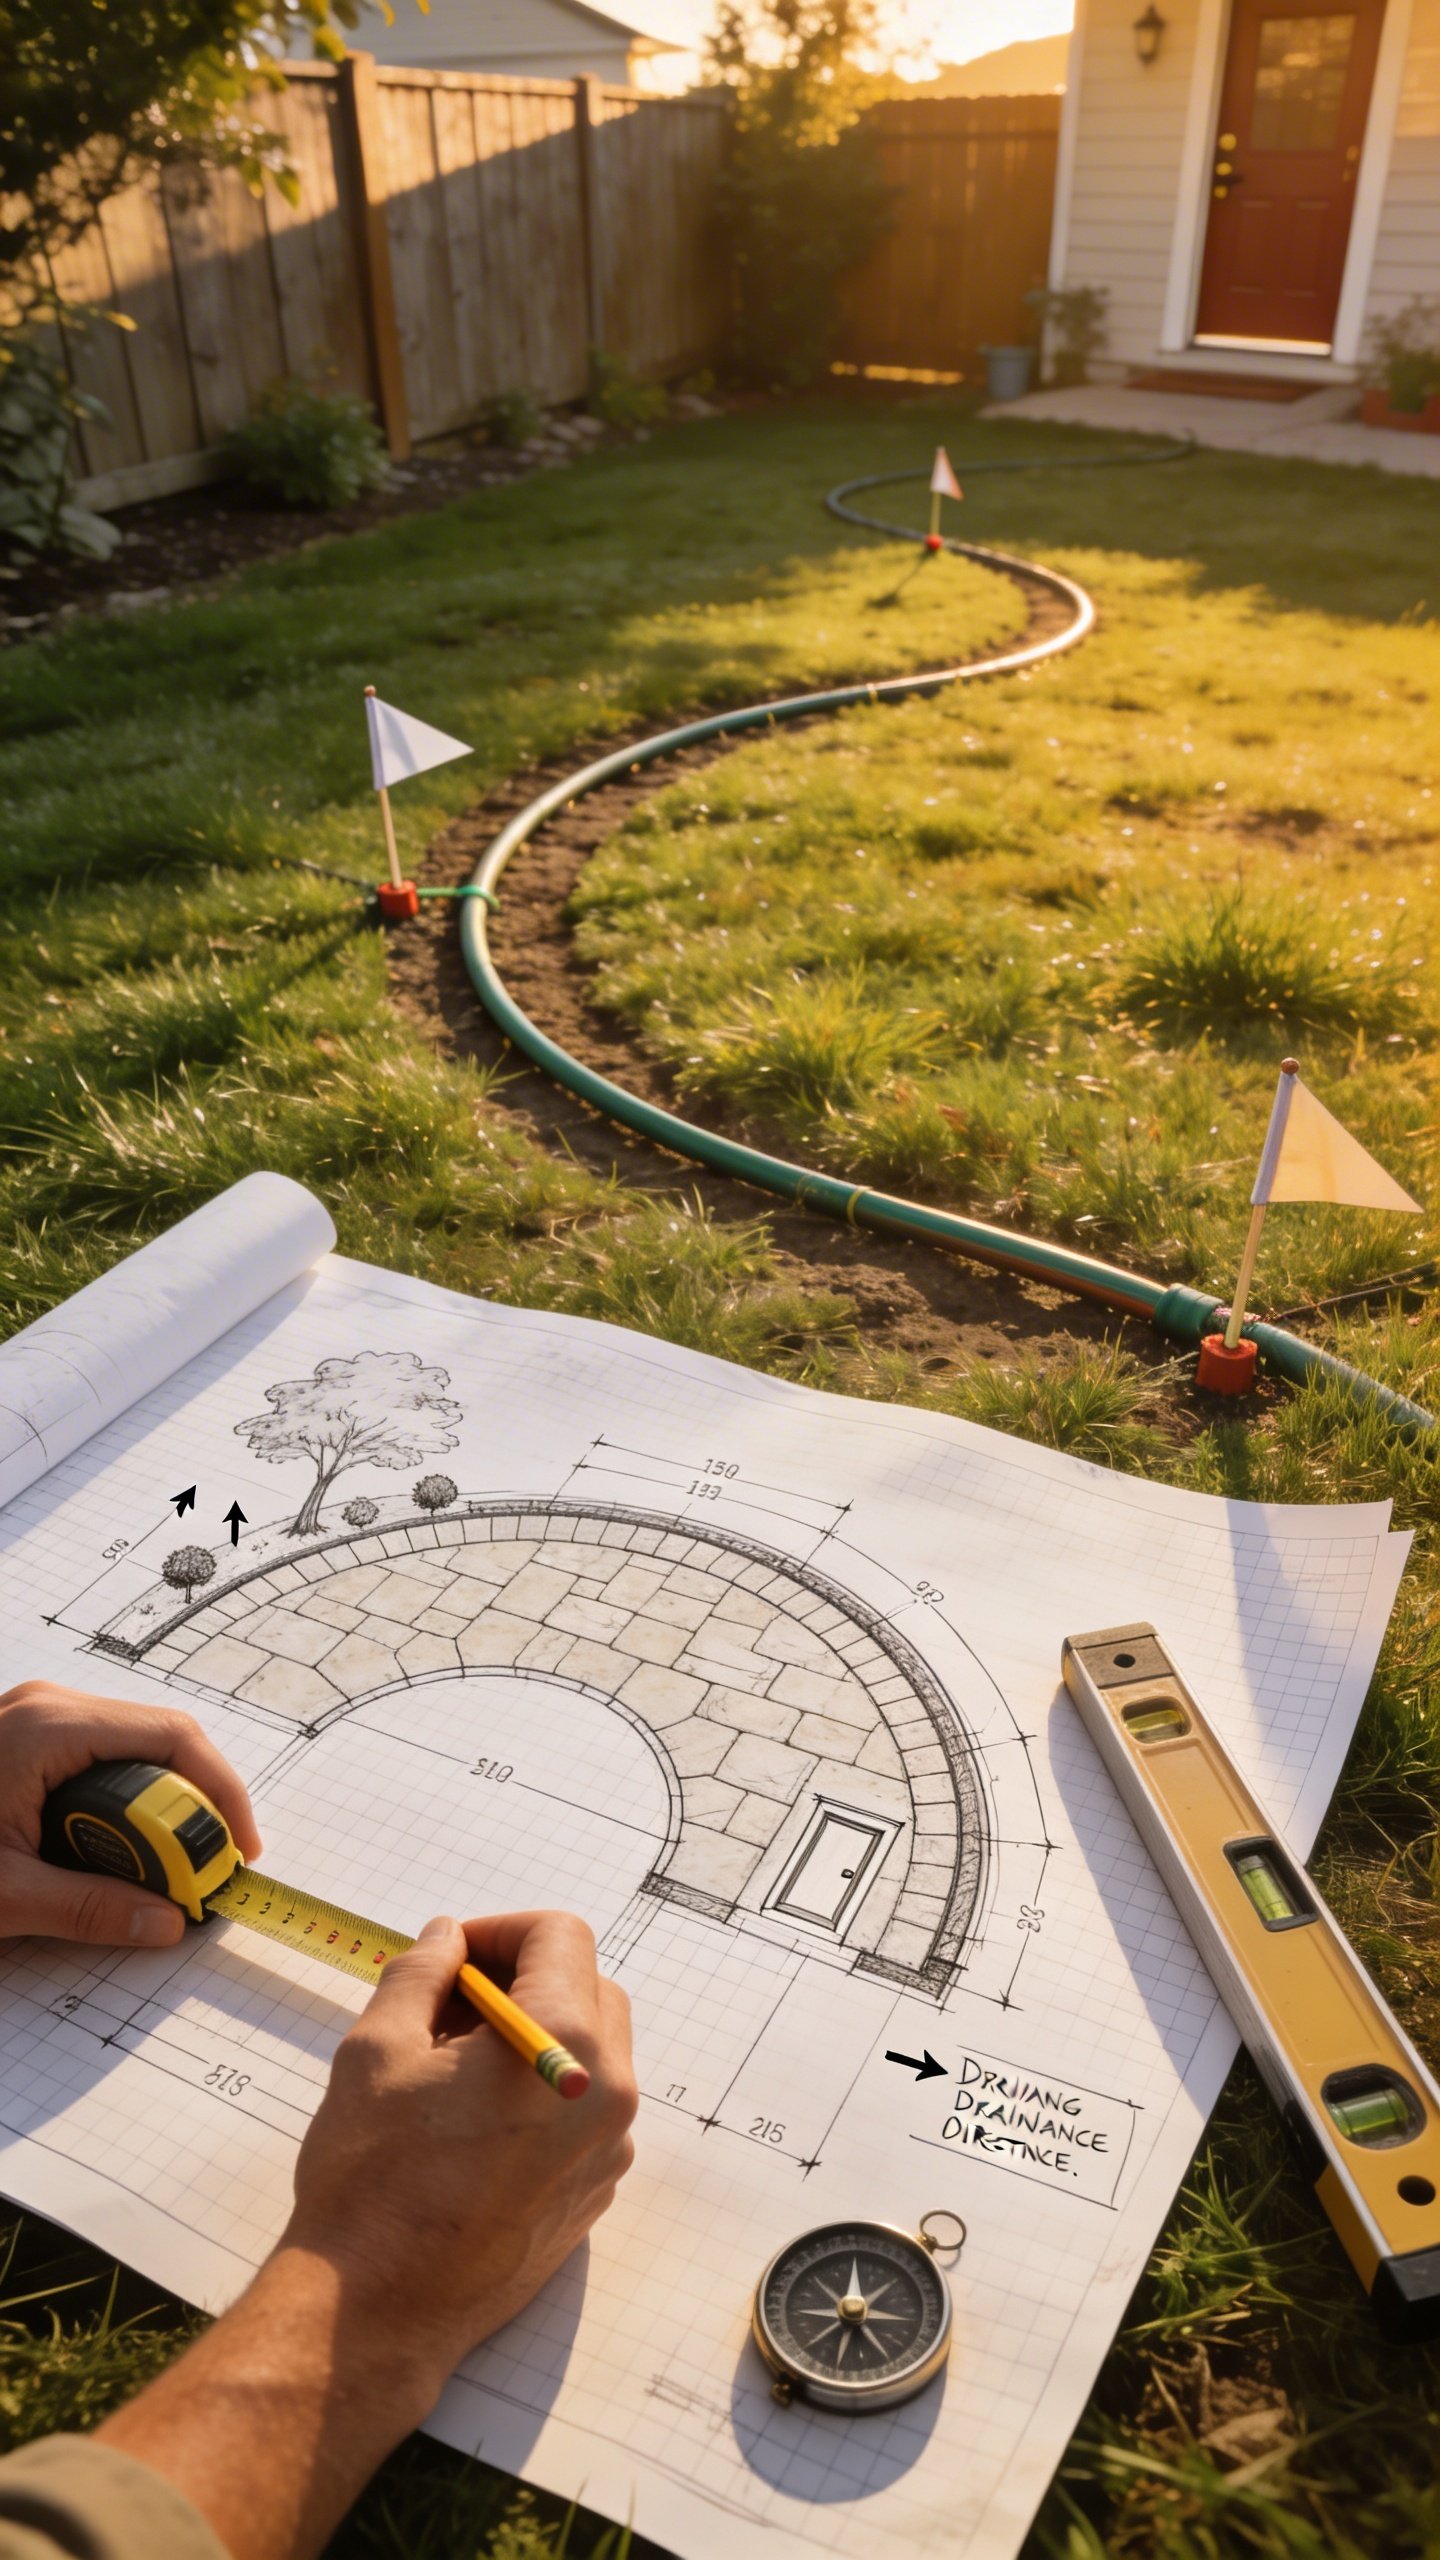
Start with a rough sketch of your dream patio. Rectangle? Curvy chill zone? Measure the space and note slopes, doors, trees, and where water goes when it rains. You don’t want a river running through your lounge chairs.
Pro tip: Pick a spot that drains naturally. Gravel and puddles do not vibe.
Tired of snacking when you’re not even hungry? This reset helps you stop the loop and feel back in control.
A simple reset for moments when cravings take over. Easy to use, easy to repeat, and designed to help you feel satisfied instead of stuck.
Pick Your Gravel Vibe
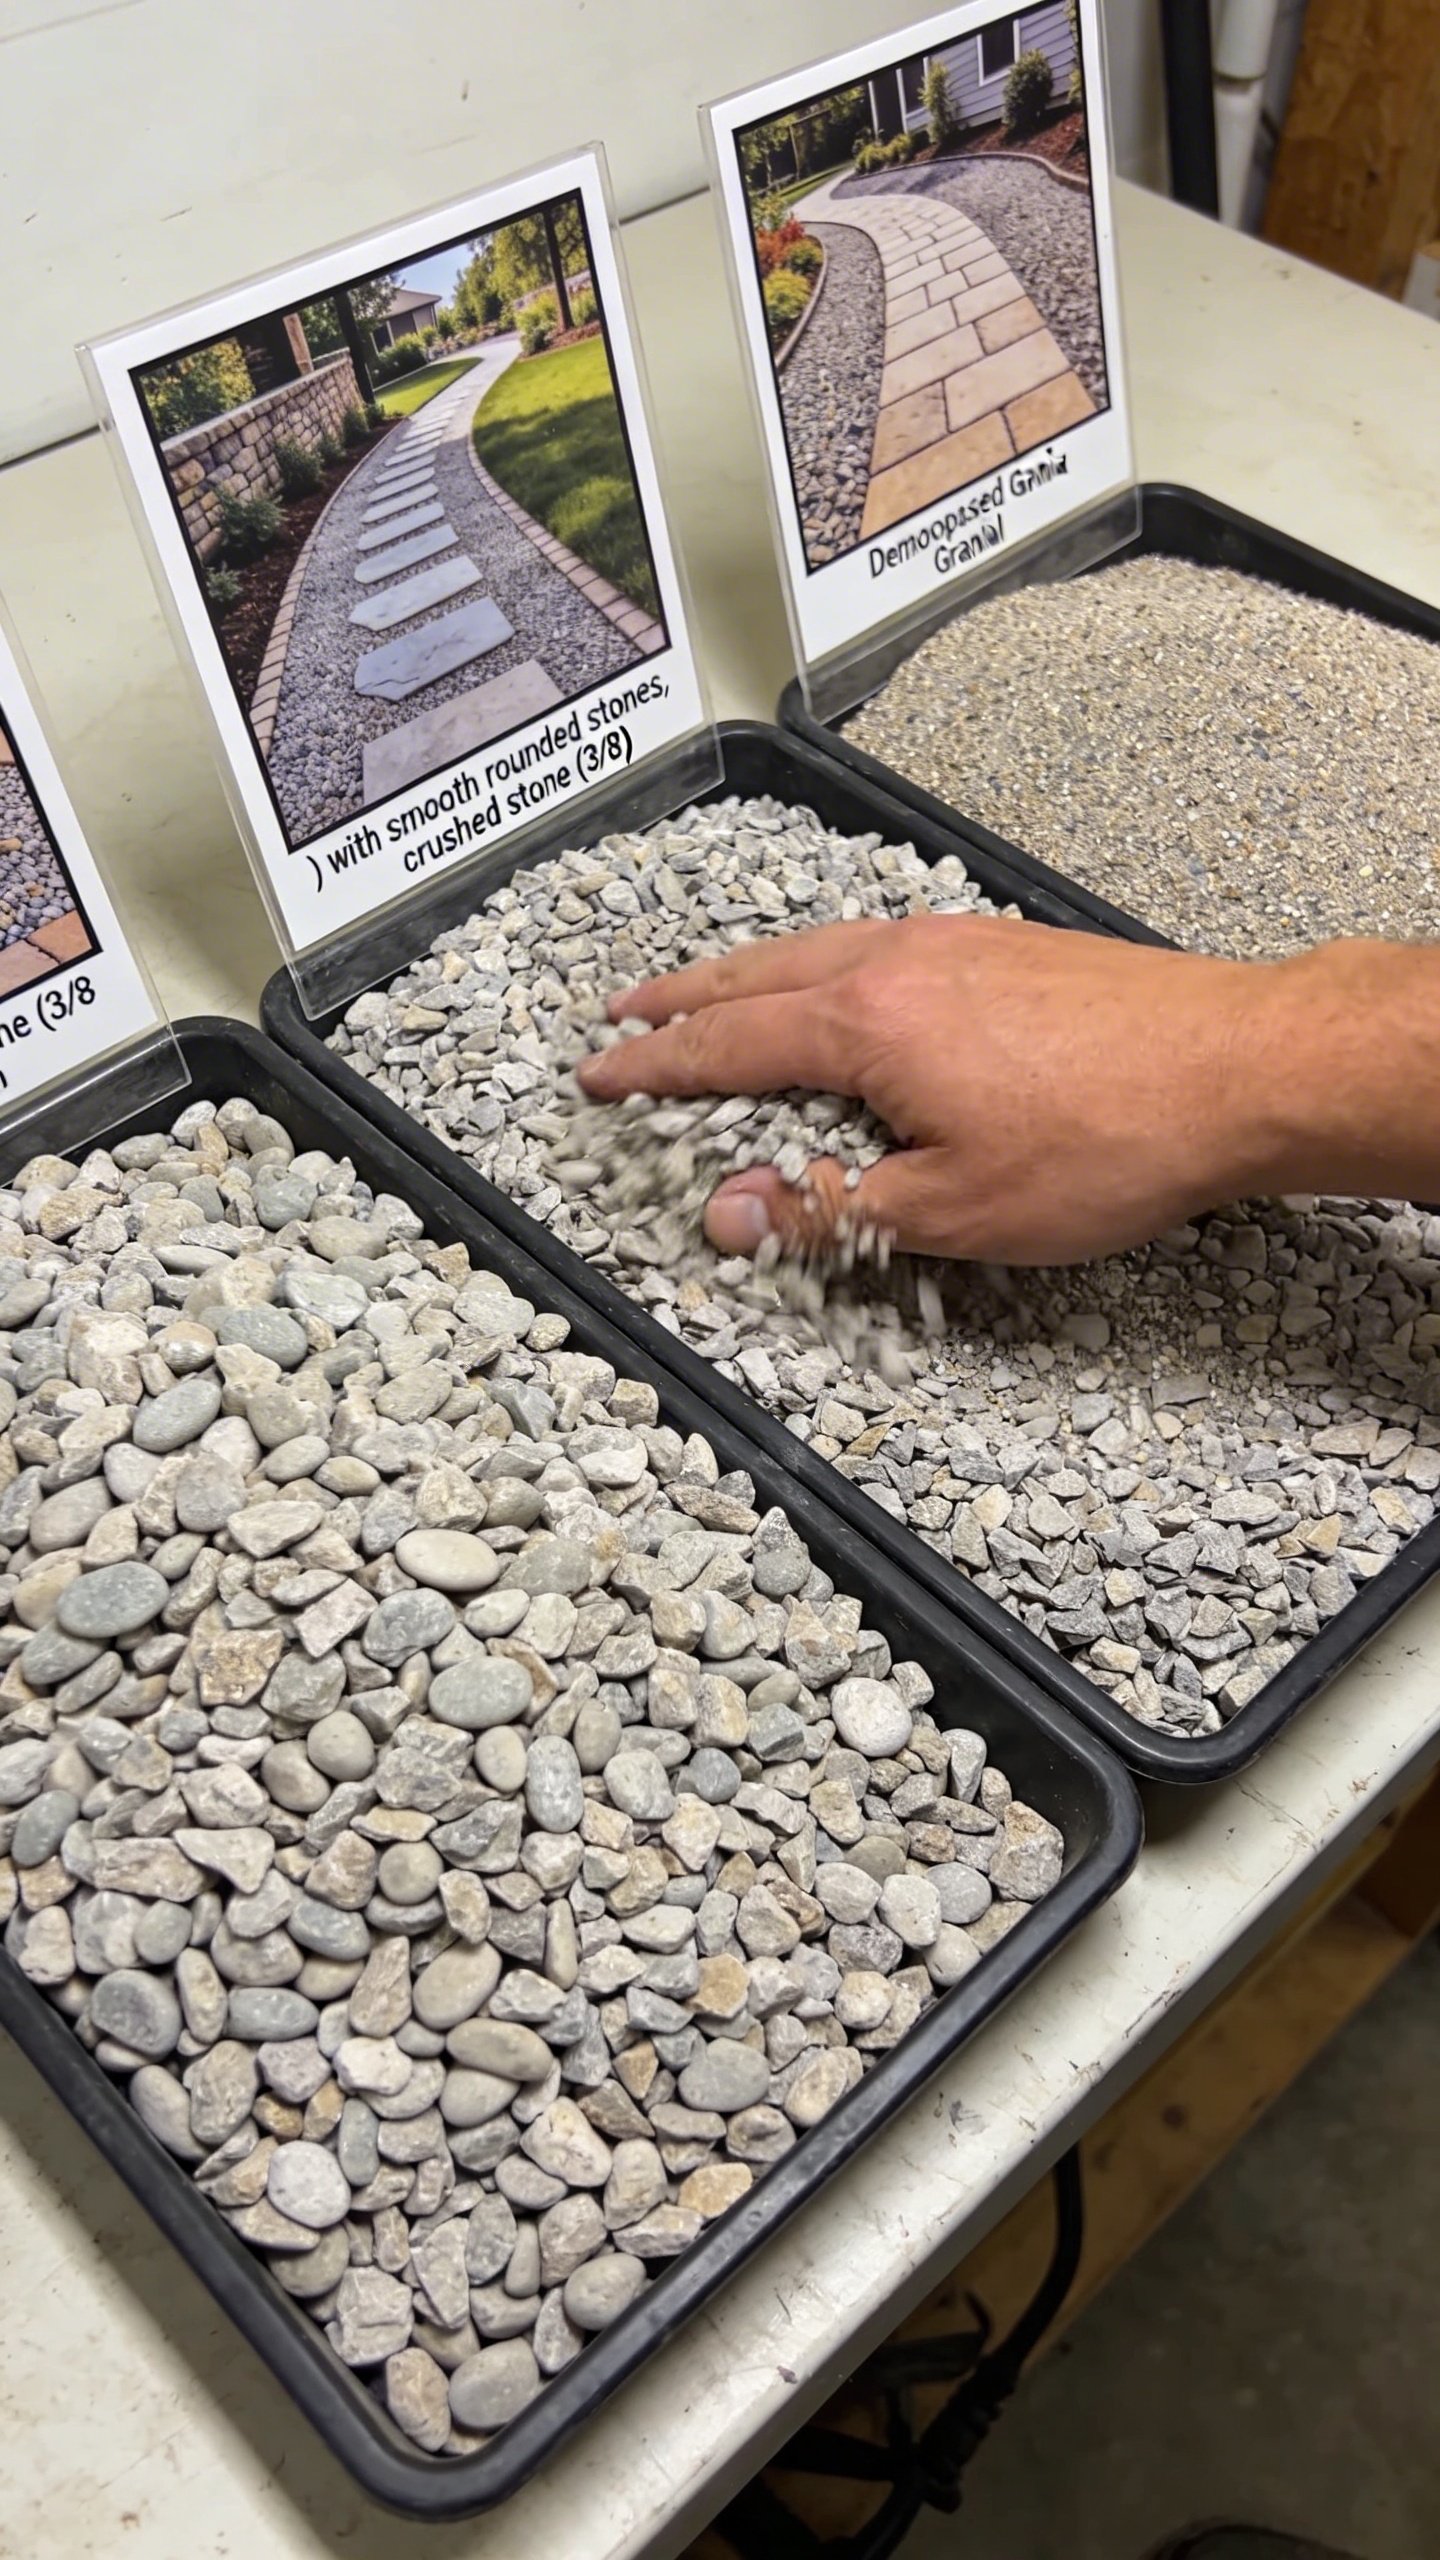
Not all gravel looks or feels the same. Choose based on how you’ll use the space.
- Pea gravel (3/8″): Comfy underfoot, casual look, can shift more.
- Crushed stone (3/8″–3/4″): Angular, locks together better, less travel.
- Decomposed granite: Firm and smooth, can compact almost like a solid surface.
IMO: Crushed stone or decomposed granite screams “pro job” because it stays put.
Gather The Right Materials (No Fancy Tools Needed)
Here’s your simple, don’t-overthink-it shopping list:
- Landscape fabric (heavy-duty woven)
- Edging: steel, aluminum, or composite bender board
- Base gravel: 3/4″ minus (a.k.a. crushed stone with fines)
- Top gravel: Your chosen finish layer
- Paver sand or decomposed granite (optional for smoothing)
- Stakes and string for layout
- Landscape staples
Tools you probably already have:
Transform Your Home With 7,250+ Stunning Landscaping Designs—No Expensive Designers Needed!
- 🌿 Access 7,250+ stunning landscaping designs.
- 💰 Save thousands—no pro designer needed.
- 🏡 Plans for gardens, patios, walkways, and more.
- ✨ Simple, beginner-friendly DIY layouts.
- 🛠️ Customize any design to fit your yard.
- Shovel, rake, wheelbarrow
- Hand tamper or plate compactor (rent one—worth every penny)
- Rubber mallet, utility knife, garden hose
FYI: If your soil is clay, plan for a slightly deeper base. Clay holds water like it’s saving it for winter.
Shape It, Edge It, Own It
Mark your patio with stakes and string. Keep edges square by measuring diagonals; equal diagonals = square corners. For curves, lay a garden hose as a guide. Once you love the shape, install your edging right away so it sets the boundary.
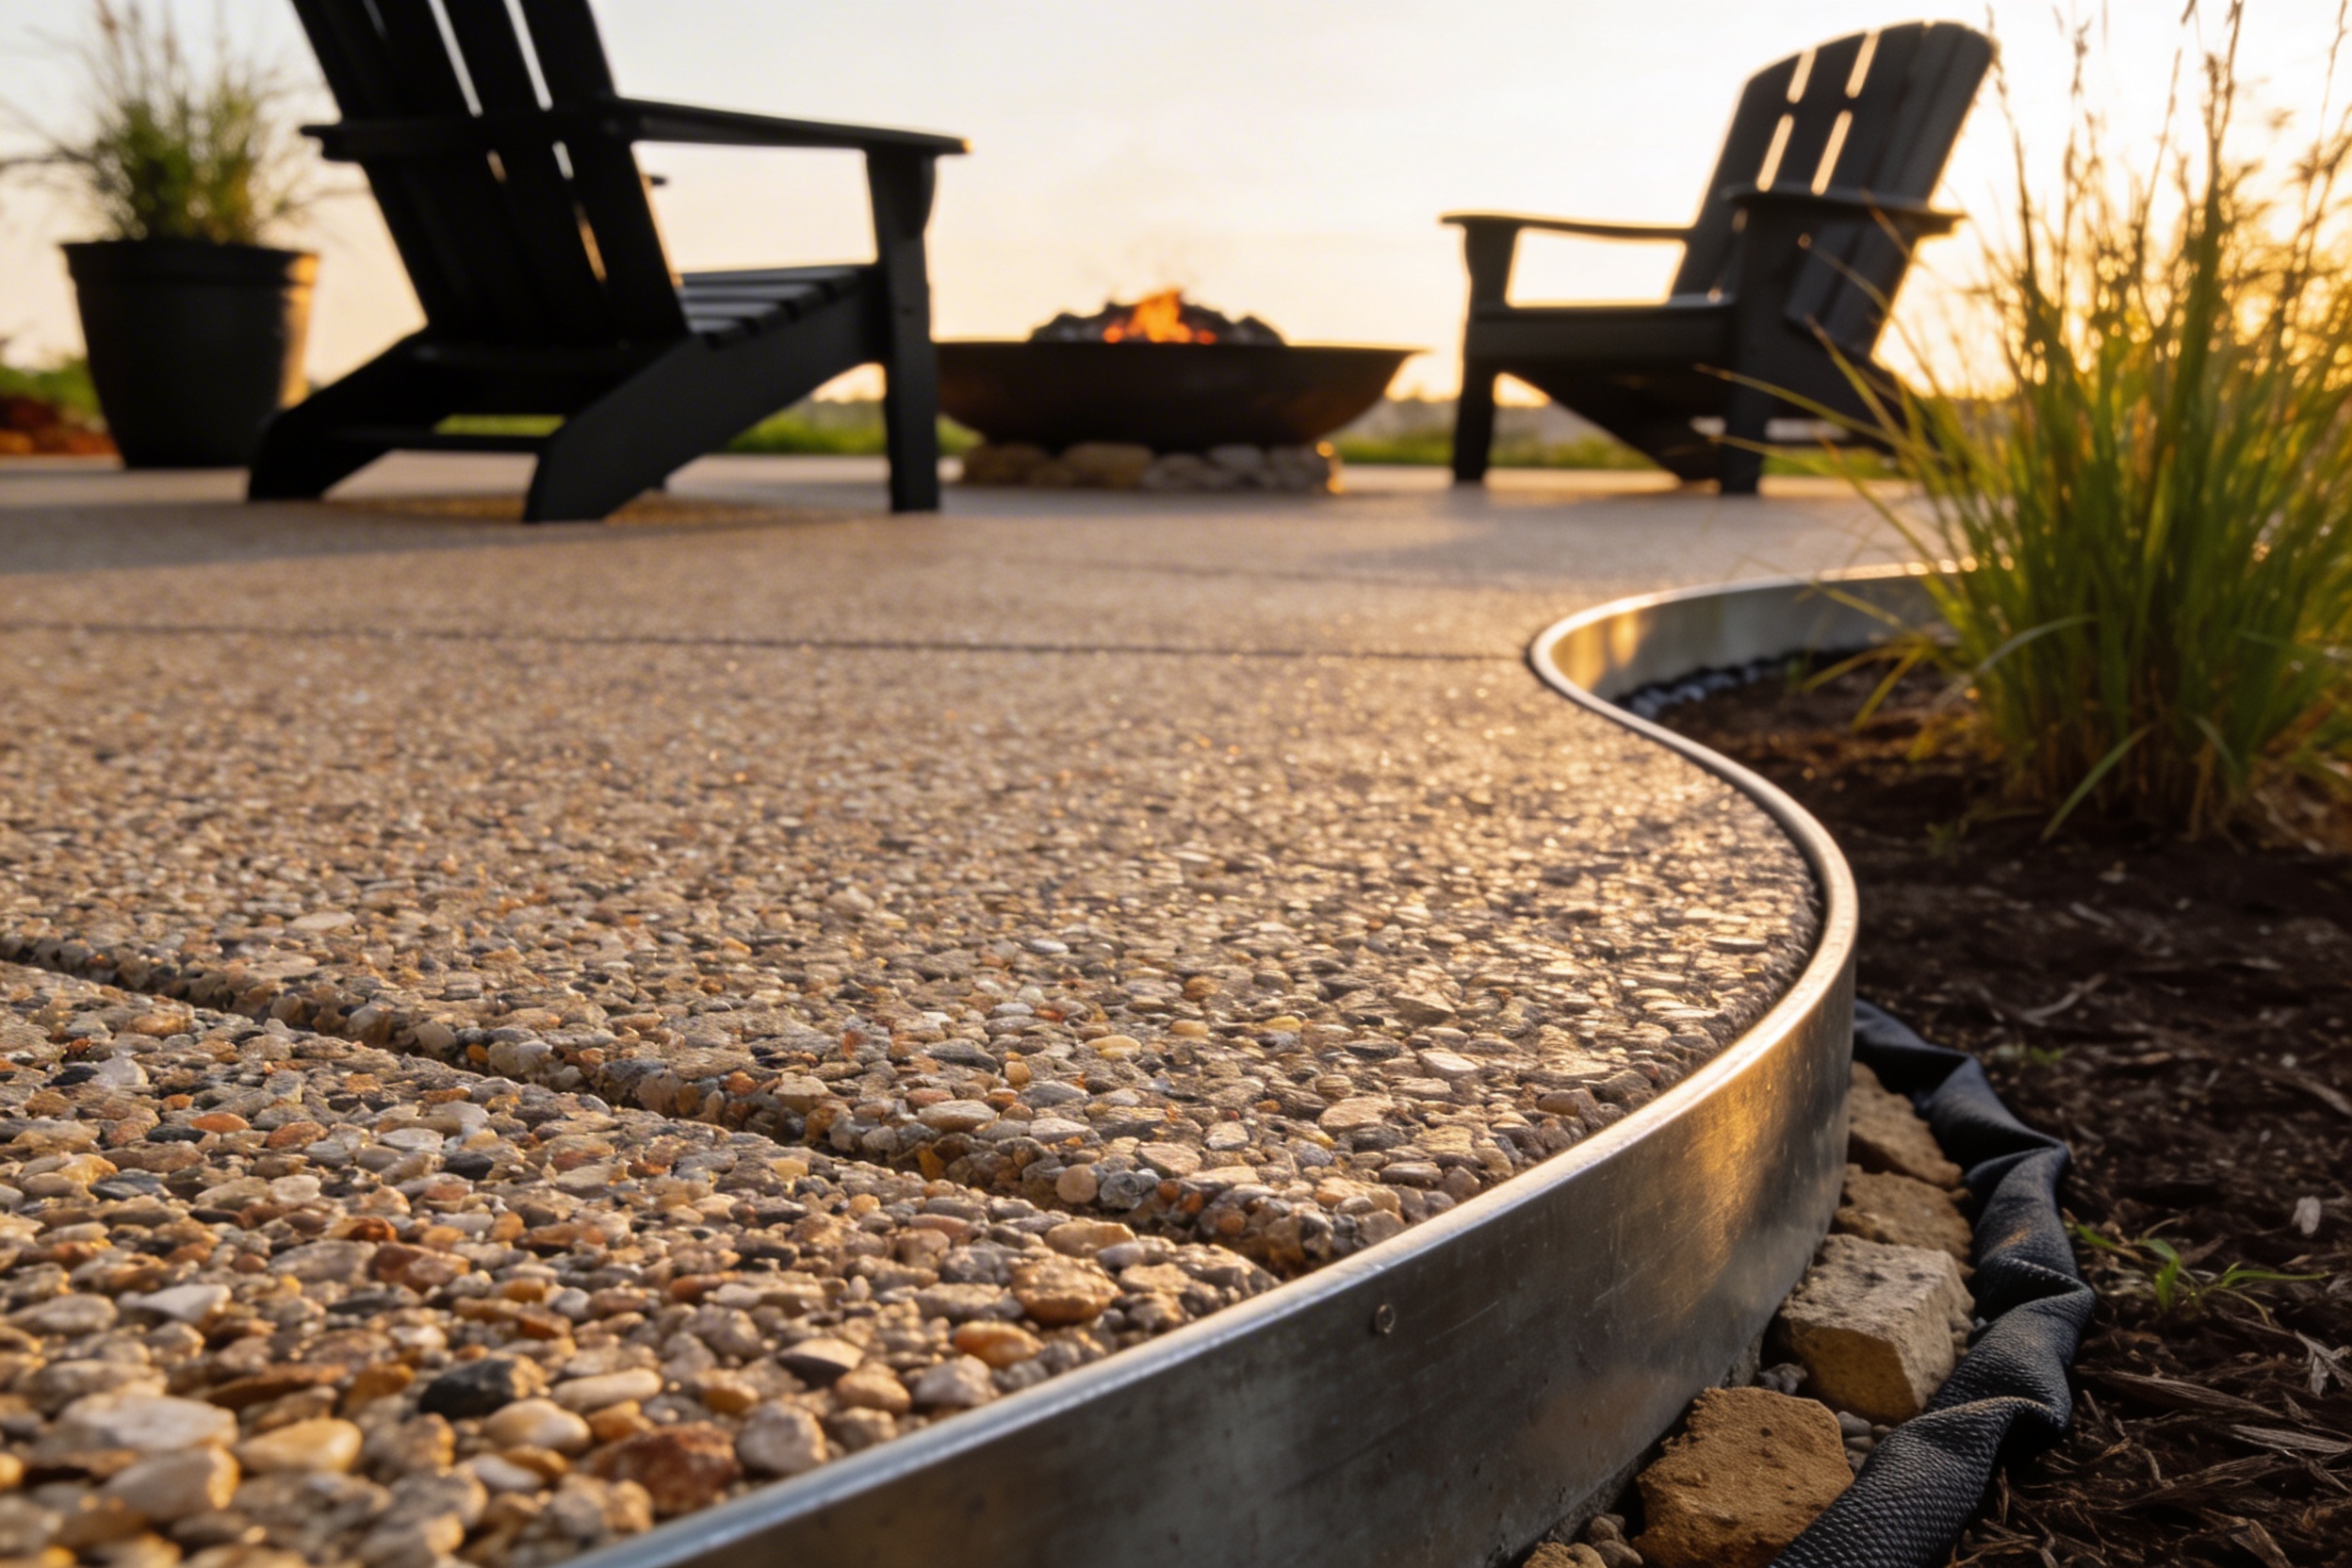
Why Edging Matters
Edging stops gravel from wandering off like a bored toddler. Steel or aluminum gives a crisp, modern line. Composite edging bends easily for curves. Anchor it with stakes every 2–3 feet and along curves a bit closer.
Excavate And Build The Perfect Base
Here’s where your patio earns its “pro” status. Depth depends on climate and soil, but this formula works almost everywhere:
- 3–4 inches base gravel (more if you have clay or freeze-thaw)
- 2 inches top gravel
Dig to your total depth plus a smidge for compaction. Aim for a slight slope away from the house—about 1/4 inch per foot. That keeps water from crashing your party.
Fabric First, Then Base
Roll out landscape fabric across the whole area, overlapping seams by 6–8 inches. Staple it down. This blocks weeds and keeps your base from sinking into the soil over time.
Dump in your base gravel in 2-inch lifts. Wet it lightly with a hose and compact each lift until it feels like concrete. No shortcuts here—this is the difference between “weekend project” and “who installed this?”
Level Check: Drag a long, straight 2×4 across the surface to screed it flat while maintaining your slope. If the board chatters, add or remove base and try again.
Lay The Top Gravel Like You Mean It
Spread your chosen top layer about 2 inches deep. Rake it smooth and consistent. For pea gravel, keep depth honest, or you’ll feel like you’re walking on a beach. For crushed stone or decomposed granite, mist with water and compact lightly for a firm, finished look.
Lock It In
Want tighter, cleaner pathways and dining zones?
- Stabilizer binders mix with decomposed granite to create a firmer surface.
- Grid mats under the gravel reduce shifting on slopes.
These upgrades scream “I planned this” without you saying a word.

Style It: Furniture, Fire, And Finishing Touches
Think of gravel as a neutral canvas. Now add personality.
- Define zones: Use a different gravel color or a paver border for the dining area.
- Furniture feet: Choose wider feet or add paver pads under chair legs to prevent sinking.
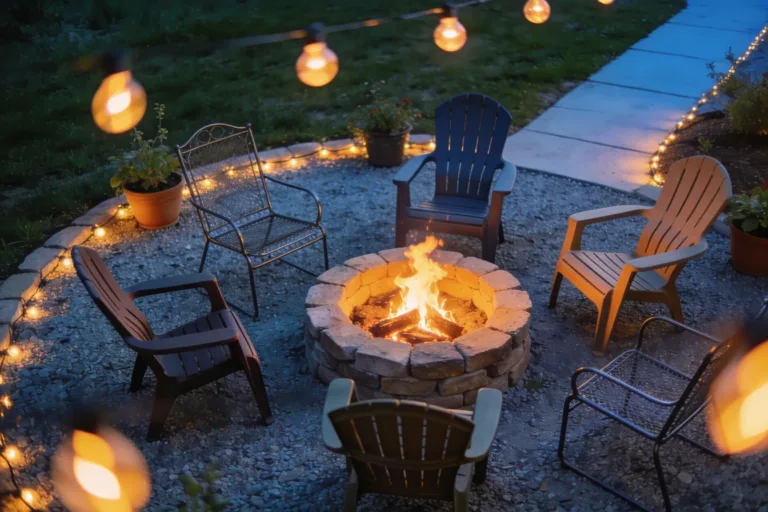
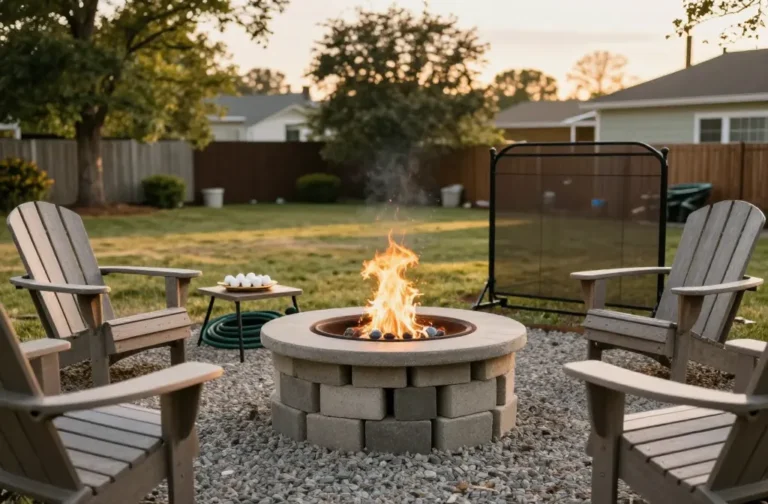
- Fire features: Use a spark screen and keep a non-combustible buffer. Safety first, vibes second.
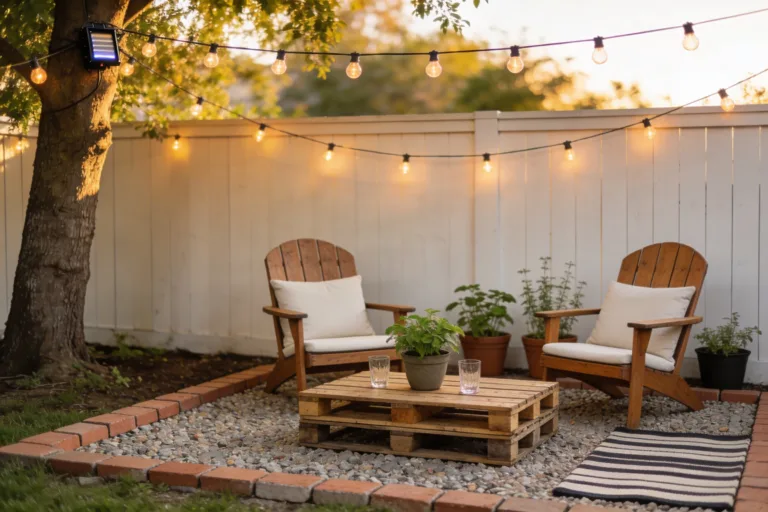
- Greenery: Tuck low-maintenance plants along the edges for that curated look.
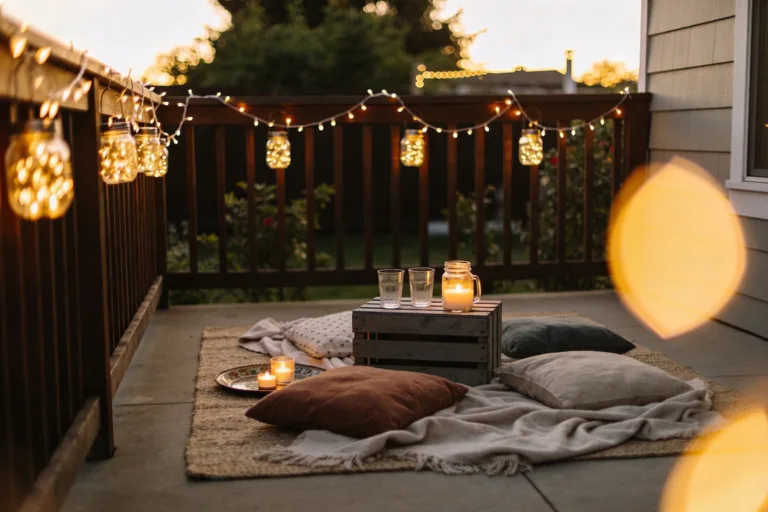
- Lighting: Solar stakes or string lights instantly raise the “evening ambiance” level.
IMO: A simple steel edging line, charcoal-colored gravel, and warm string lights look effortlessly high-end.
Maintenance That Takes Minutes, Not Weekends
Gravel patios age well with tiny nudges.
- Rake high-traffic spots every few weeks.
- Top up gravel once a year if you notice thin patches.
- Pull the occasional weed (fabric helps a ton).
- After heavy storms, rake any washouts back into place.
If the surface loosens too much, mist it and compact lightly again. Ten minutes. Done.
Smart Upgrades For Extra Polish
Want to cross the line from “nice” to “wow”?
- Inlay paver stones for a level dining chair zone.
- Add a border course of bricks or large stones for contrast and containment.
- Install a French drain upslope if water tries to cut through your patio.
- Mix colors/textures: dark base gravel with lighter top makes the edges pop.
FAQ
How deep should my gravel patio be?
Aim for 3–4 inches of compacted base plus about 2 inches of top gravel. If you have clay soil or serious freeze-thaw, add 1–2 inches to the base. Depth equals durability, so don’t skimp.
Do I really need landscape fabric?
Yes, unless you love weeding. Fabric separates soil from your base so the gravel doesn’t sink over time. Use a heavy-duty woven fabric, not the flimsy stuff that tears when you look at it wrong.
Which gravel won’t track into my house?
Crushed stone or decomposed granite tracks less than pea gravel because the angular pieces lock together. Add a door mat and keep the top layer around 2 inches to reduce migration.
Can I put a fire pit on a gravel patio?
Absolutely. Keep a safe clearance from structures and plants, use a spark screen, and follow local codes. For wood-burning pits, add a paver or stone pad under the pit for stability and extra heat protection.
Will weeds take over my patio?
Not if you prep right. Fabric under a compacted base stops most weeds. Any that pop through usually arrive via windblown seeds—quick hand pulls or a vinegar spray handles them fast.
How do I keep chairs from sinking?
Use wider feet, add small paver pads under legs, or create a firm dining zone with compacted decomposed granite or stabilizer. Your guests won’t wobble, and your patio stays crisp.
Conclusion
You don’t need a contractor to score a polished, durable gravel patio—just a solid base, clean edges, and a little compaction magic. Plan the shape, set the slope, layer smart, and finish with stylish touches. The result? A budget-friendly backyard upgrade that looks designer and hosts like a champ. Grab the rake and make it happen.